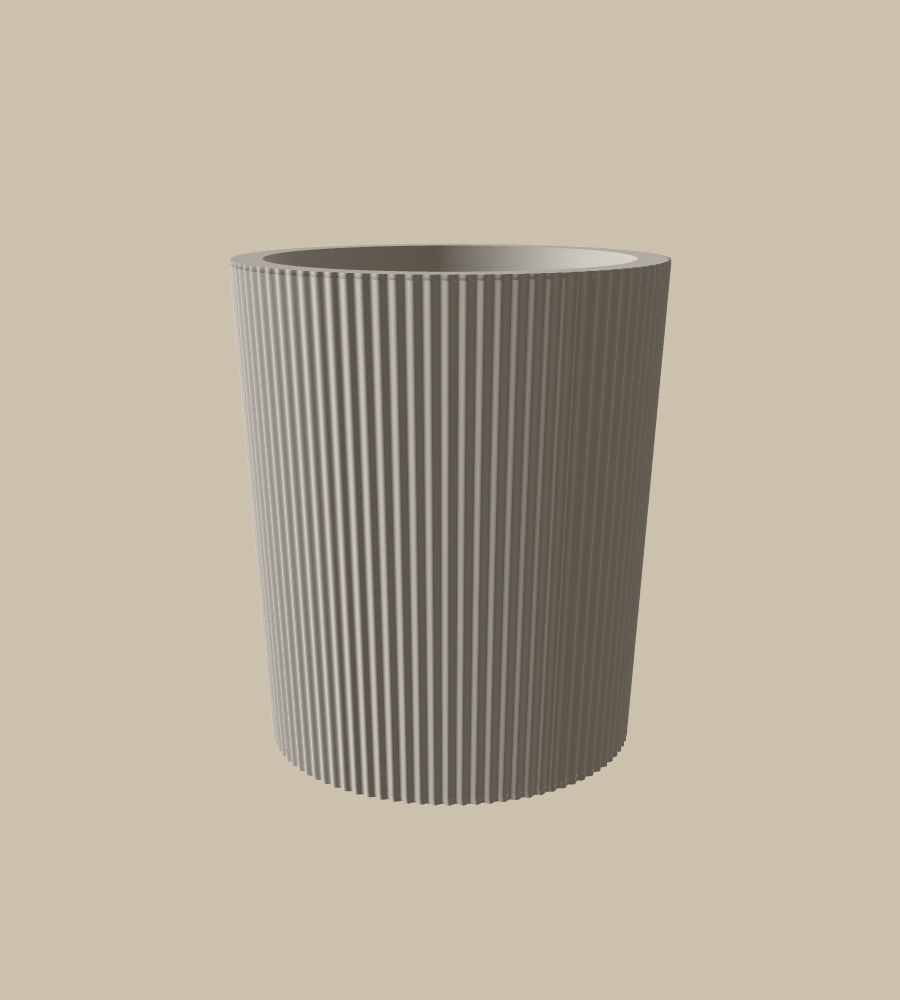
Flush Vessel 180
A liner, a ring, a shell, and a tank with a plug in the bottom of it. Every idea on this page is in this one pot.
180 mm across, 205 mm tall. Outer diameter from 150 to 260 mm.
For plants that mean to stay.
Every HardyStem planter is three parts that come apart: the liner the plant lives in, a ring that seats it, and the shell you look at. Only the last one changes between designs, which is why there can be so many of them.

Three pots, one idea
All three are the same assembly. What changes between them is what sits under the liner and how tall the shell is drawn.
A liner, a ring, a shell, and a tank with a plug in the bottom of it. Every idea on this page is in this one pot.
180 mm across, 205 mm tall. Outer diameter from 150 to 260 mm.
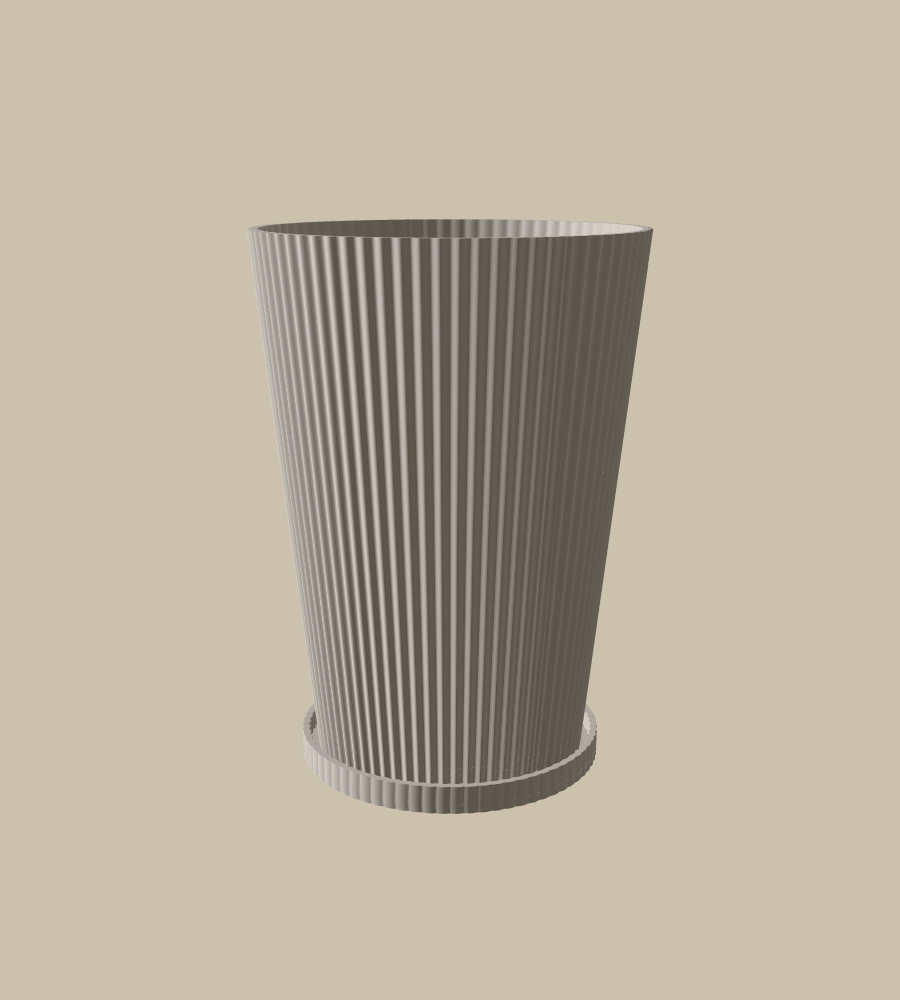
The same liner and ring with no reservoir under it. A hole, a foot and a tray, which is what most plants actually want.
140 mm across, 192 mm tall. Rim diameter from 100 to 220 mm.
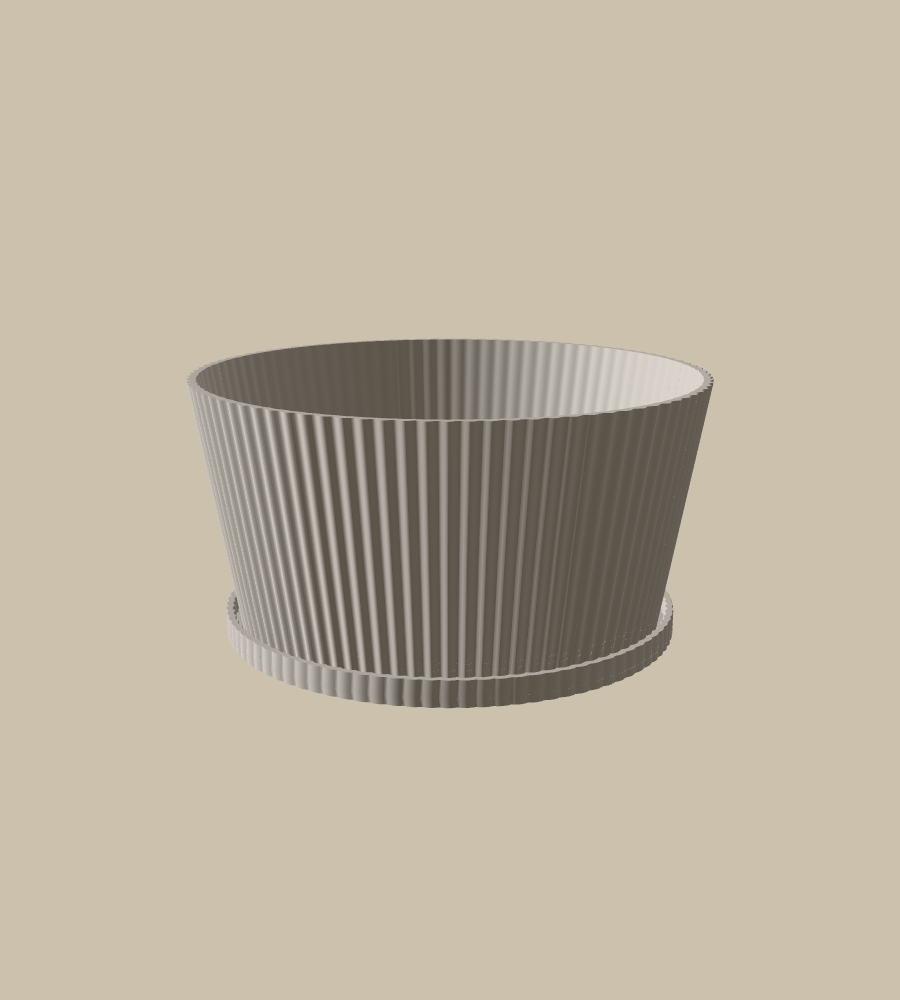
The same three parts again, drawn short. Proportion is a decision here, not a size.
200 mm across, 98 mm tall. Rim diameter from 160 to 300 mm.
Most planters are one object. The wall, the floor, the drainage and the look are all the same piece of material, so changing anything about the outside means redrawing the inside too, including the parts that decide whether a plant lives.
Ours come apart into three. The liner is the pot the plant is actually in. The seat ring holds it. The shell is the decorative part, and it is the only one that changes between designs.
That split is not a manufacturing convenience. It is why we can draw a new shell on a Tuesday and have it sit on a liner that has already been through a hundred plants.
The liner holds the medium, the roots and the water. Its floor, its drainage, the draft on its wall and the fill line inside it are the same whatever the outside is doing. Once a liner is right at a given size, it stops changing.
The practical effect for somebody who owns one: you can buy a different shell next year and keep the liner the plant has already rooted into. Redecorating stops being a repotting job.
It also means the numbers on a size sheet are real. The growing chamber on every product here is measured to the fill line rather than to the rim, which is why it never agrees with the outer dimensions and why it is the number worth reading.
Between the liner and the shell there is a ring. Its inside is bored to the liner. Its outside is drawn to the shell. It is an adaptor, and it is the smallest, fastest part in the whole assembly.
A new shell costs a new ring and not a new liner. That single sentence is the concept.
It is why a made-to-order range can carry a lot of designs without becoming unreliable. The risky, fussy, horticulturally load-bearing part is printed from a drawing that has not moved in months. The part that is new is the part that only has to look good.
Because the shell carries no water and holds no roots, it can be anything. It is a body with surface treatments applied to it, not a shape chosen off a list, and that is what the rest of this page is about.
It starts as a plain wall. Everything after that is something done to this.
Every picture on this page is the real geometry, rendered from the drawing that prints rather than sketched to look like it. The colours are the ones the workshop uses to tell the three parts apart: the shell in blue, the seat ring in orange, the liner in green.
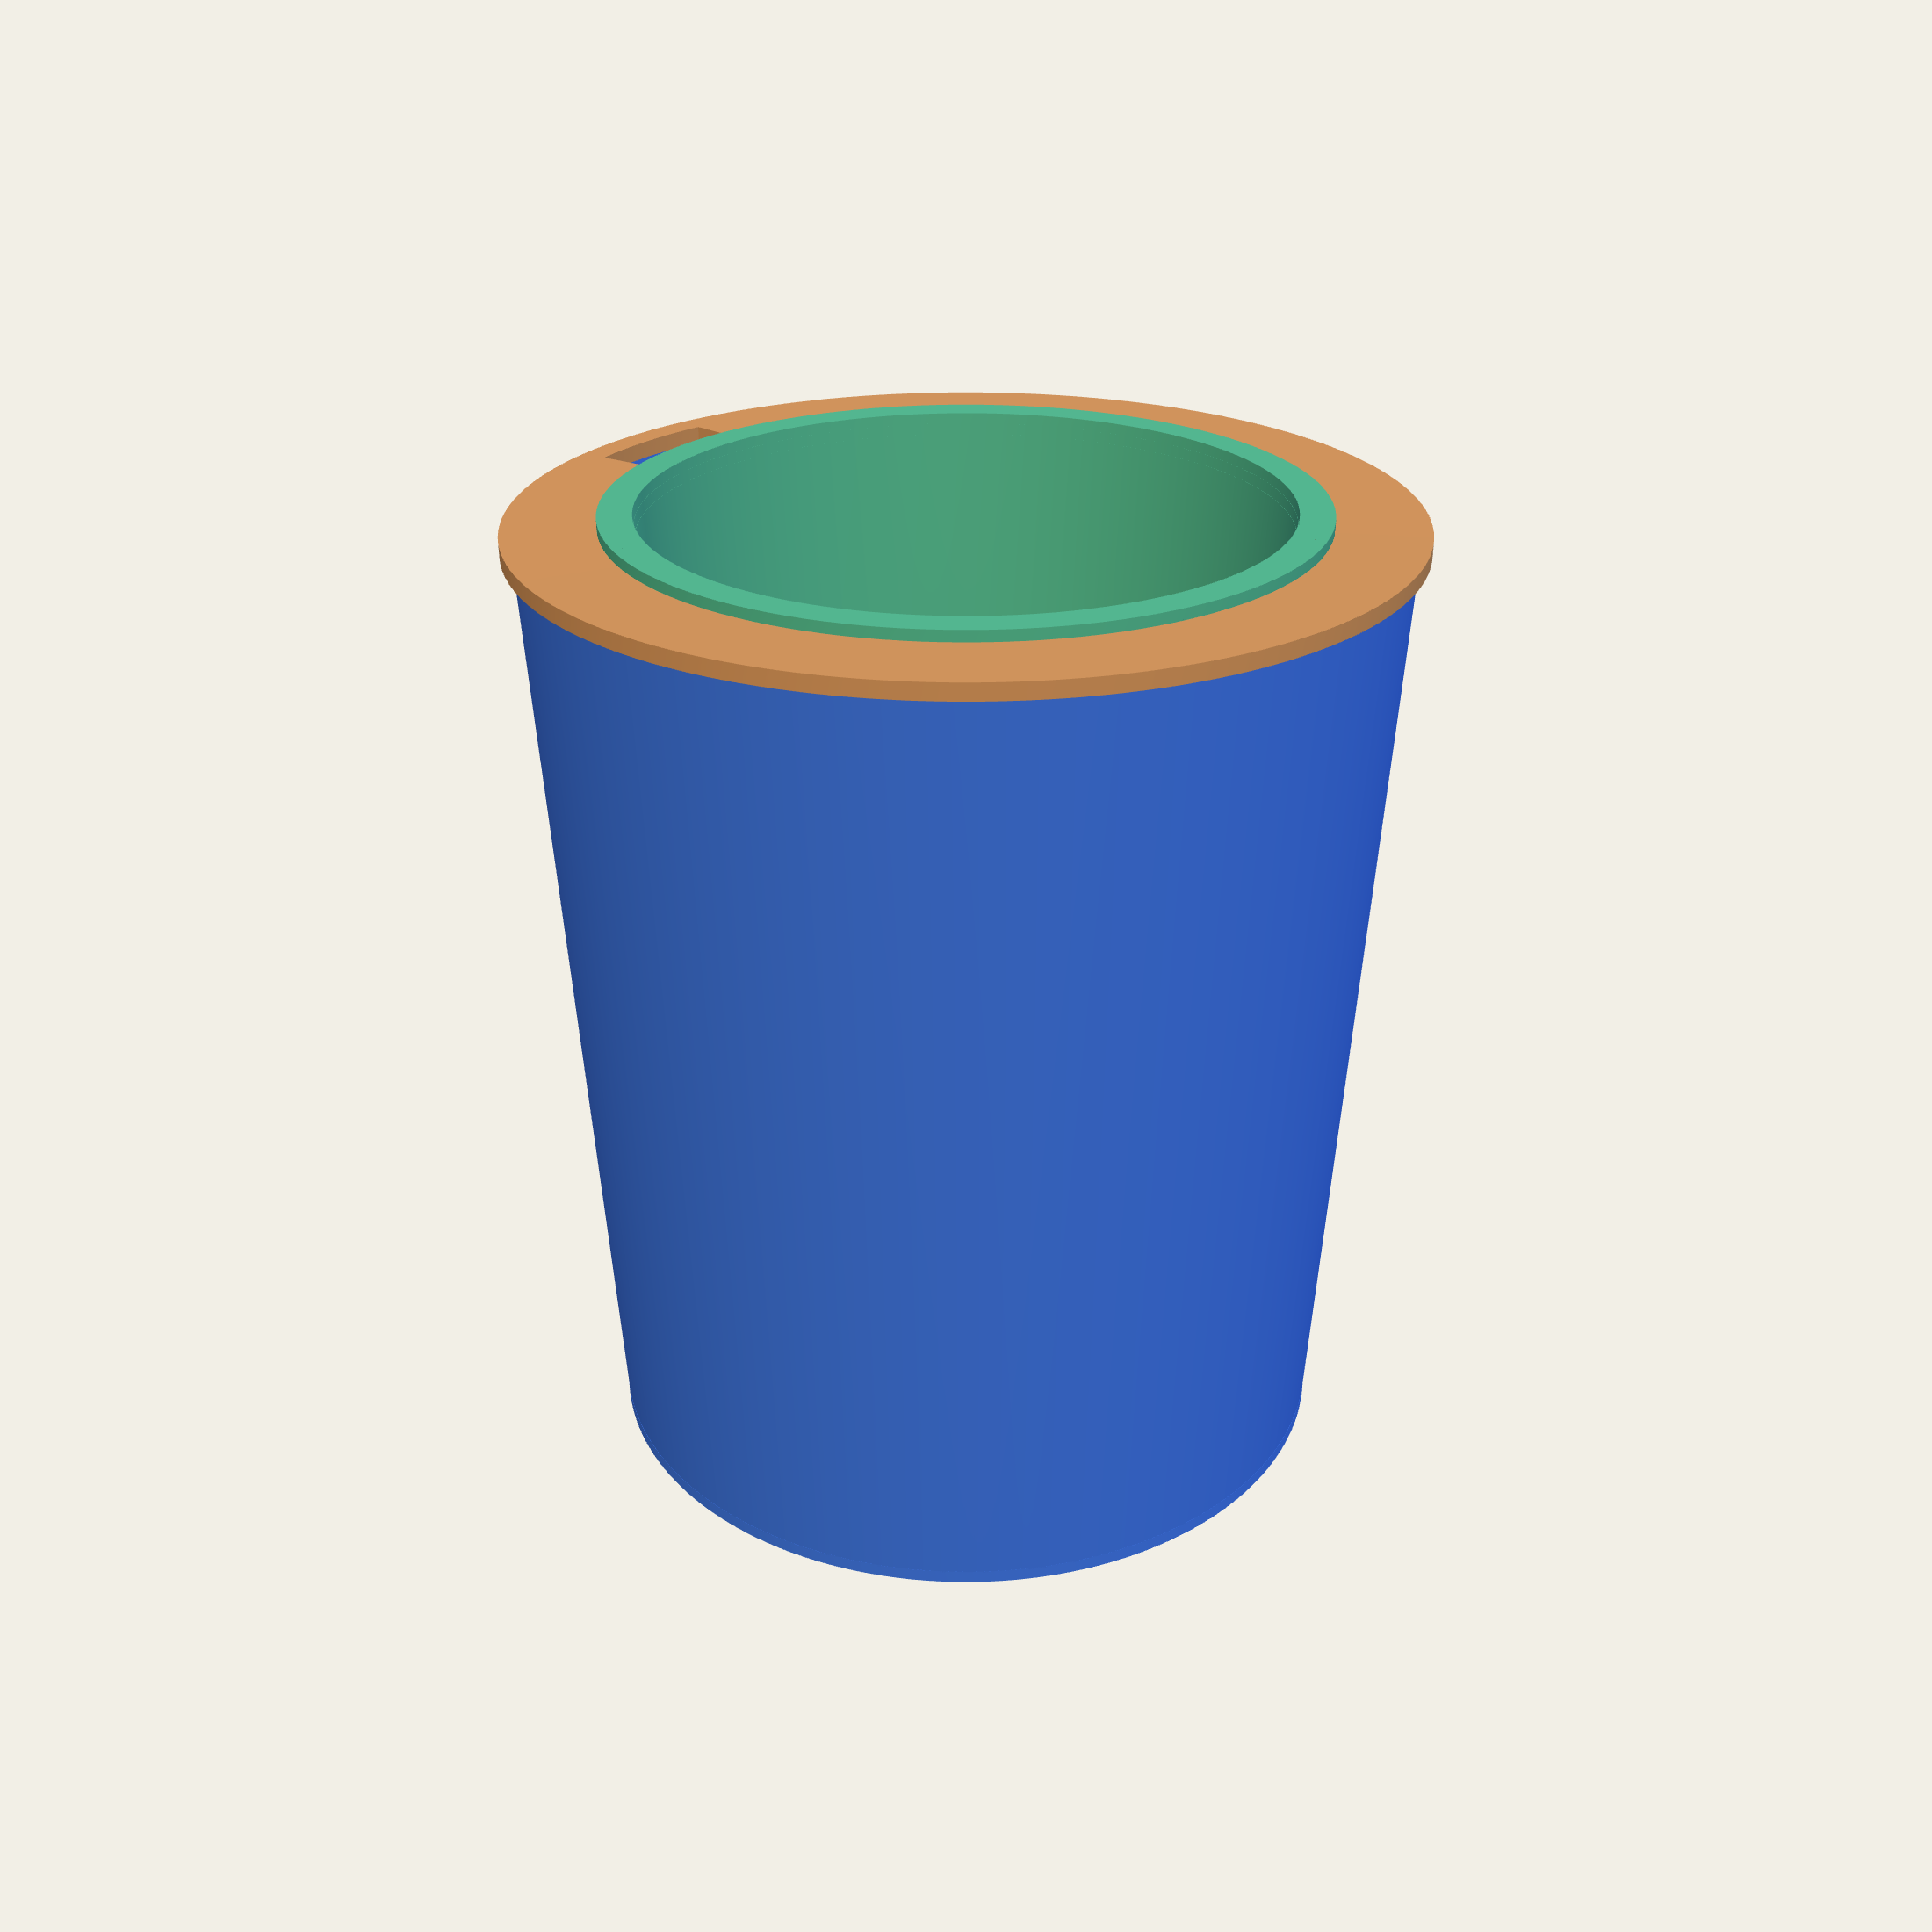
Diameter, height and the angle of the wall. A straight wall reads as an object; the same pot with the wall leaning in reads as a vessel and takes up less floor for the same rim.
The lean changes more than the look. A pot that narrows towards the base holds a slightly smaller volume of medium for the same rim diameter, and it sits better in a row where the rims nearly touch.
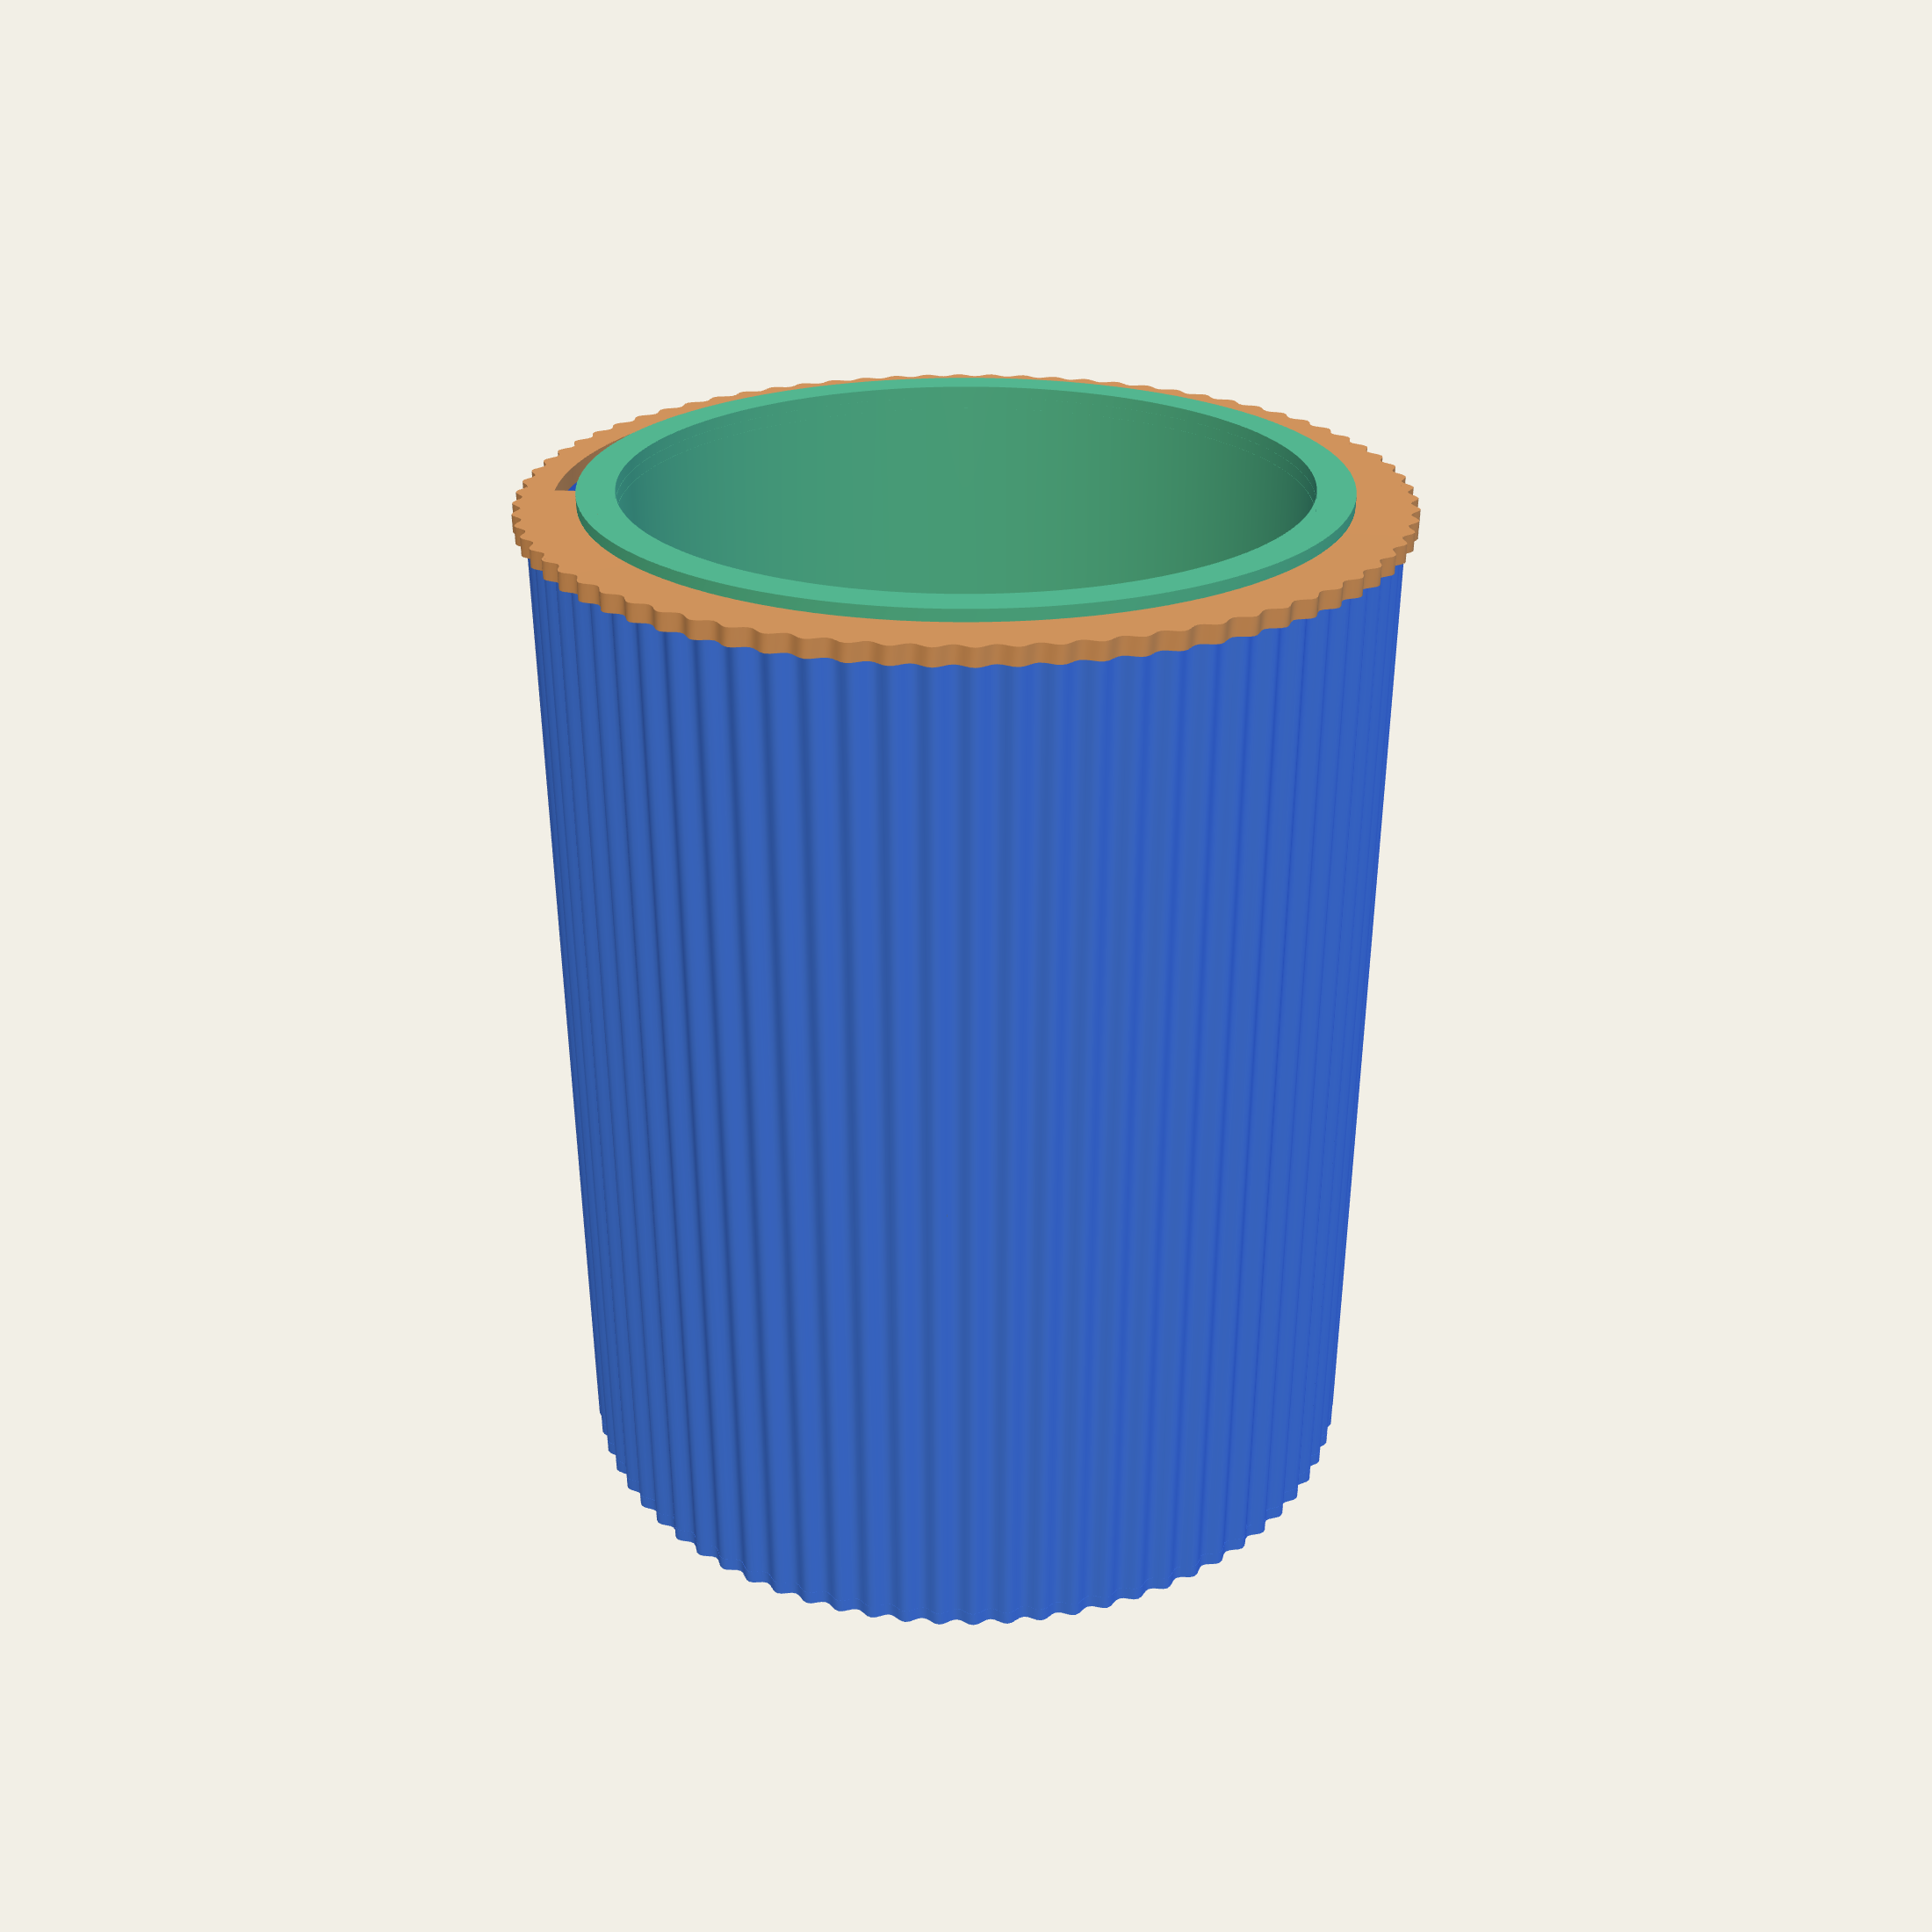
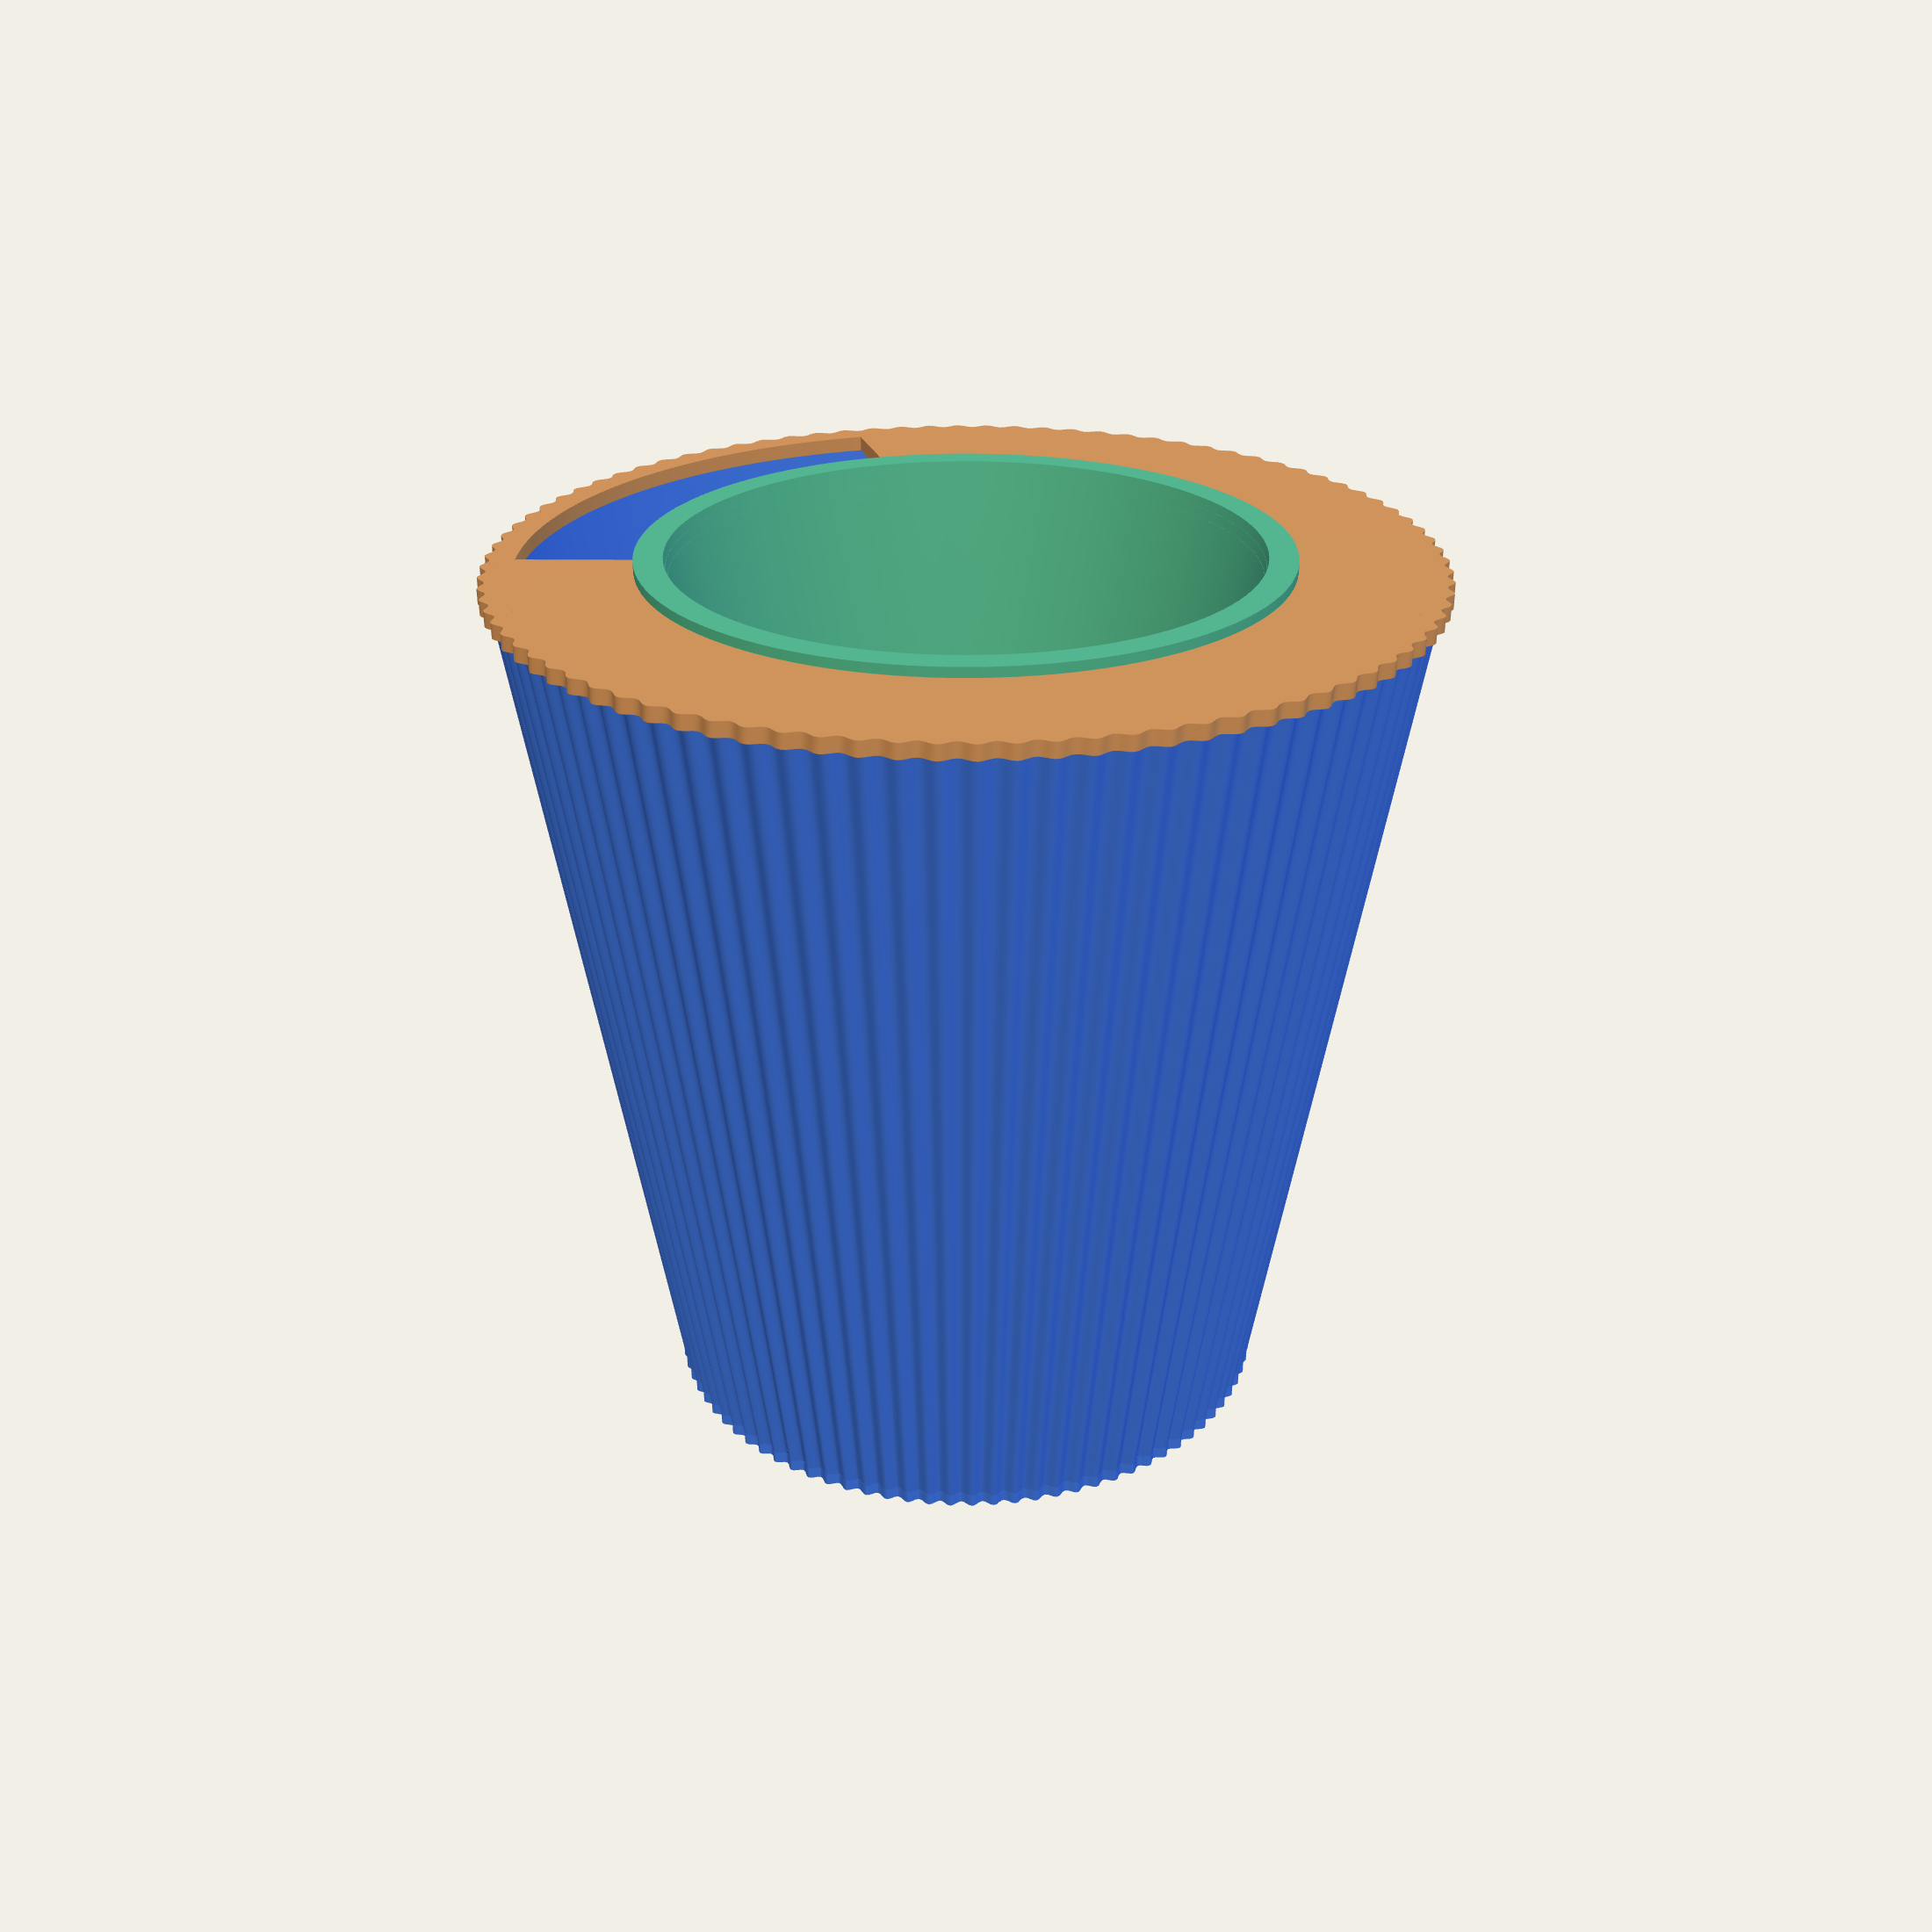
Round is what a printer makes most naturally and it is not the only thing it makes. A rectangle with its own proportion fits a windowsill the way a round pot never does. A square with radiused corners sits into a corner. A flat-sided body, anywhere from three faces to twelve, takes the light one face at a time and changes as you walk past it. A lobed body reads as a clover, and a star as a petal.
The liner inside does not change. It is round, it is the same round liner at the same size, and the seat ring is what makes a round pot sit correctly inside a hexagonal one. That is the whole argument of this page, and this is where it is easiest to see.
The plan is chosen apart from the outline and apart from the treatment. A six-sided tapered pot with ribs on it is three separate decisions rather than a product somebody had to think of first, which is the difference between a configurator and a catalogue.
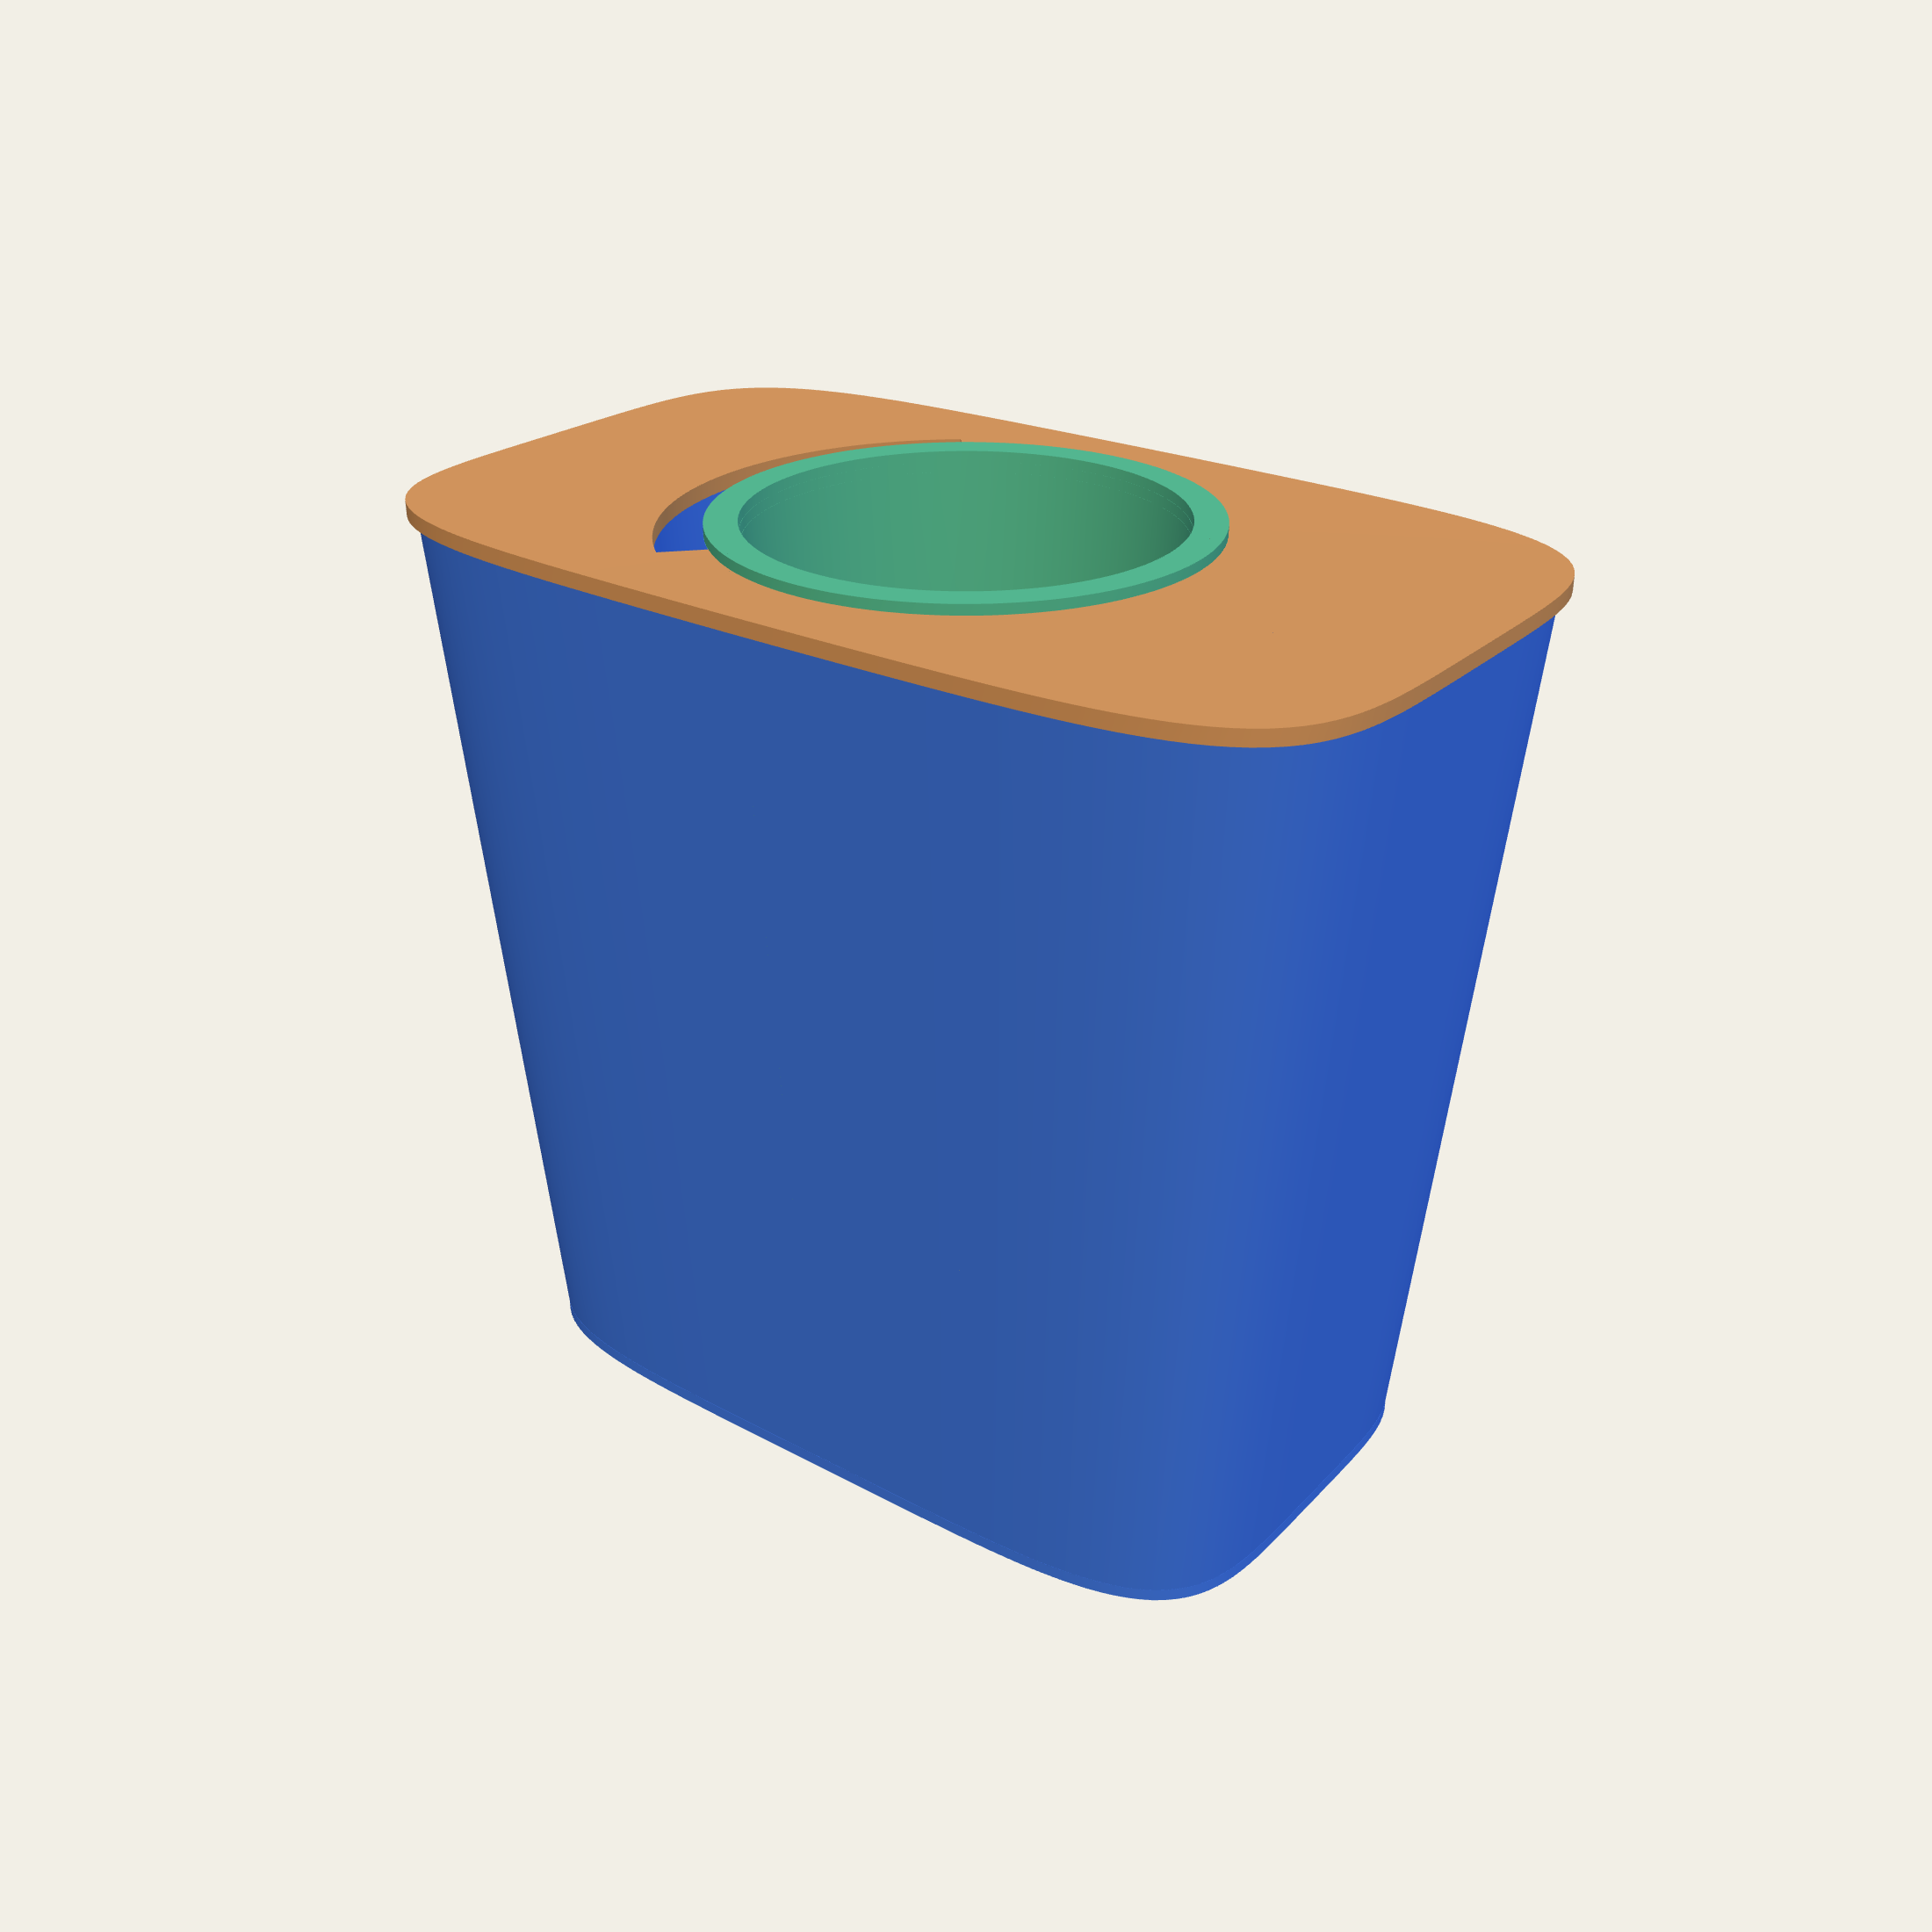
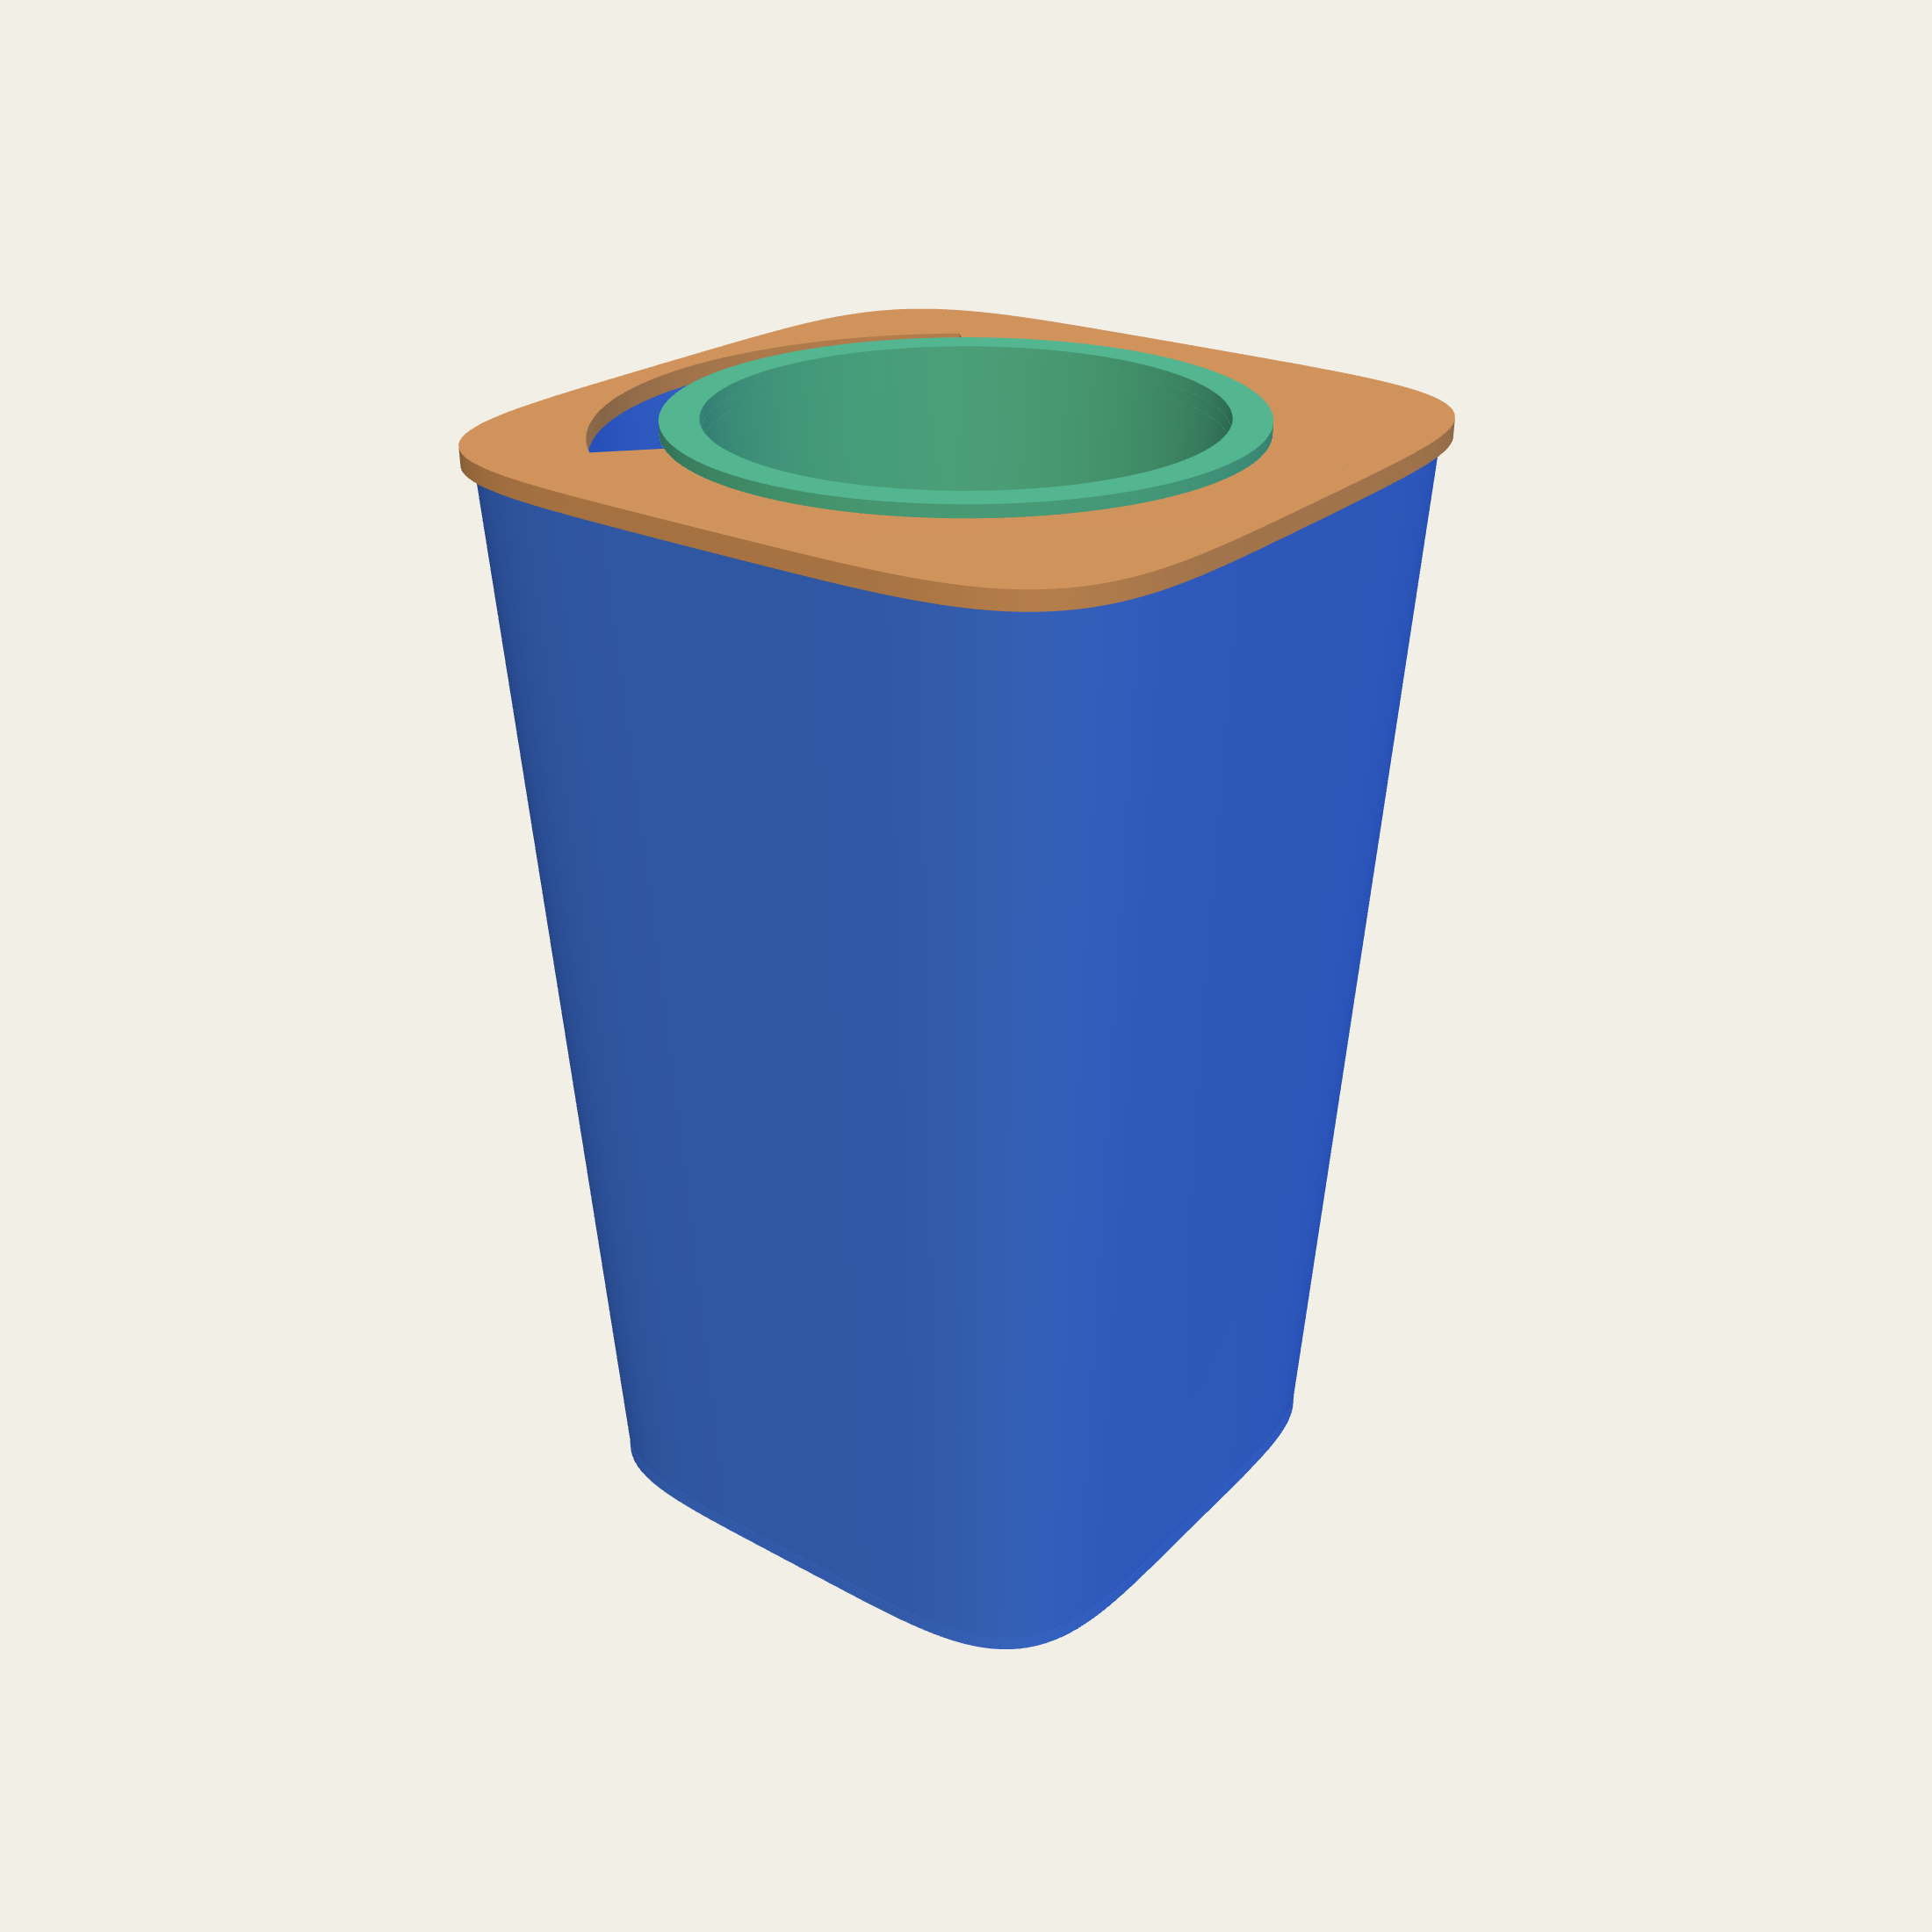
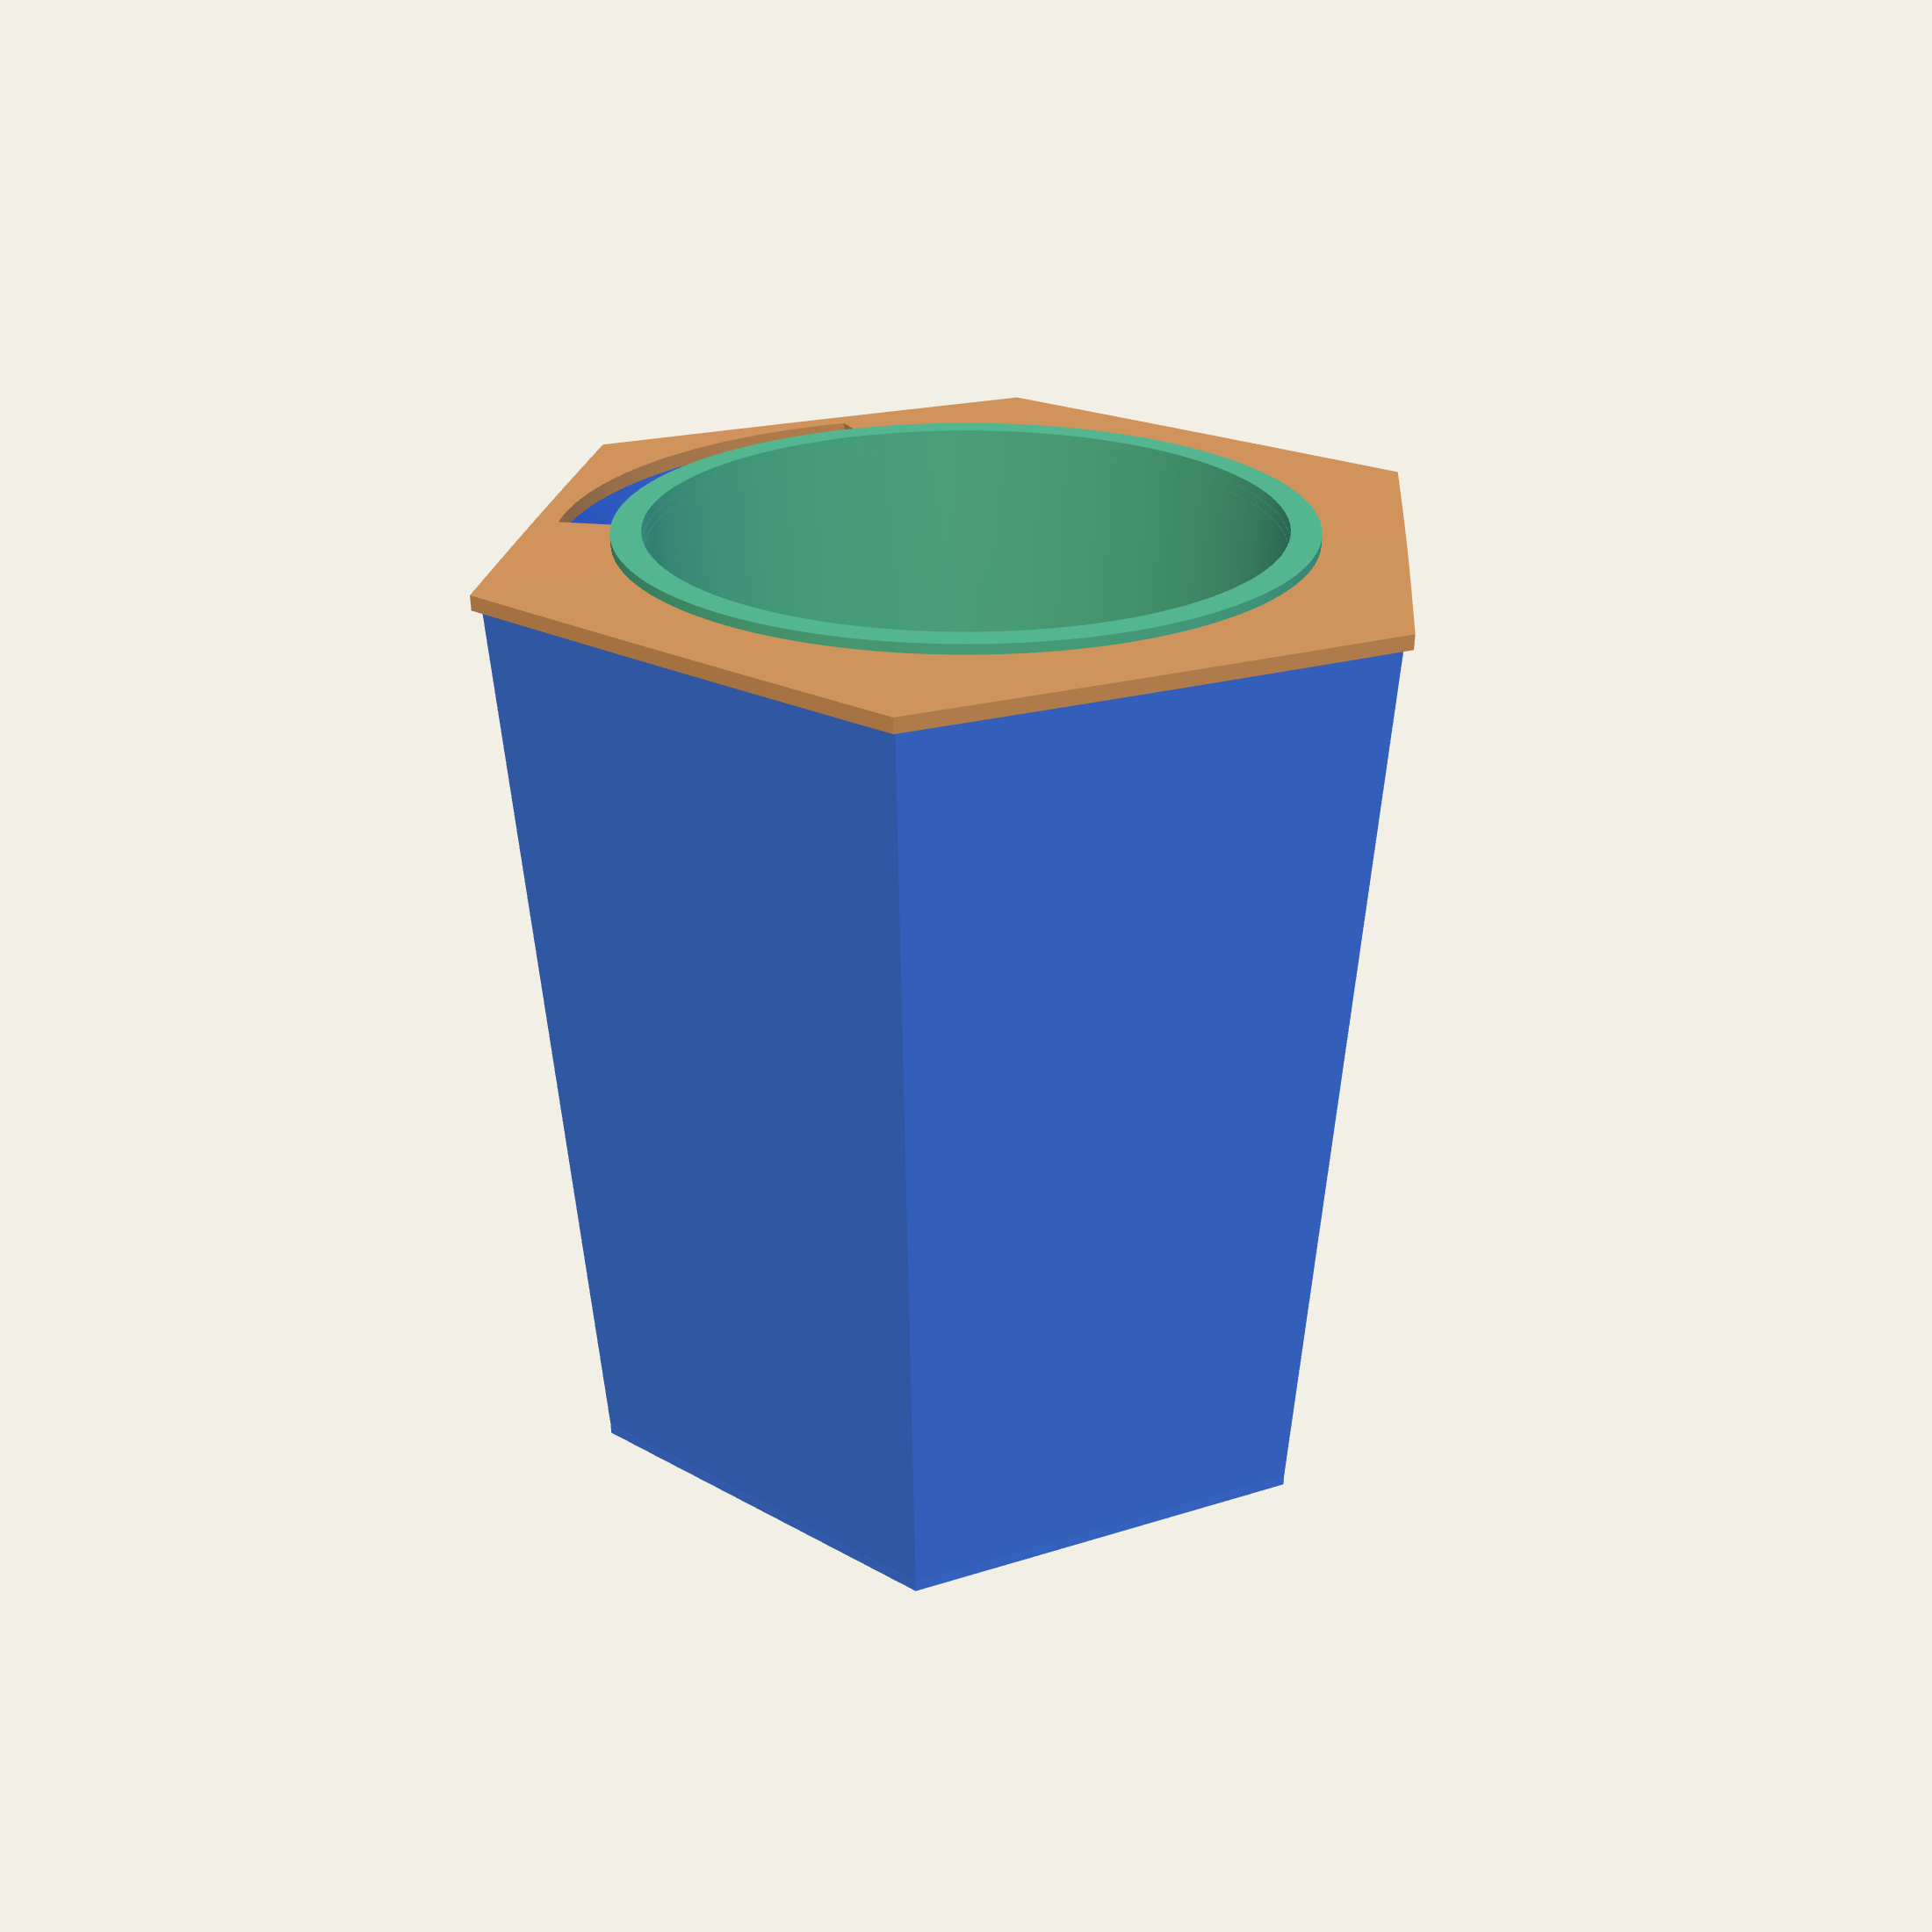
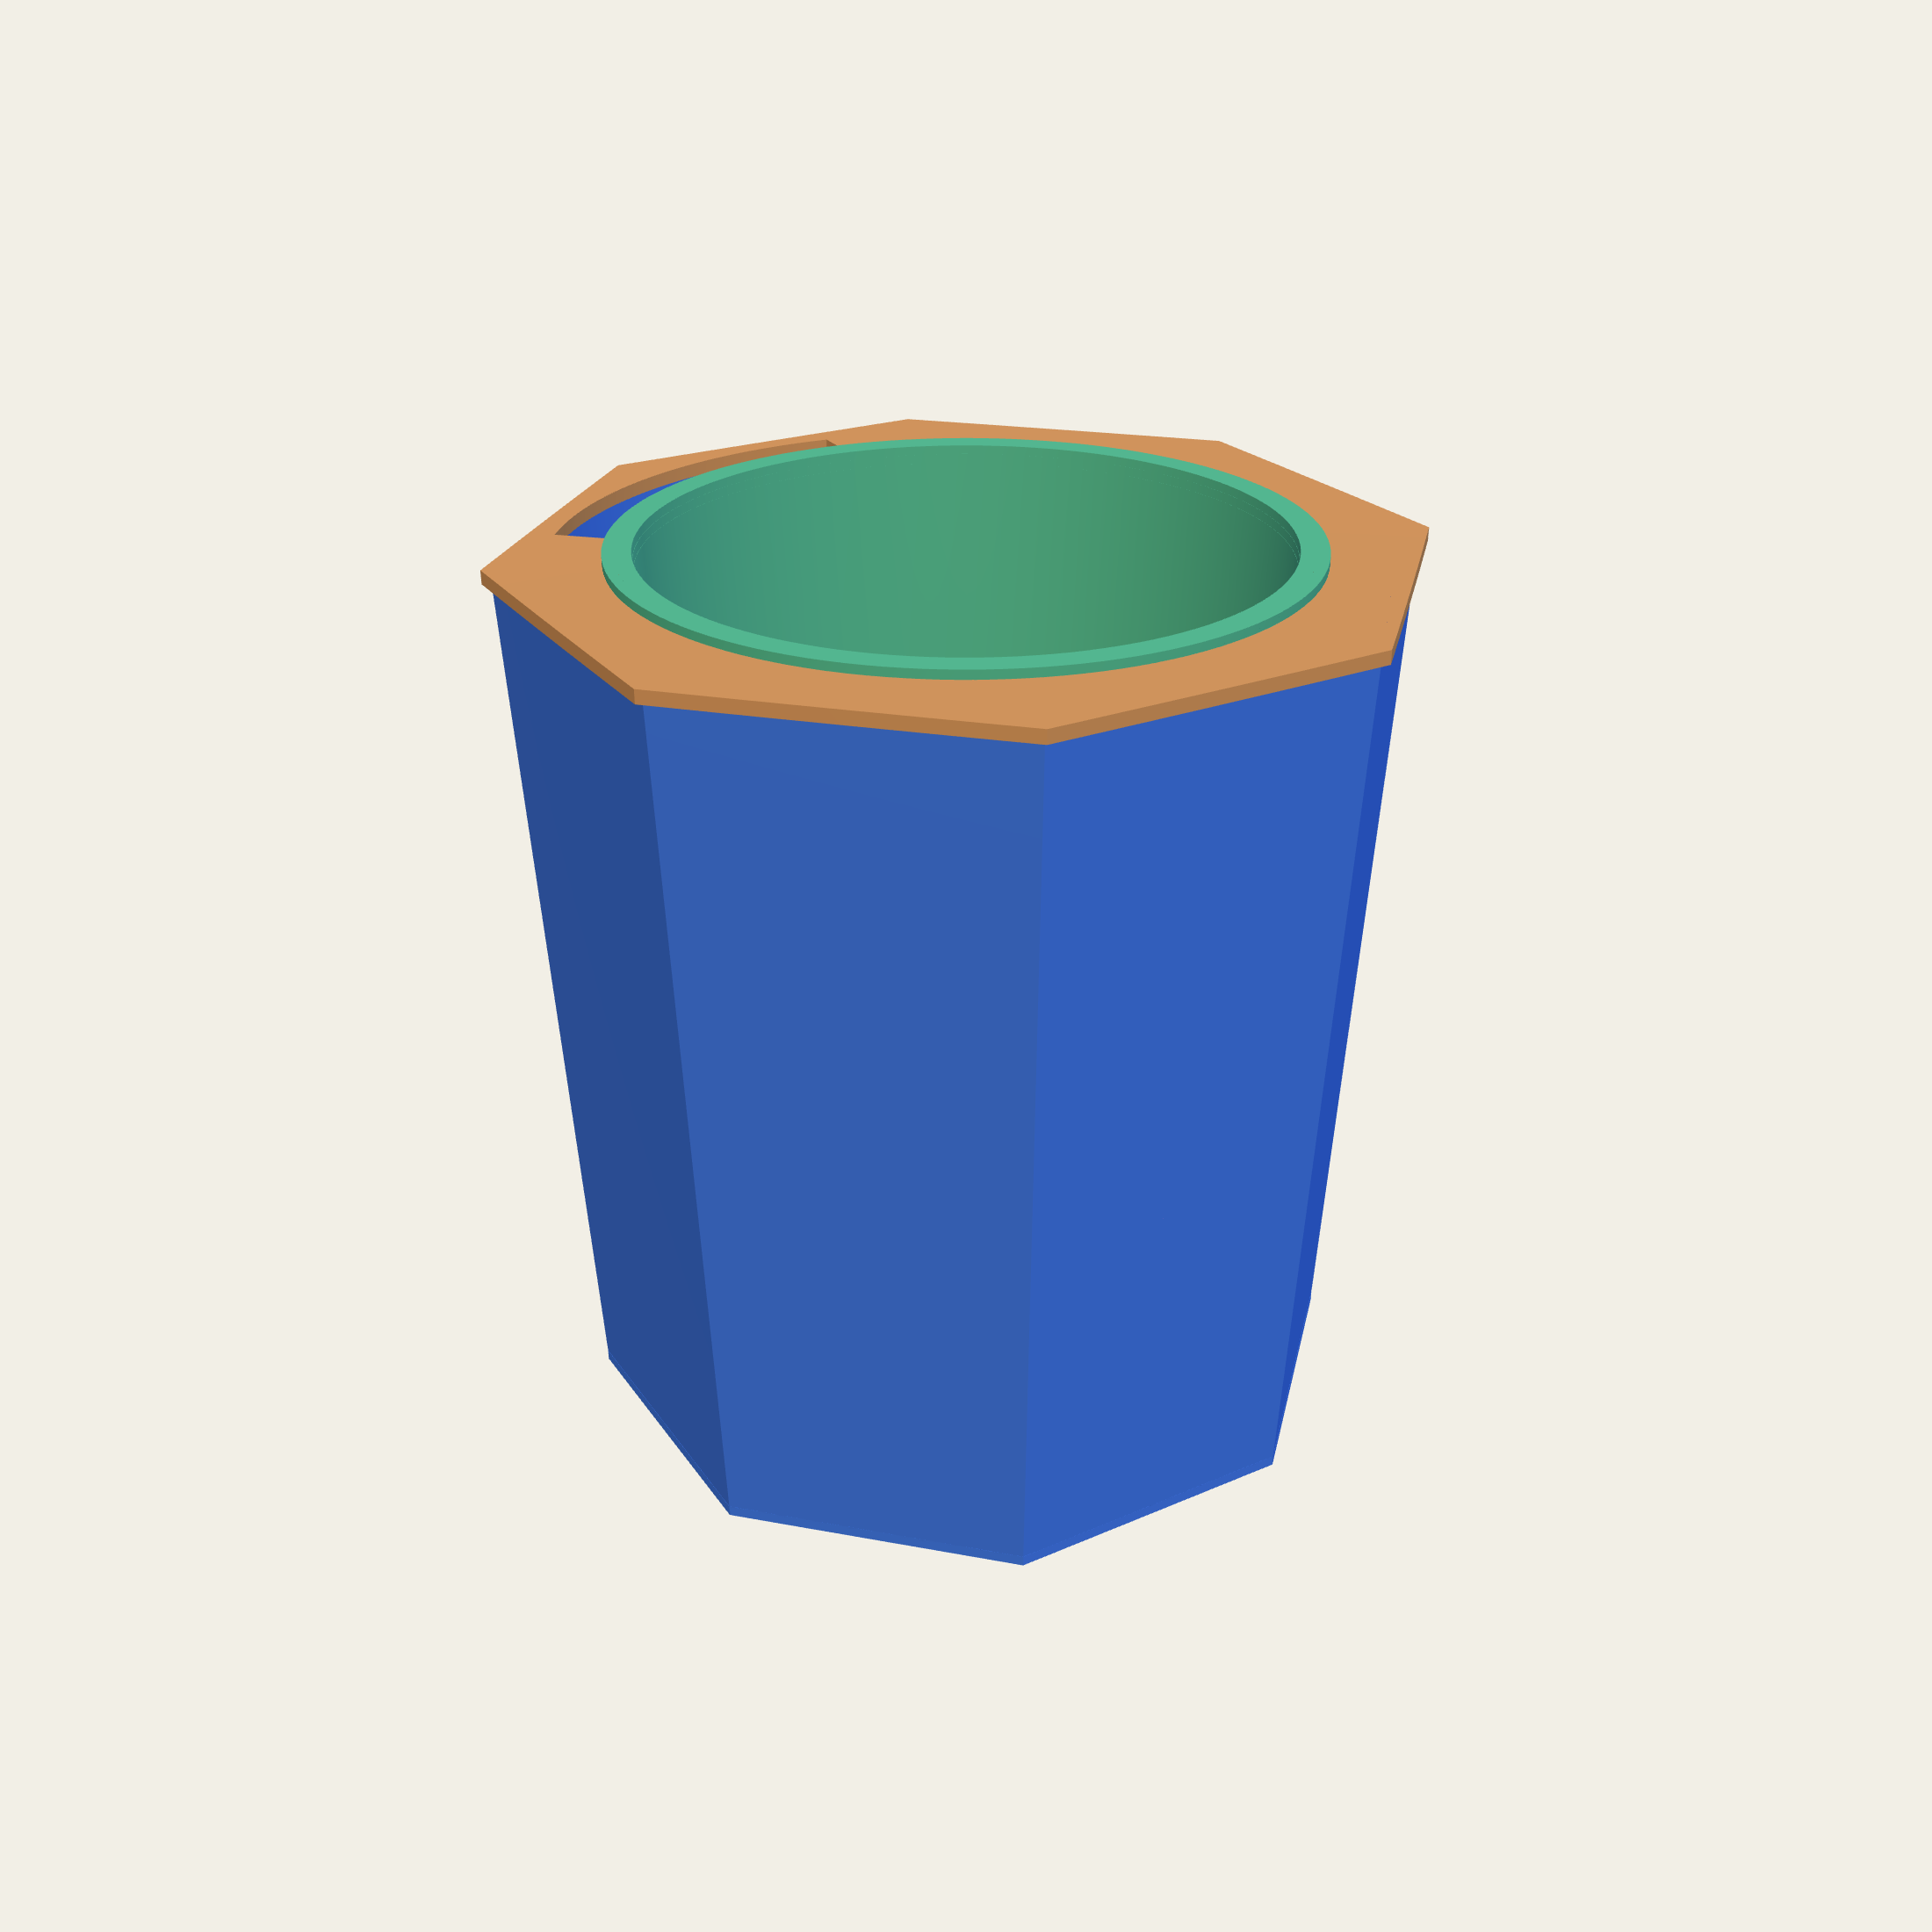
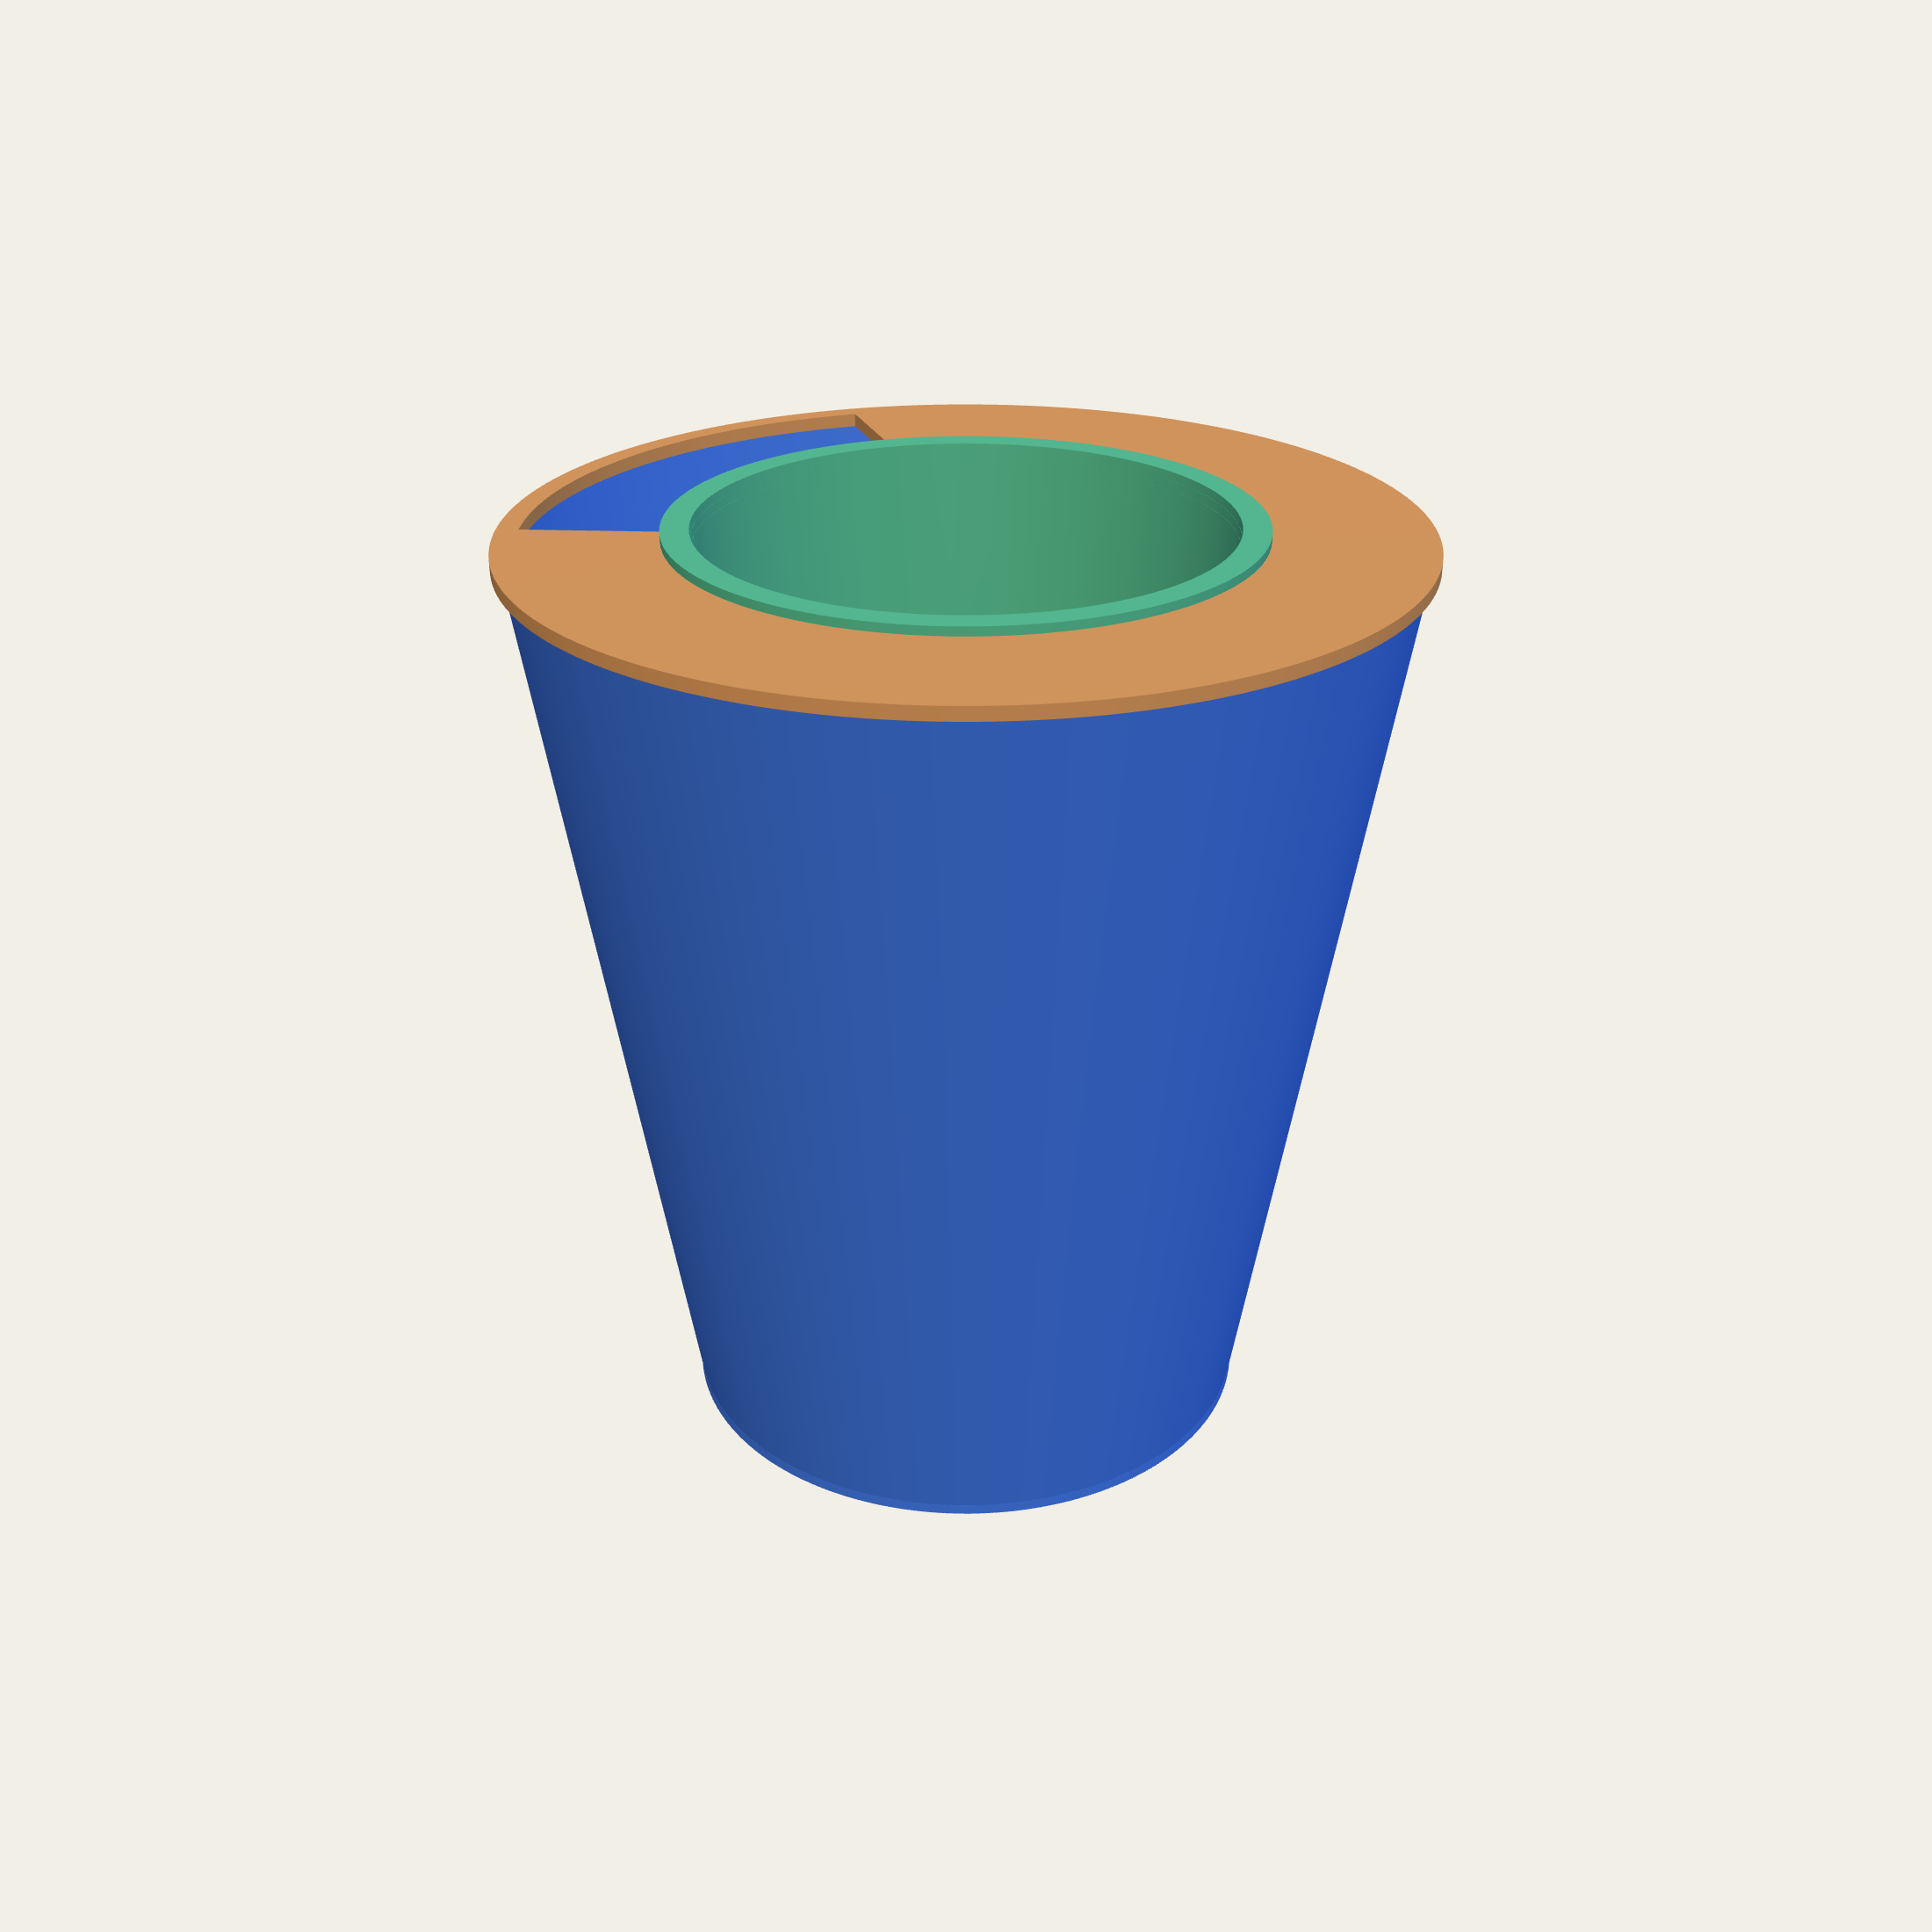
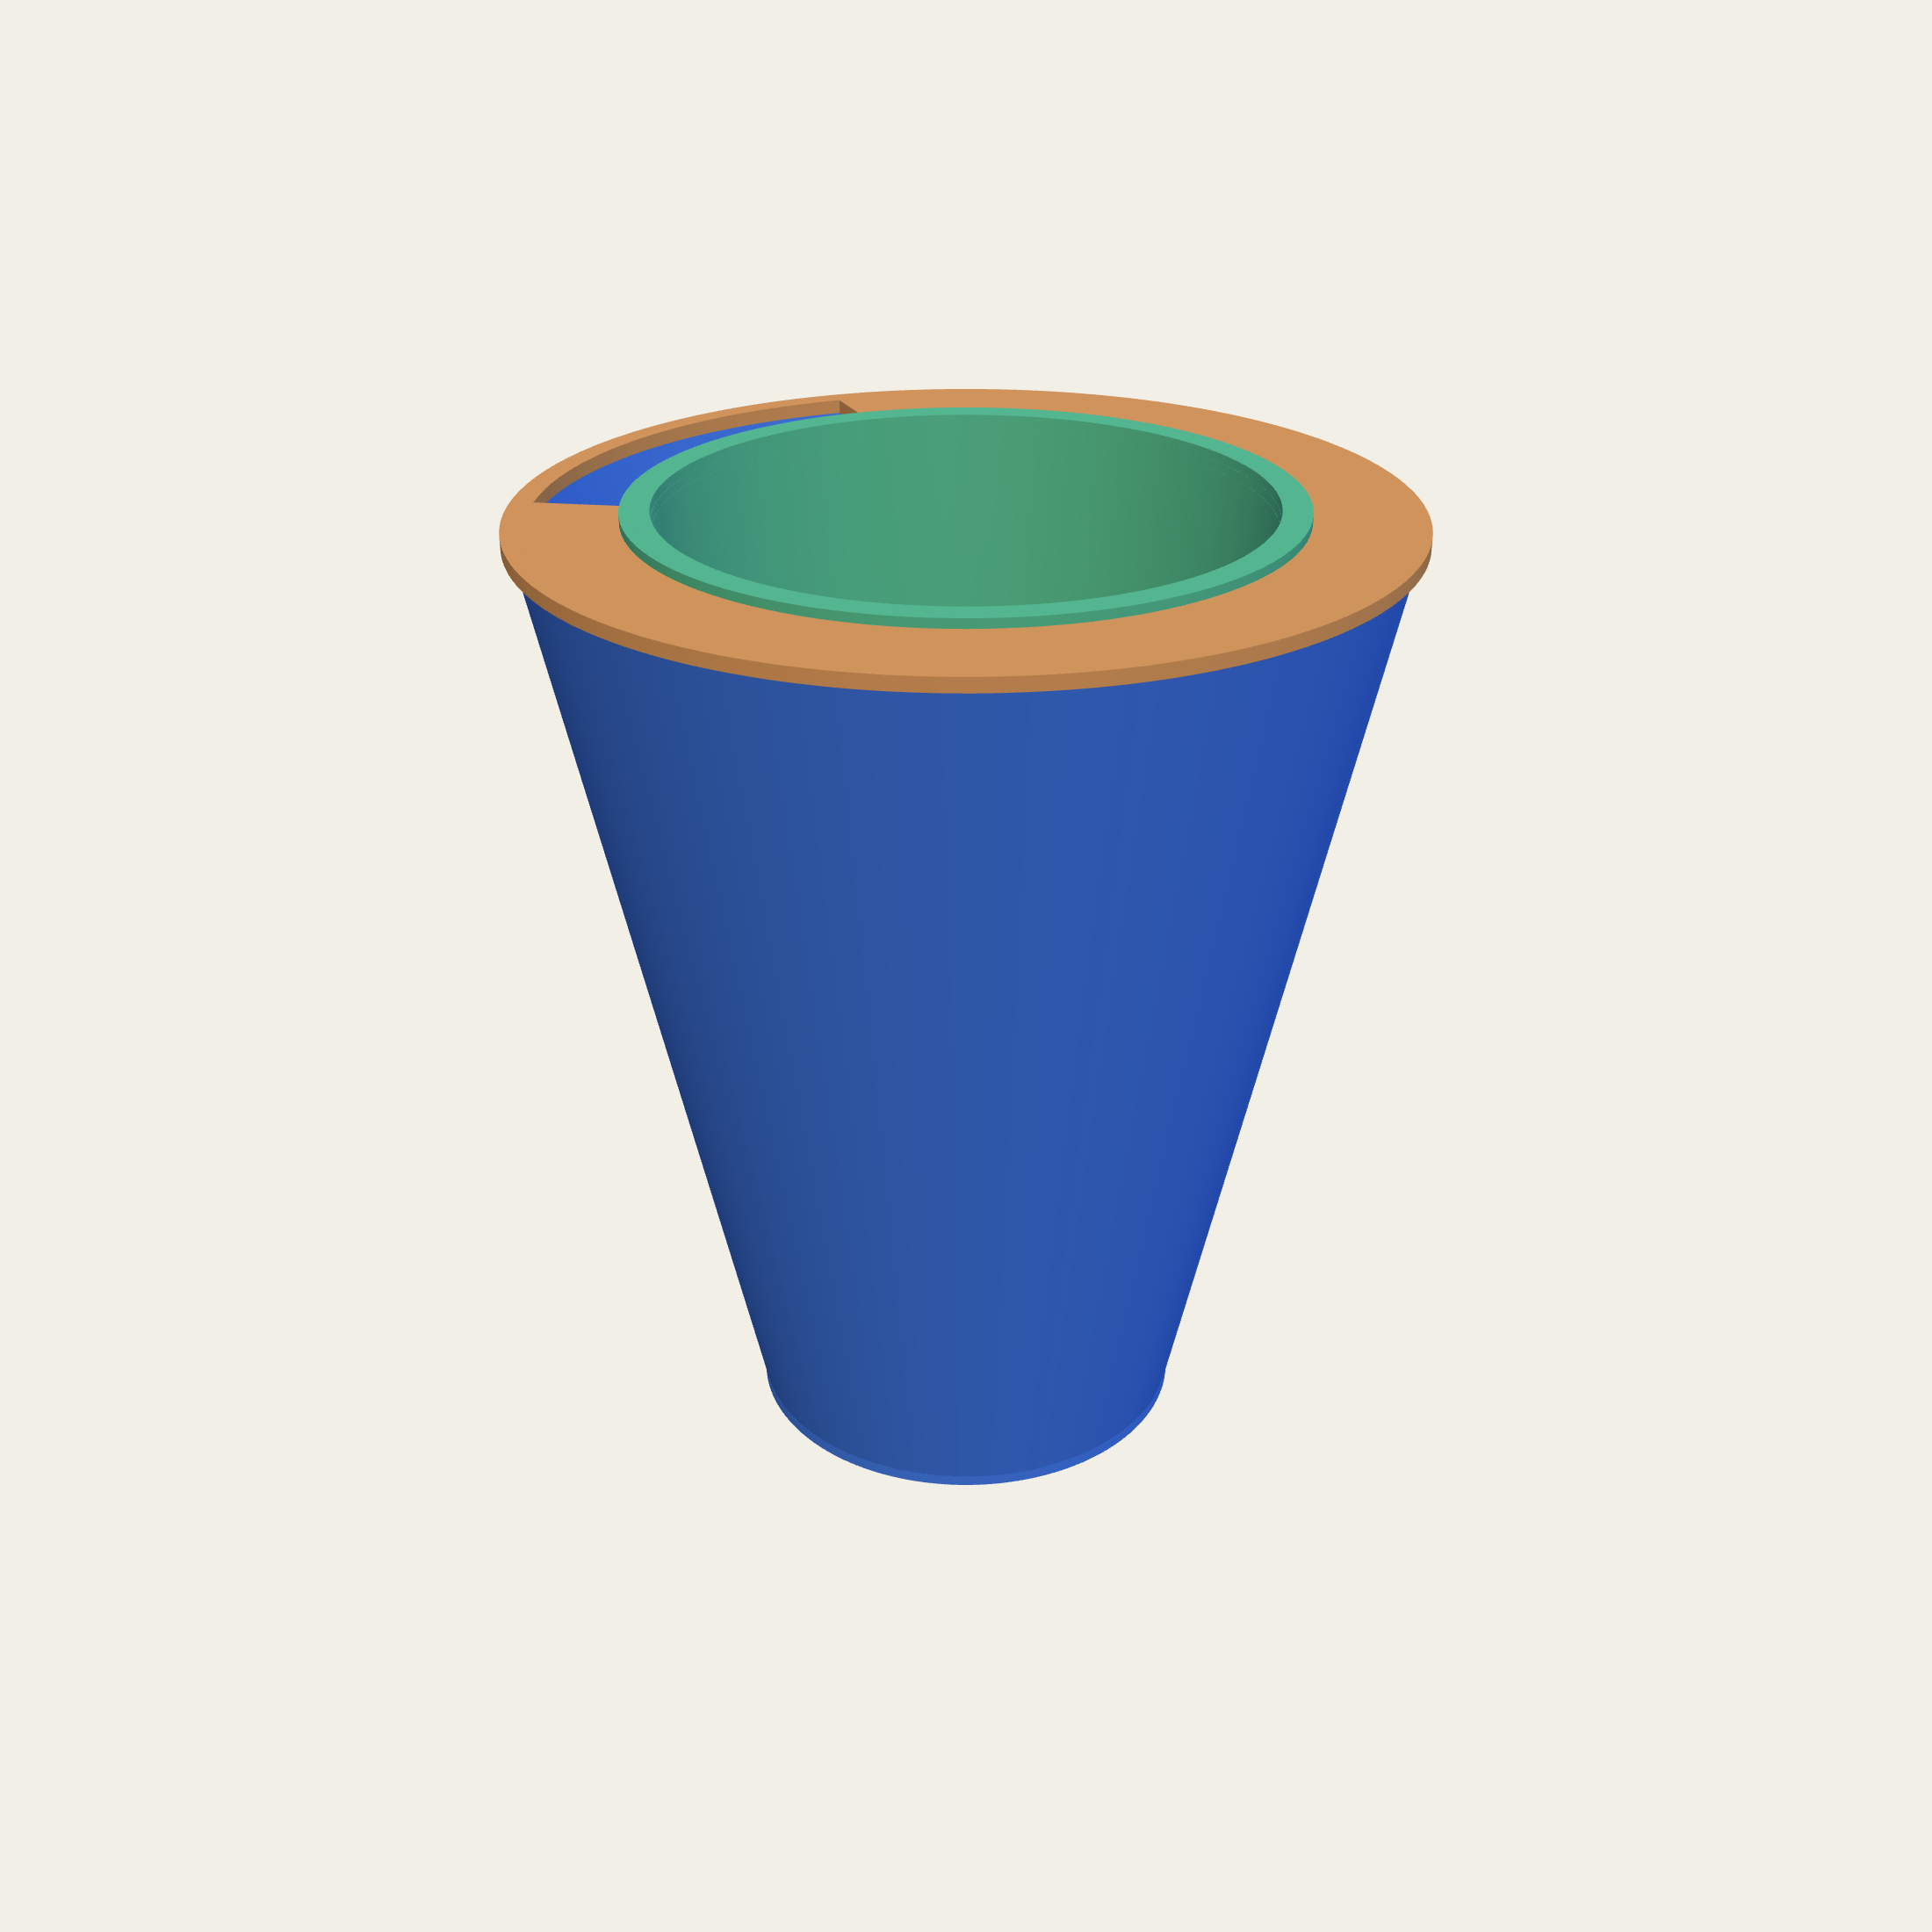
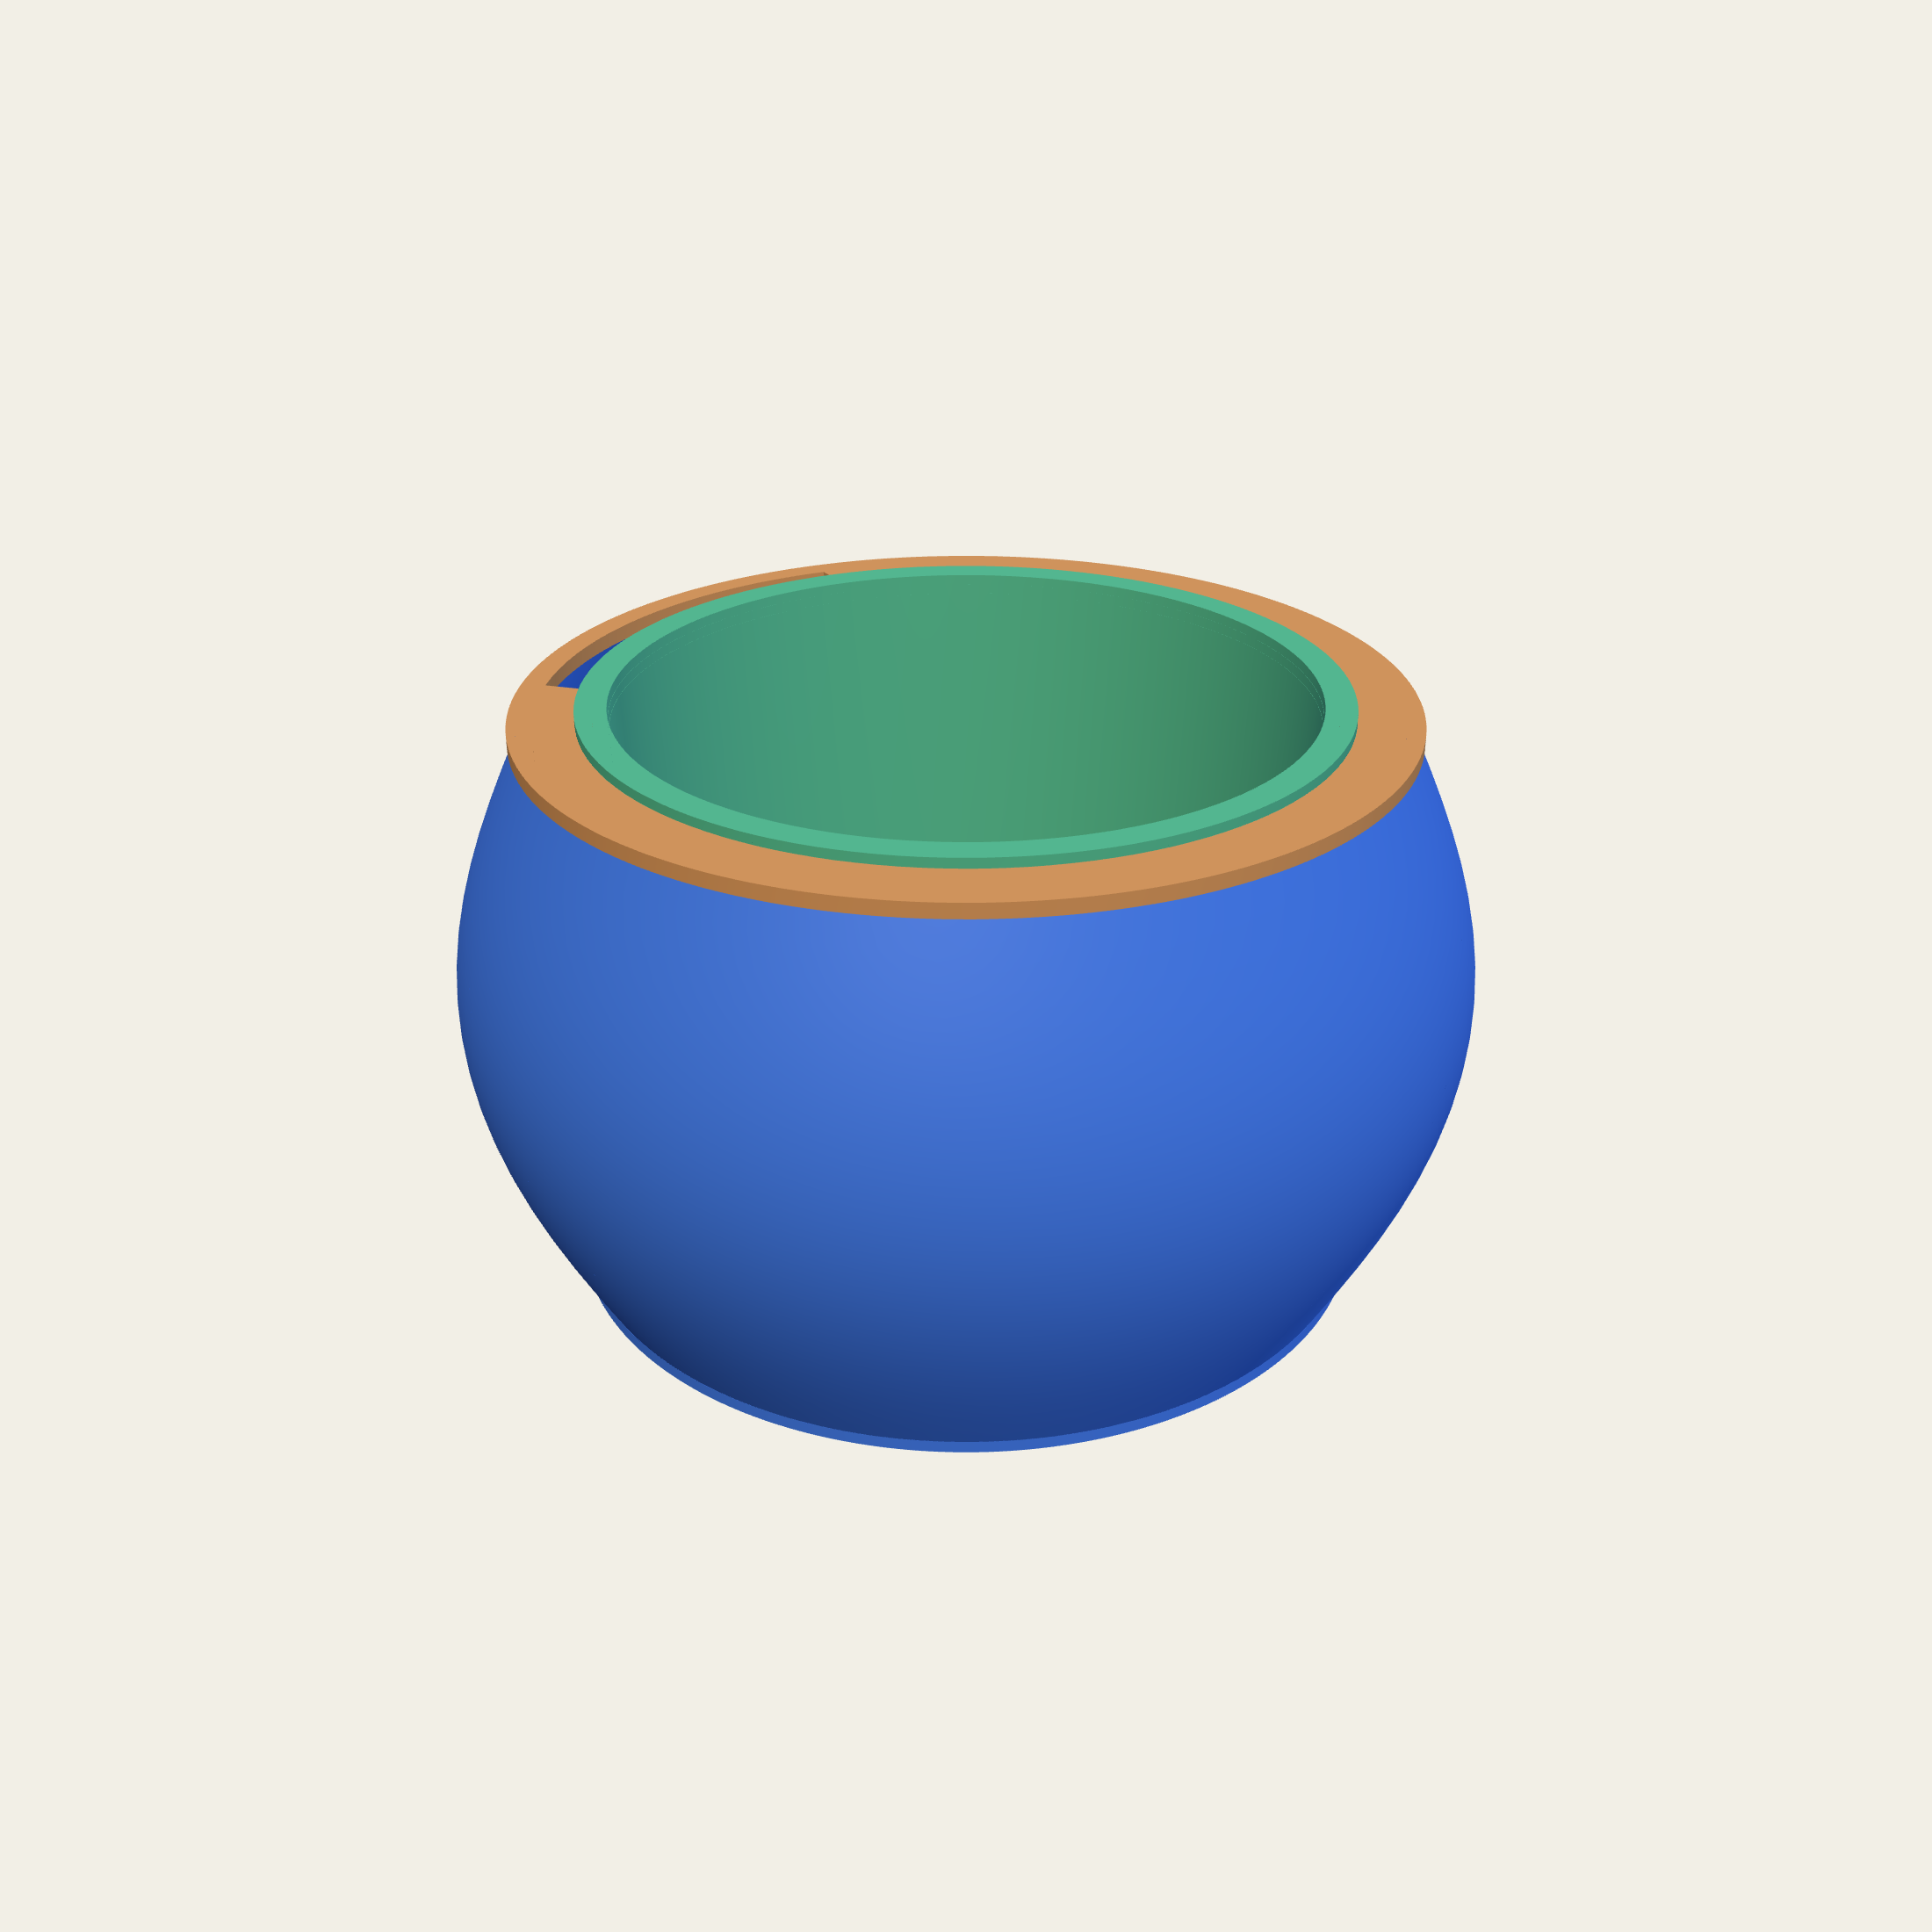
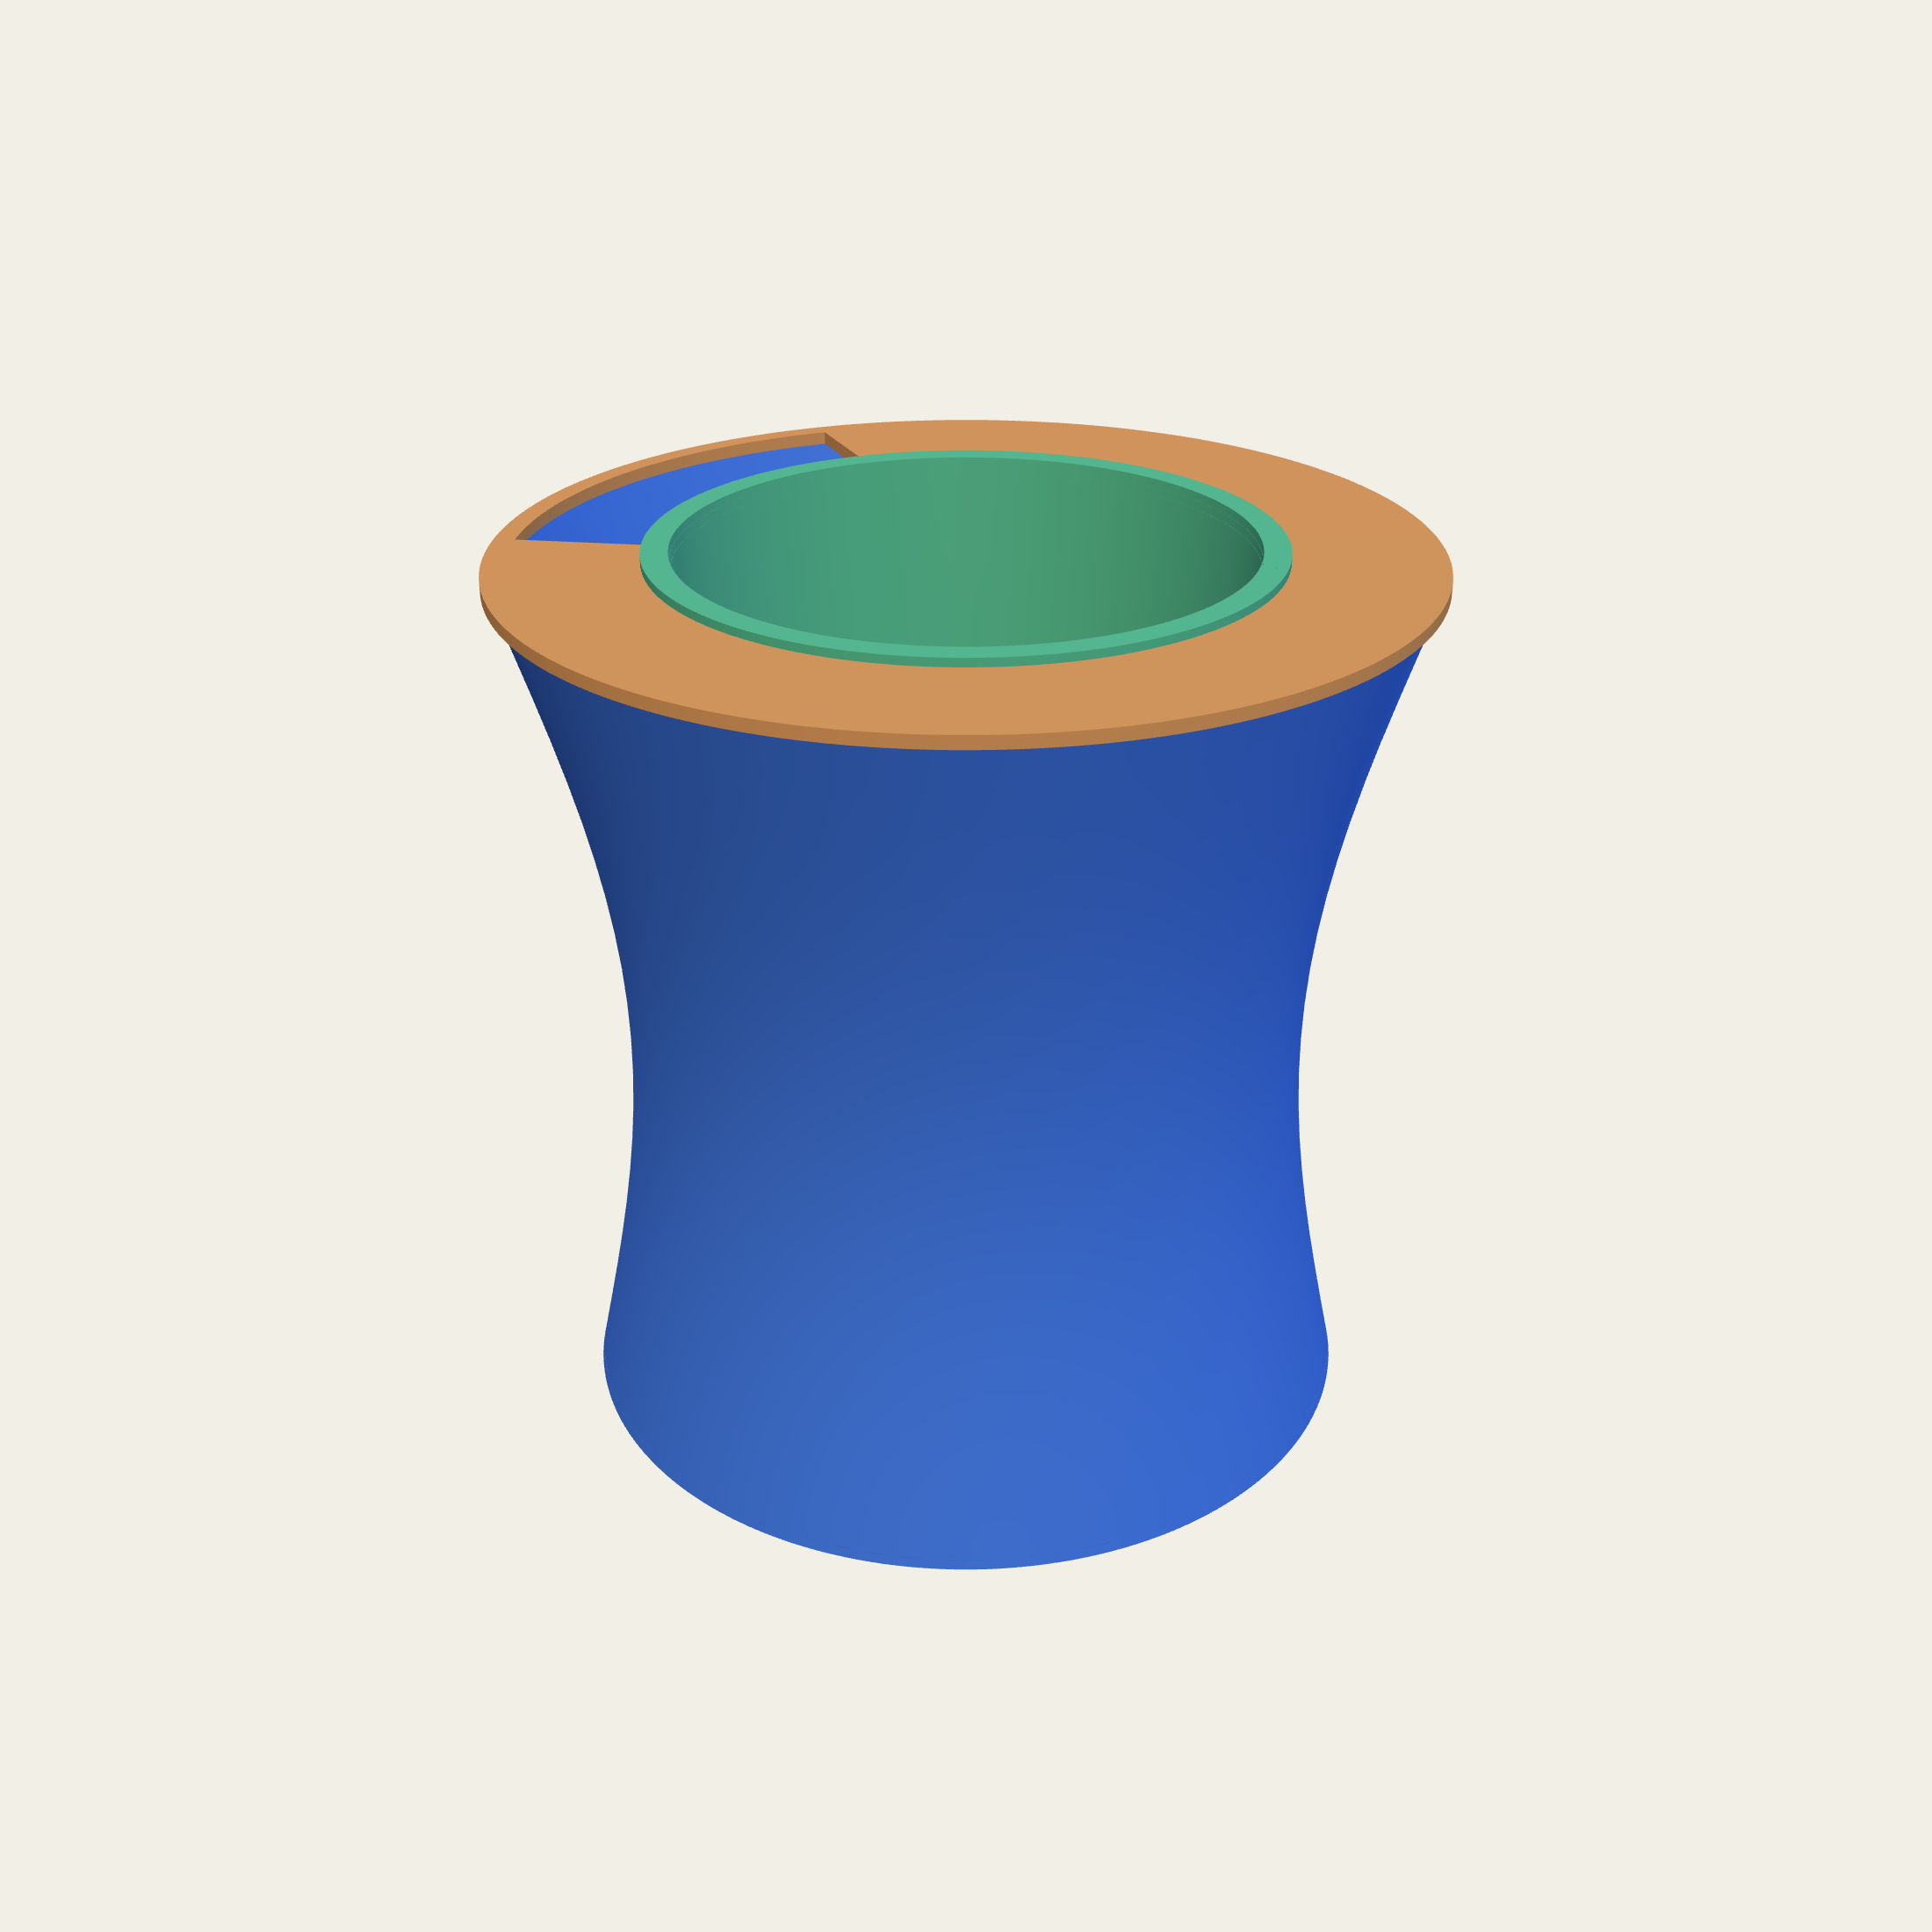
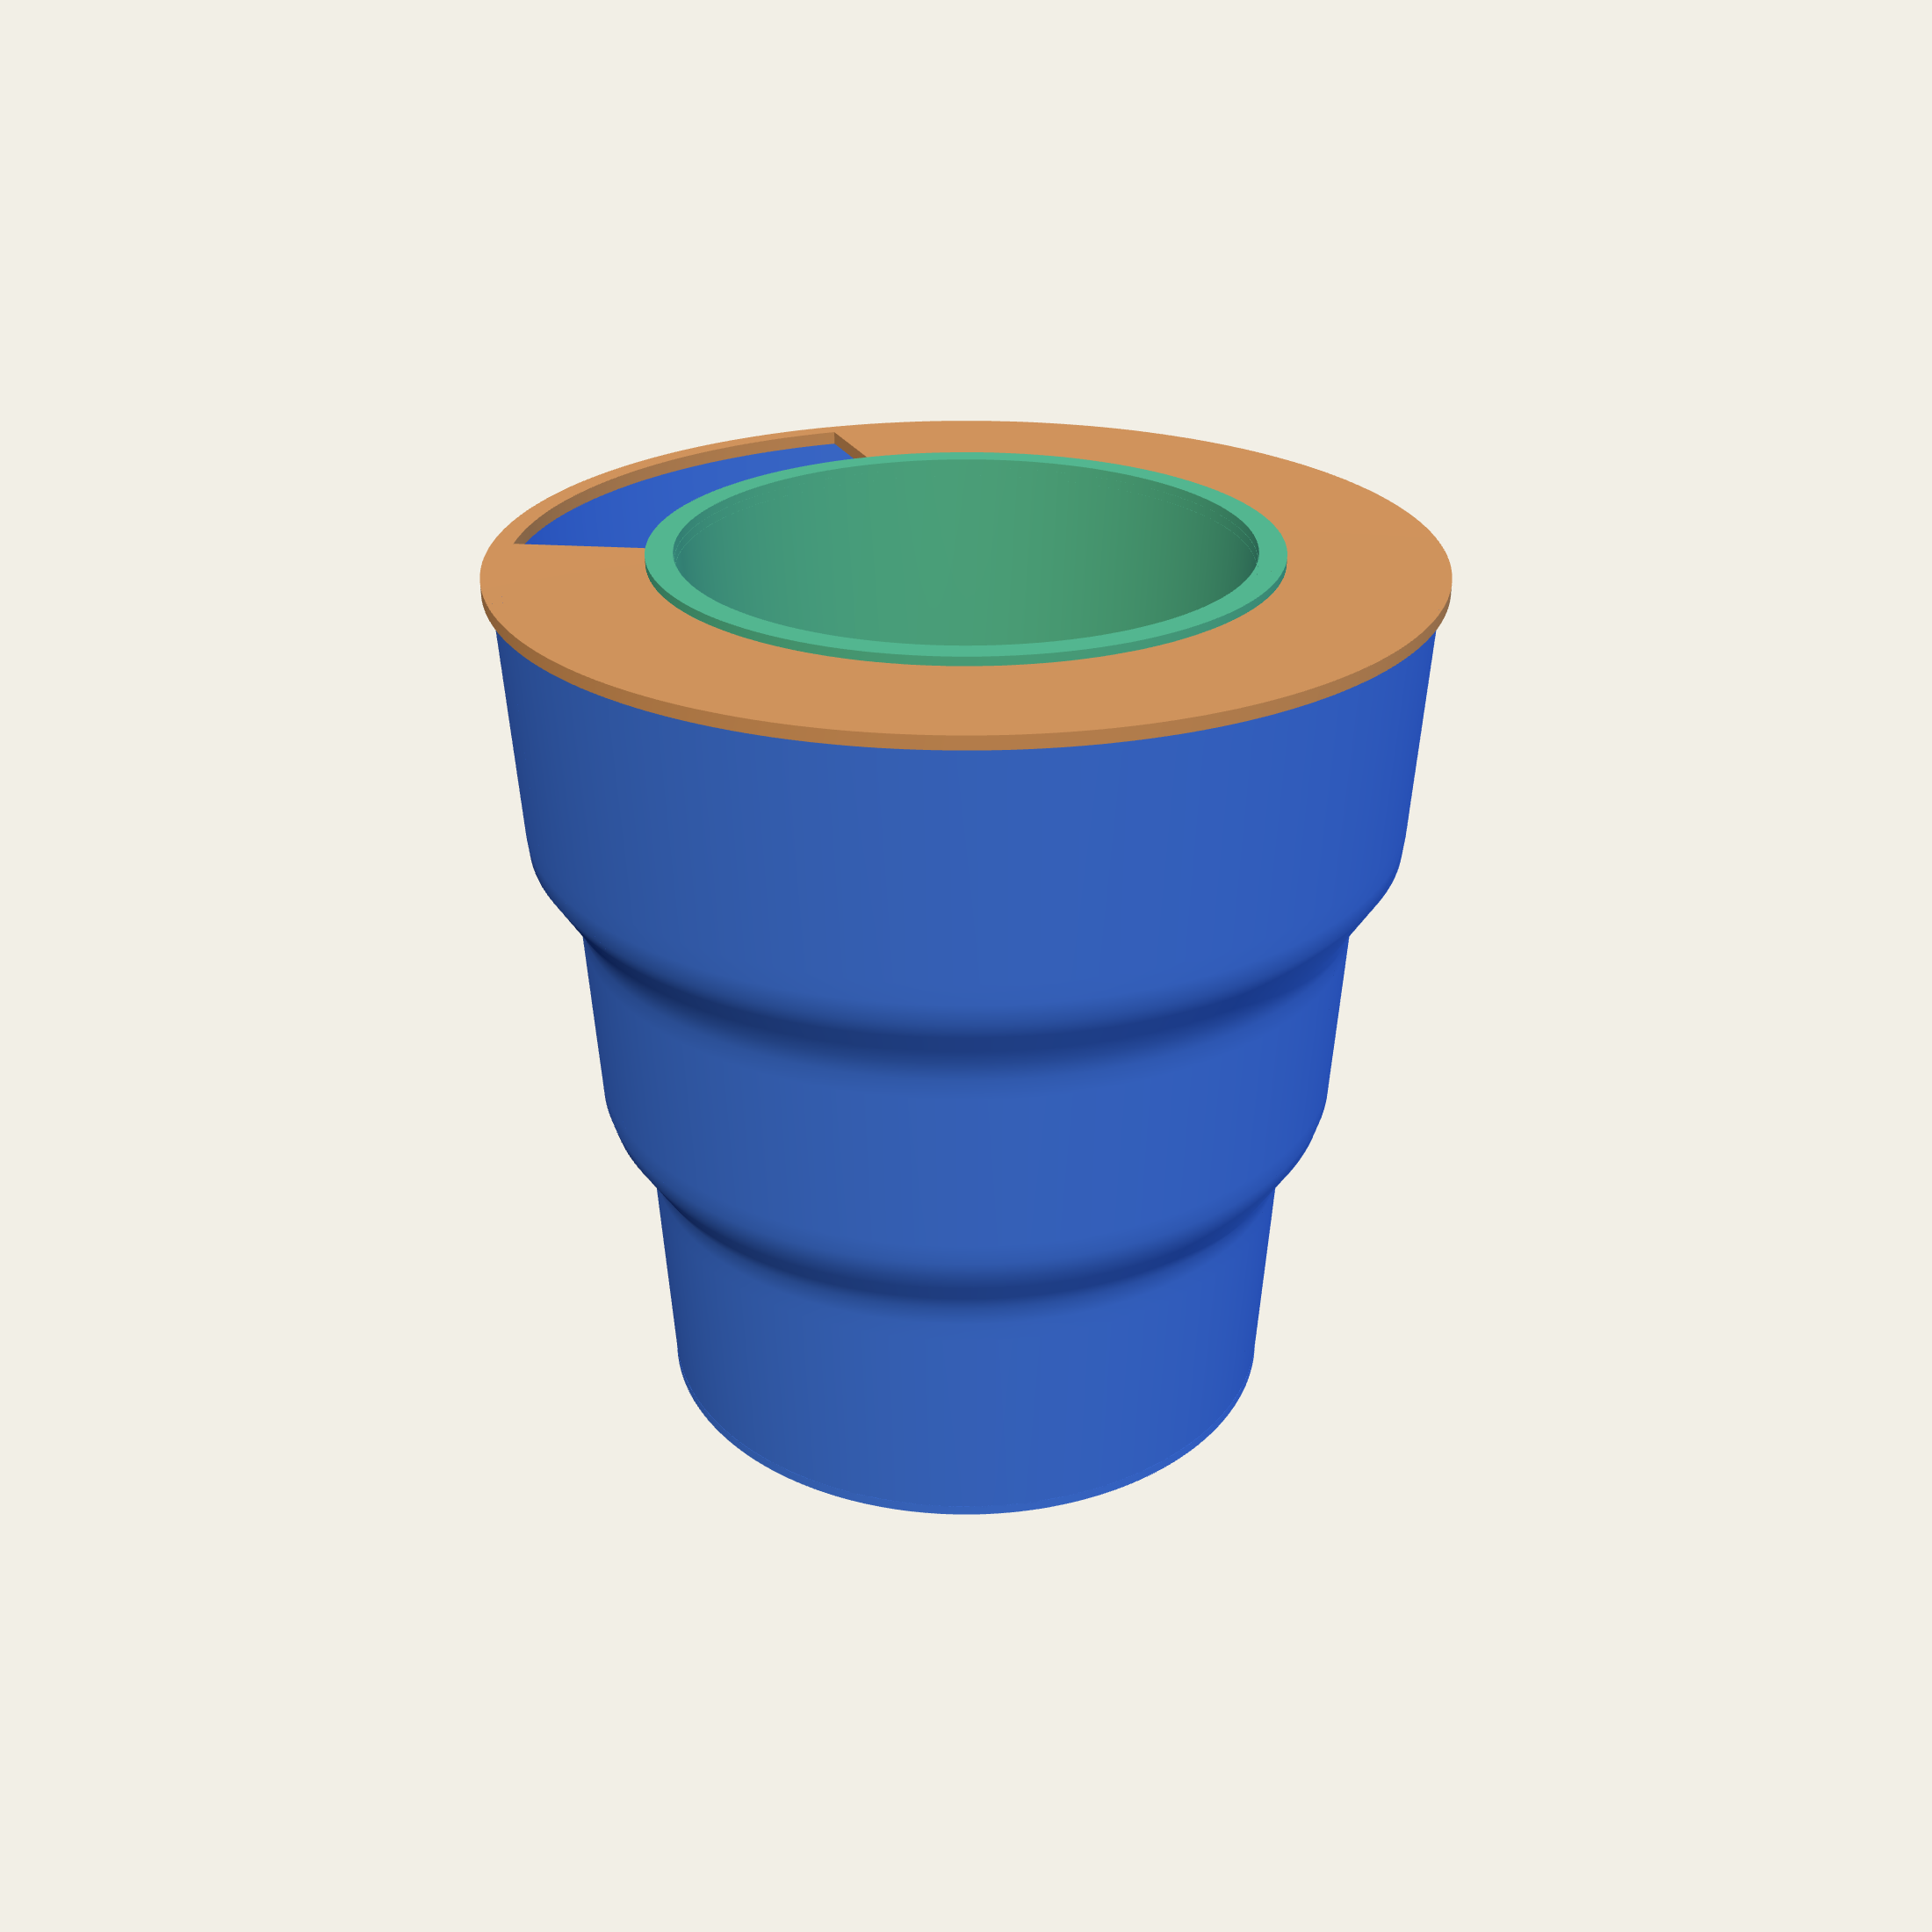
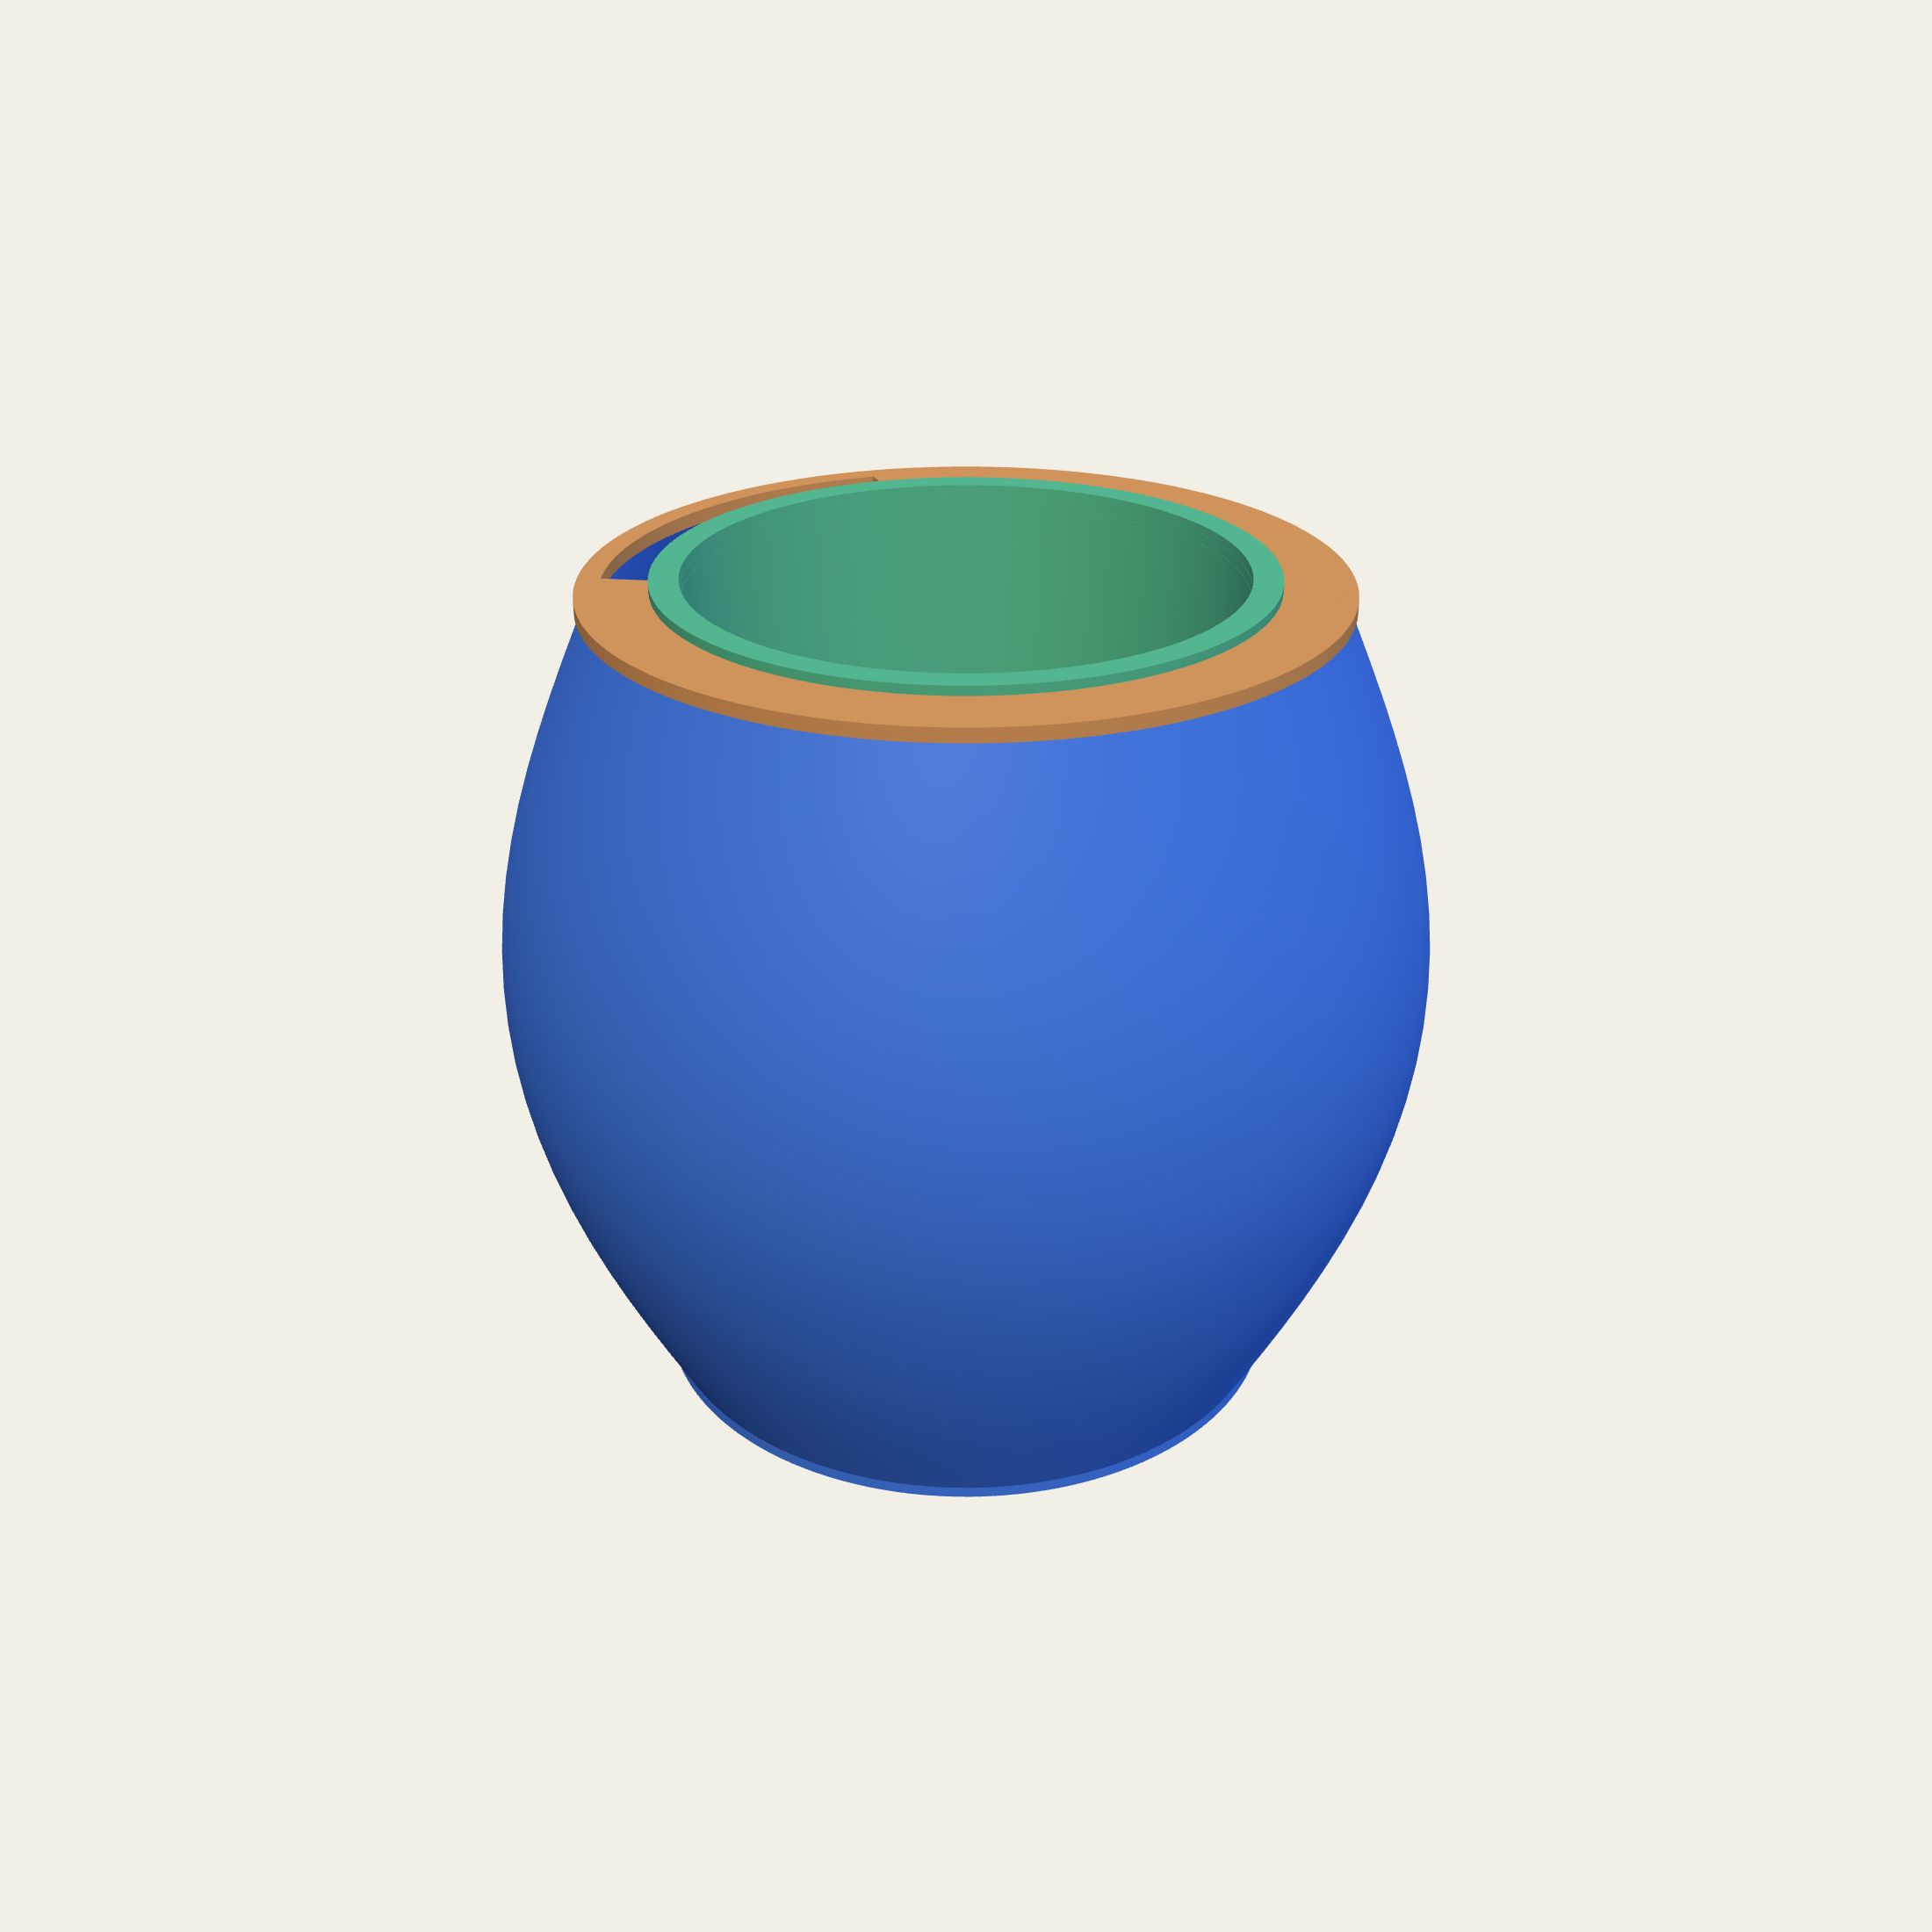
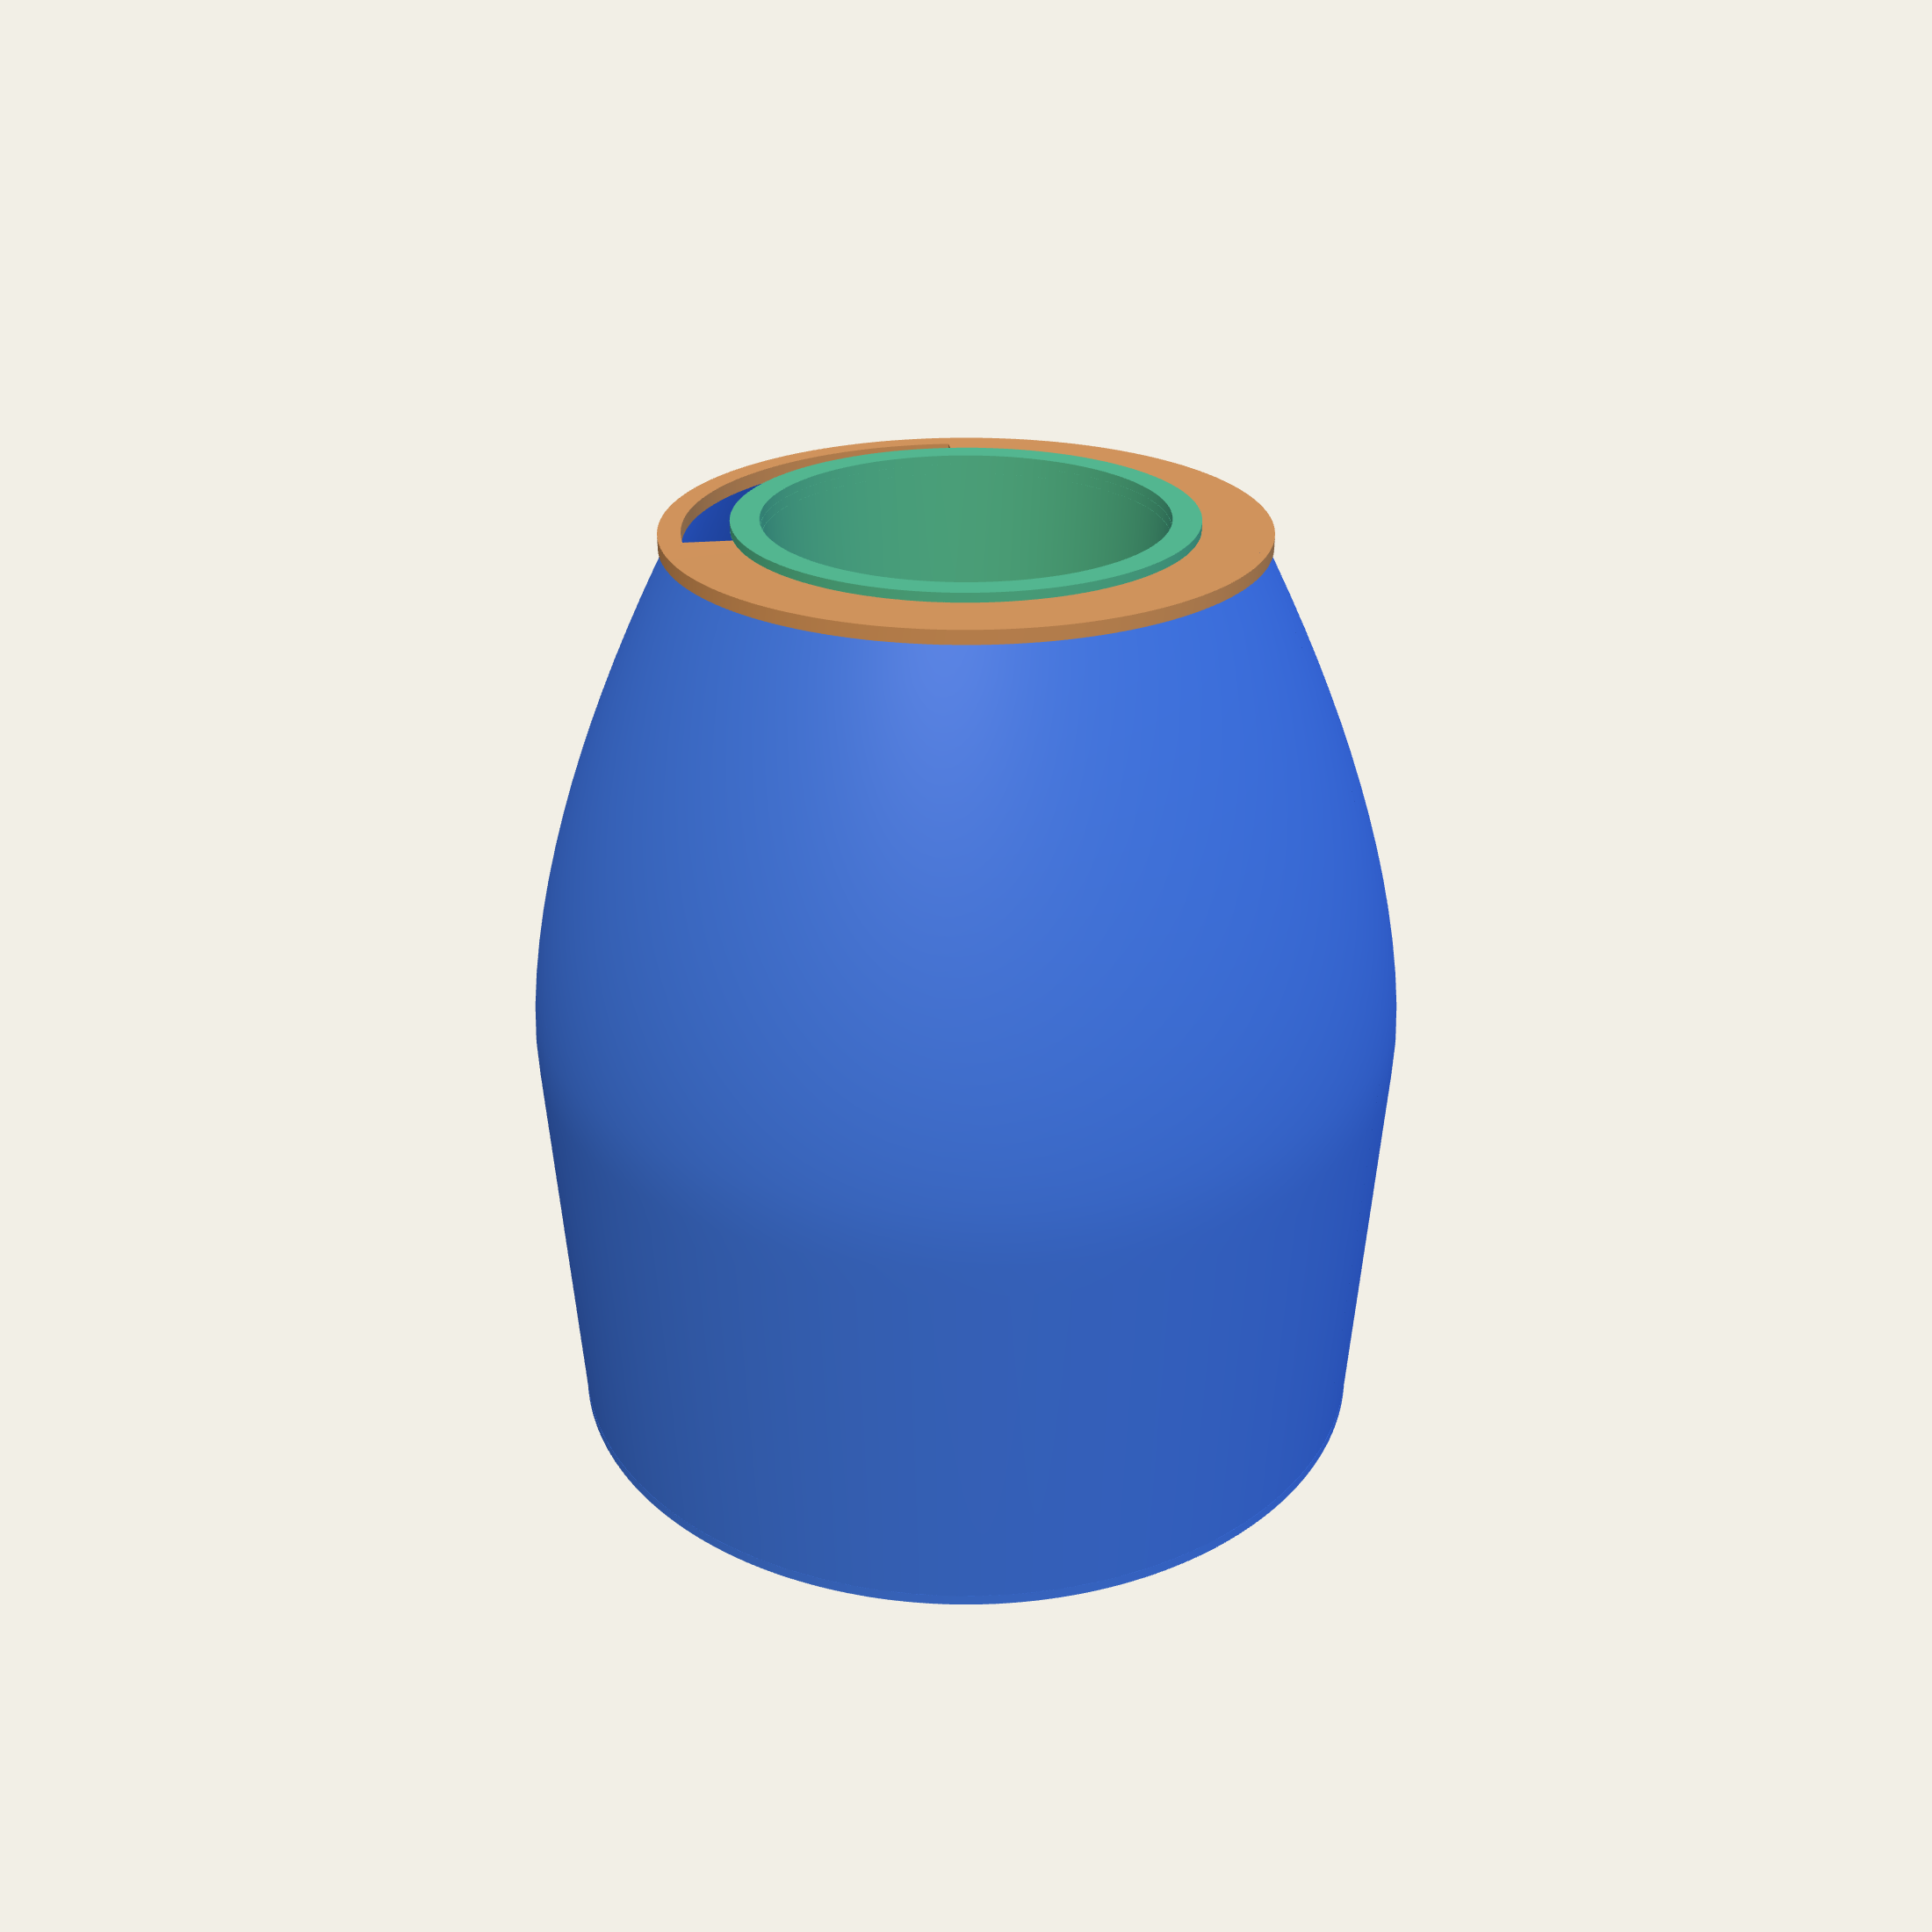
Before anything is done to the wall, the wall has an outline. Straight is the quiet one and it is where every pot starts. Tapered narrows to the base and takes less shelf for the same rim. Flared opens out at the top and suits a plant that spills over the edge. Bulbous carries its width across the middle and reads as a jar. Waisted is pulled in at the middle and looks like it was thrown on a wheel.
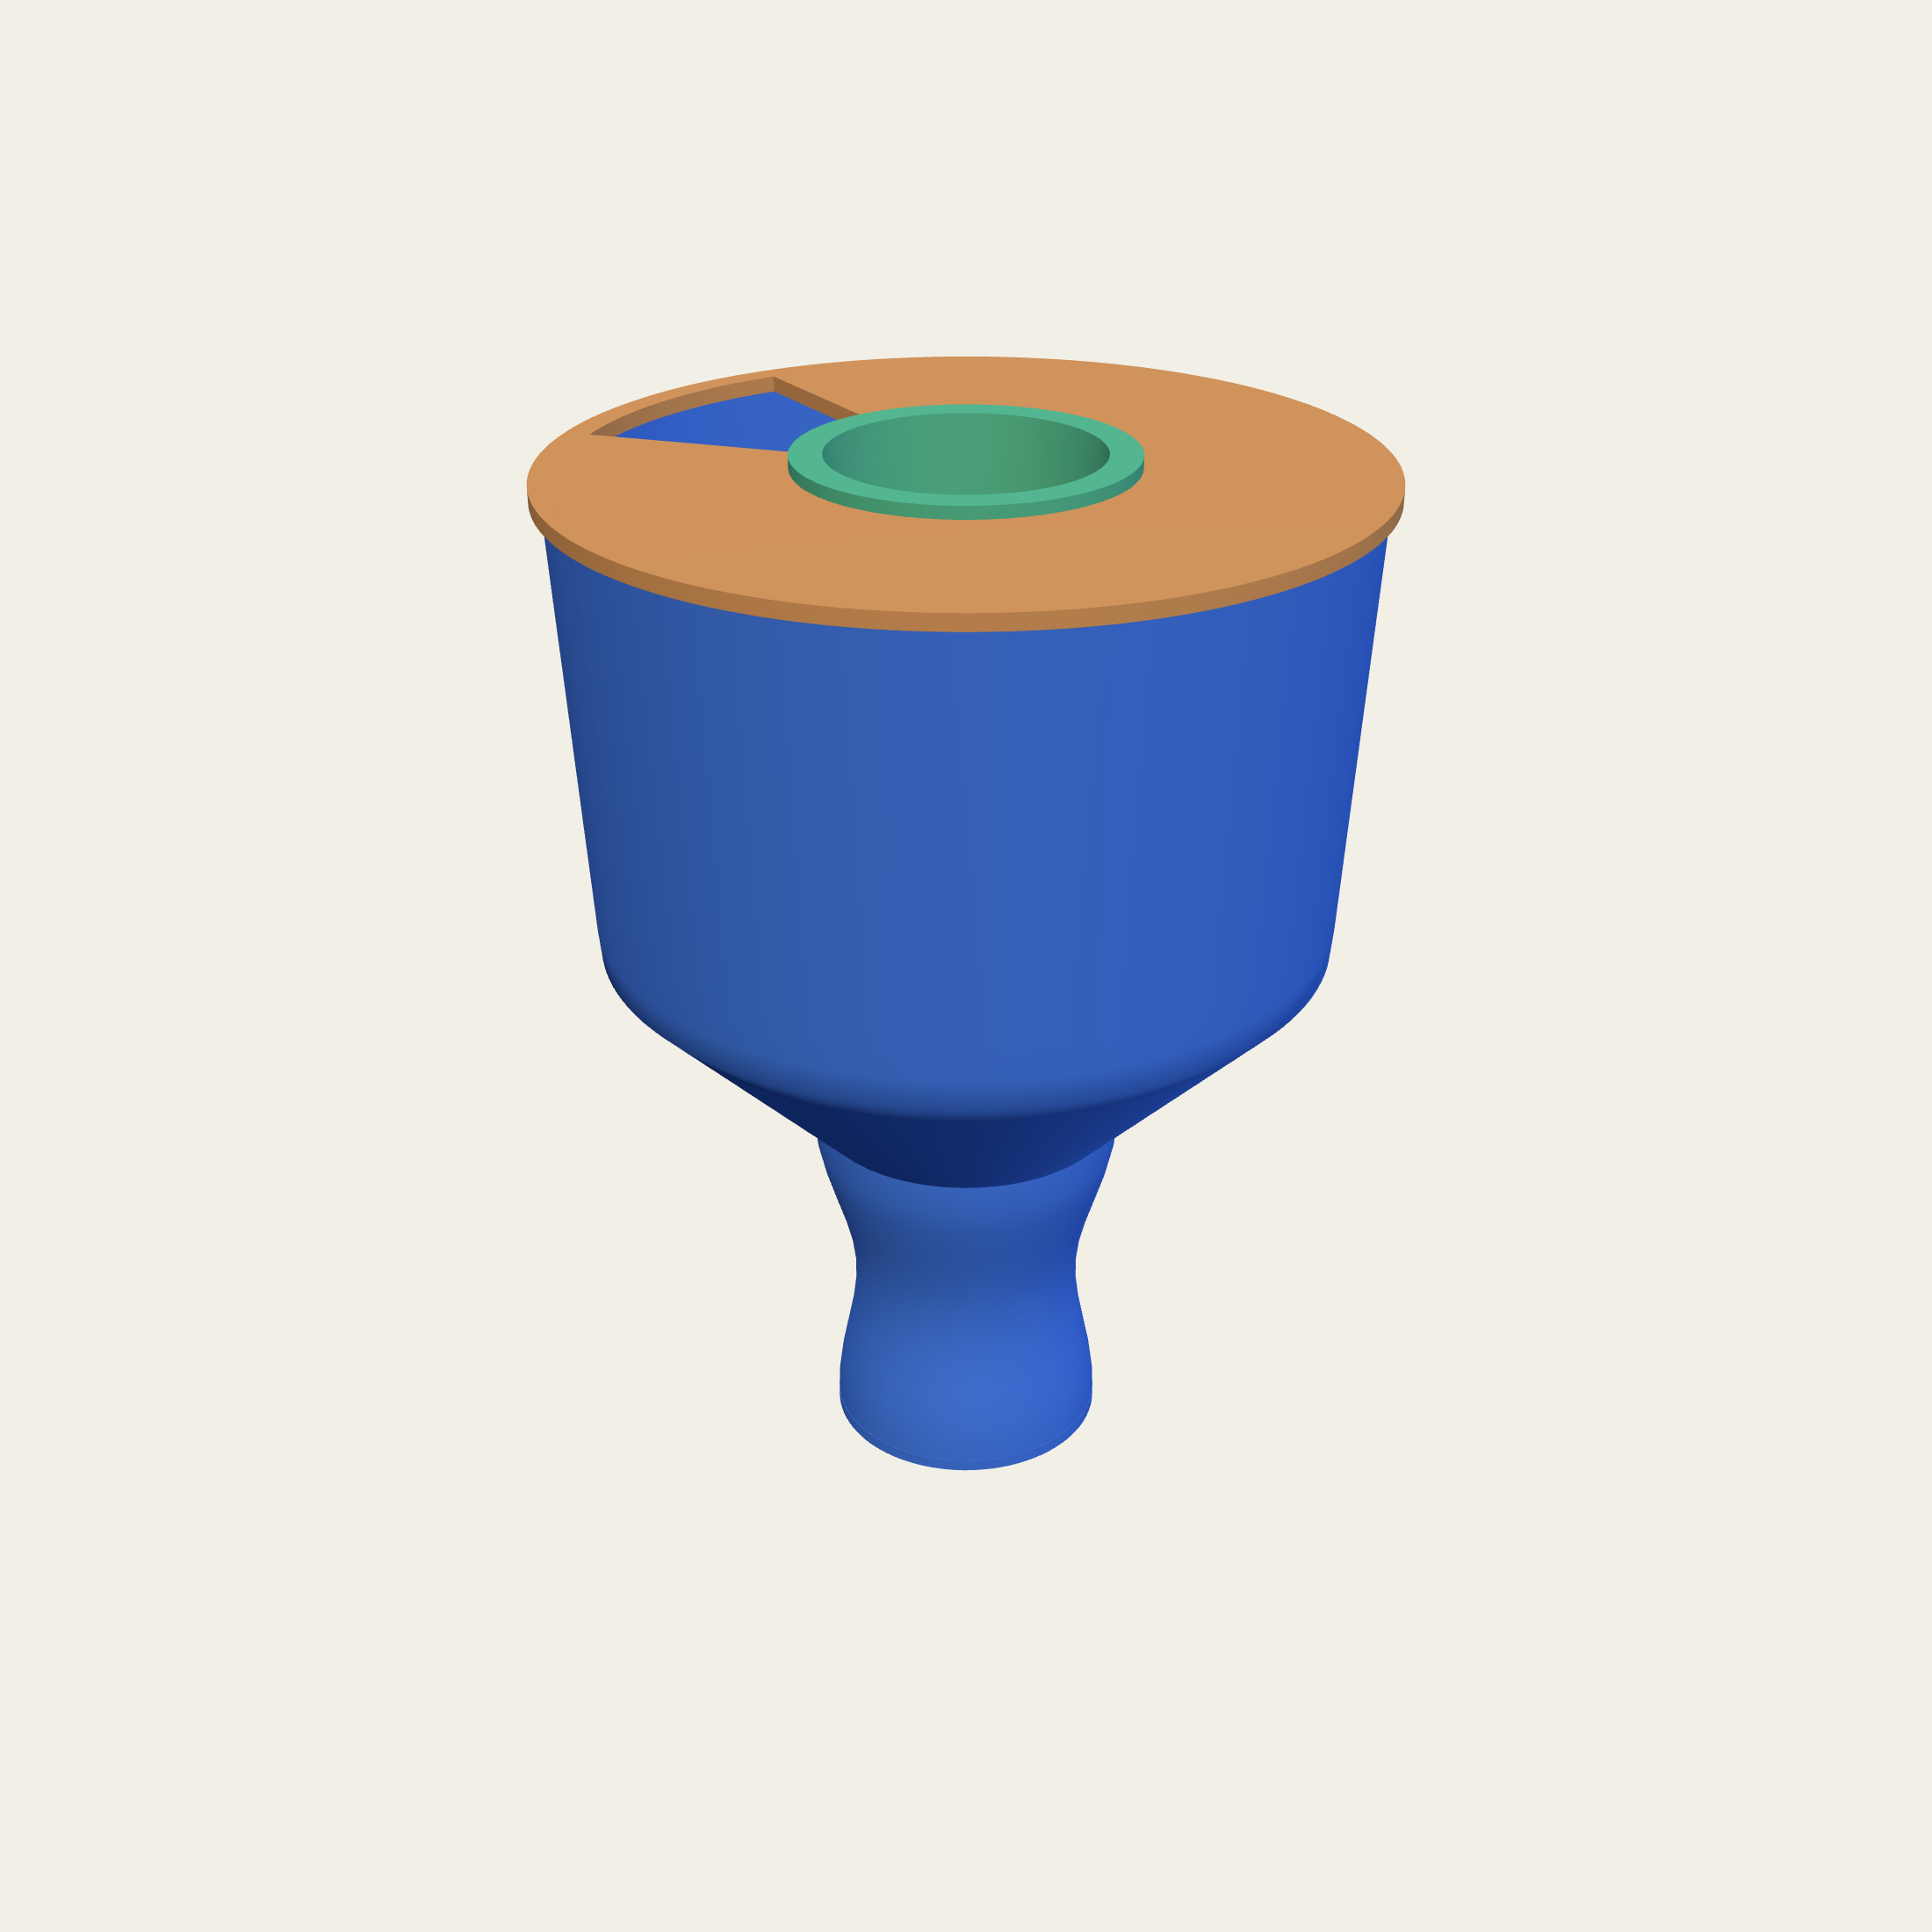
Four more go further than a planter usually does. Stepped drops in tiers. A torus rounds out top and bottom. A narrow neck is a vase, and what decides how narrow it can go is whether the liner still passes the opening, which the drawing measures rather than guesses. A pedestal is a cup on a stem, and it puts a small plant at eye level with no stand under it.
These last four came off the vases and the lamps rather than off any planter, and that is the point of them. Take how a thing looks from the outside, whatever the thing happened to be, and put a liner in it.
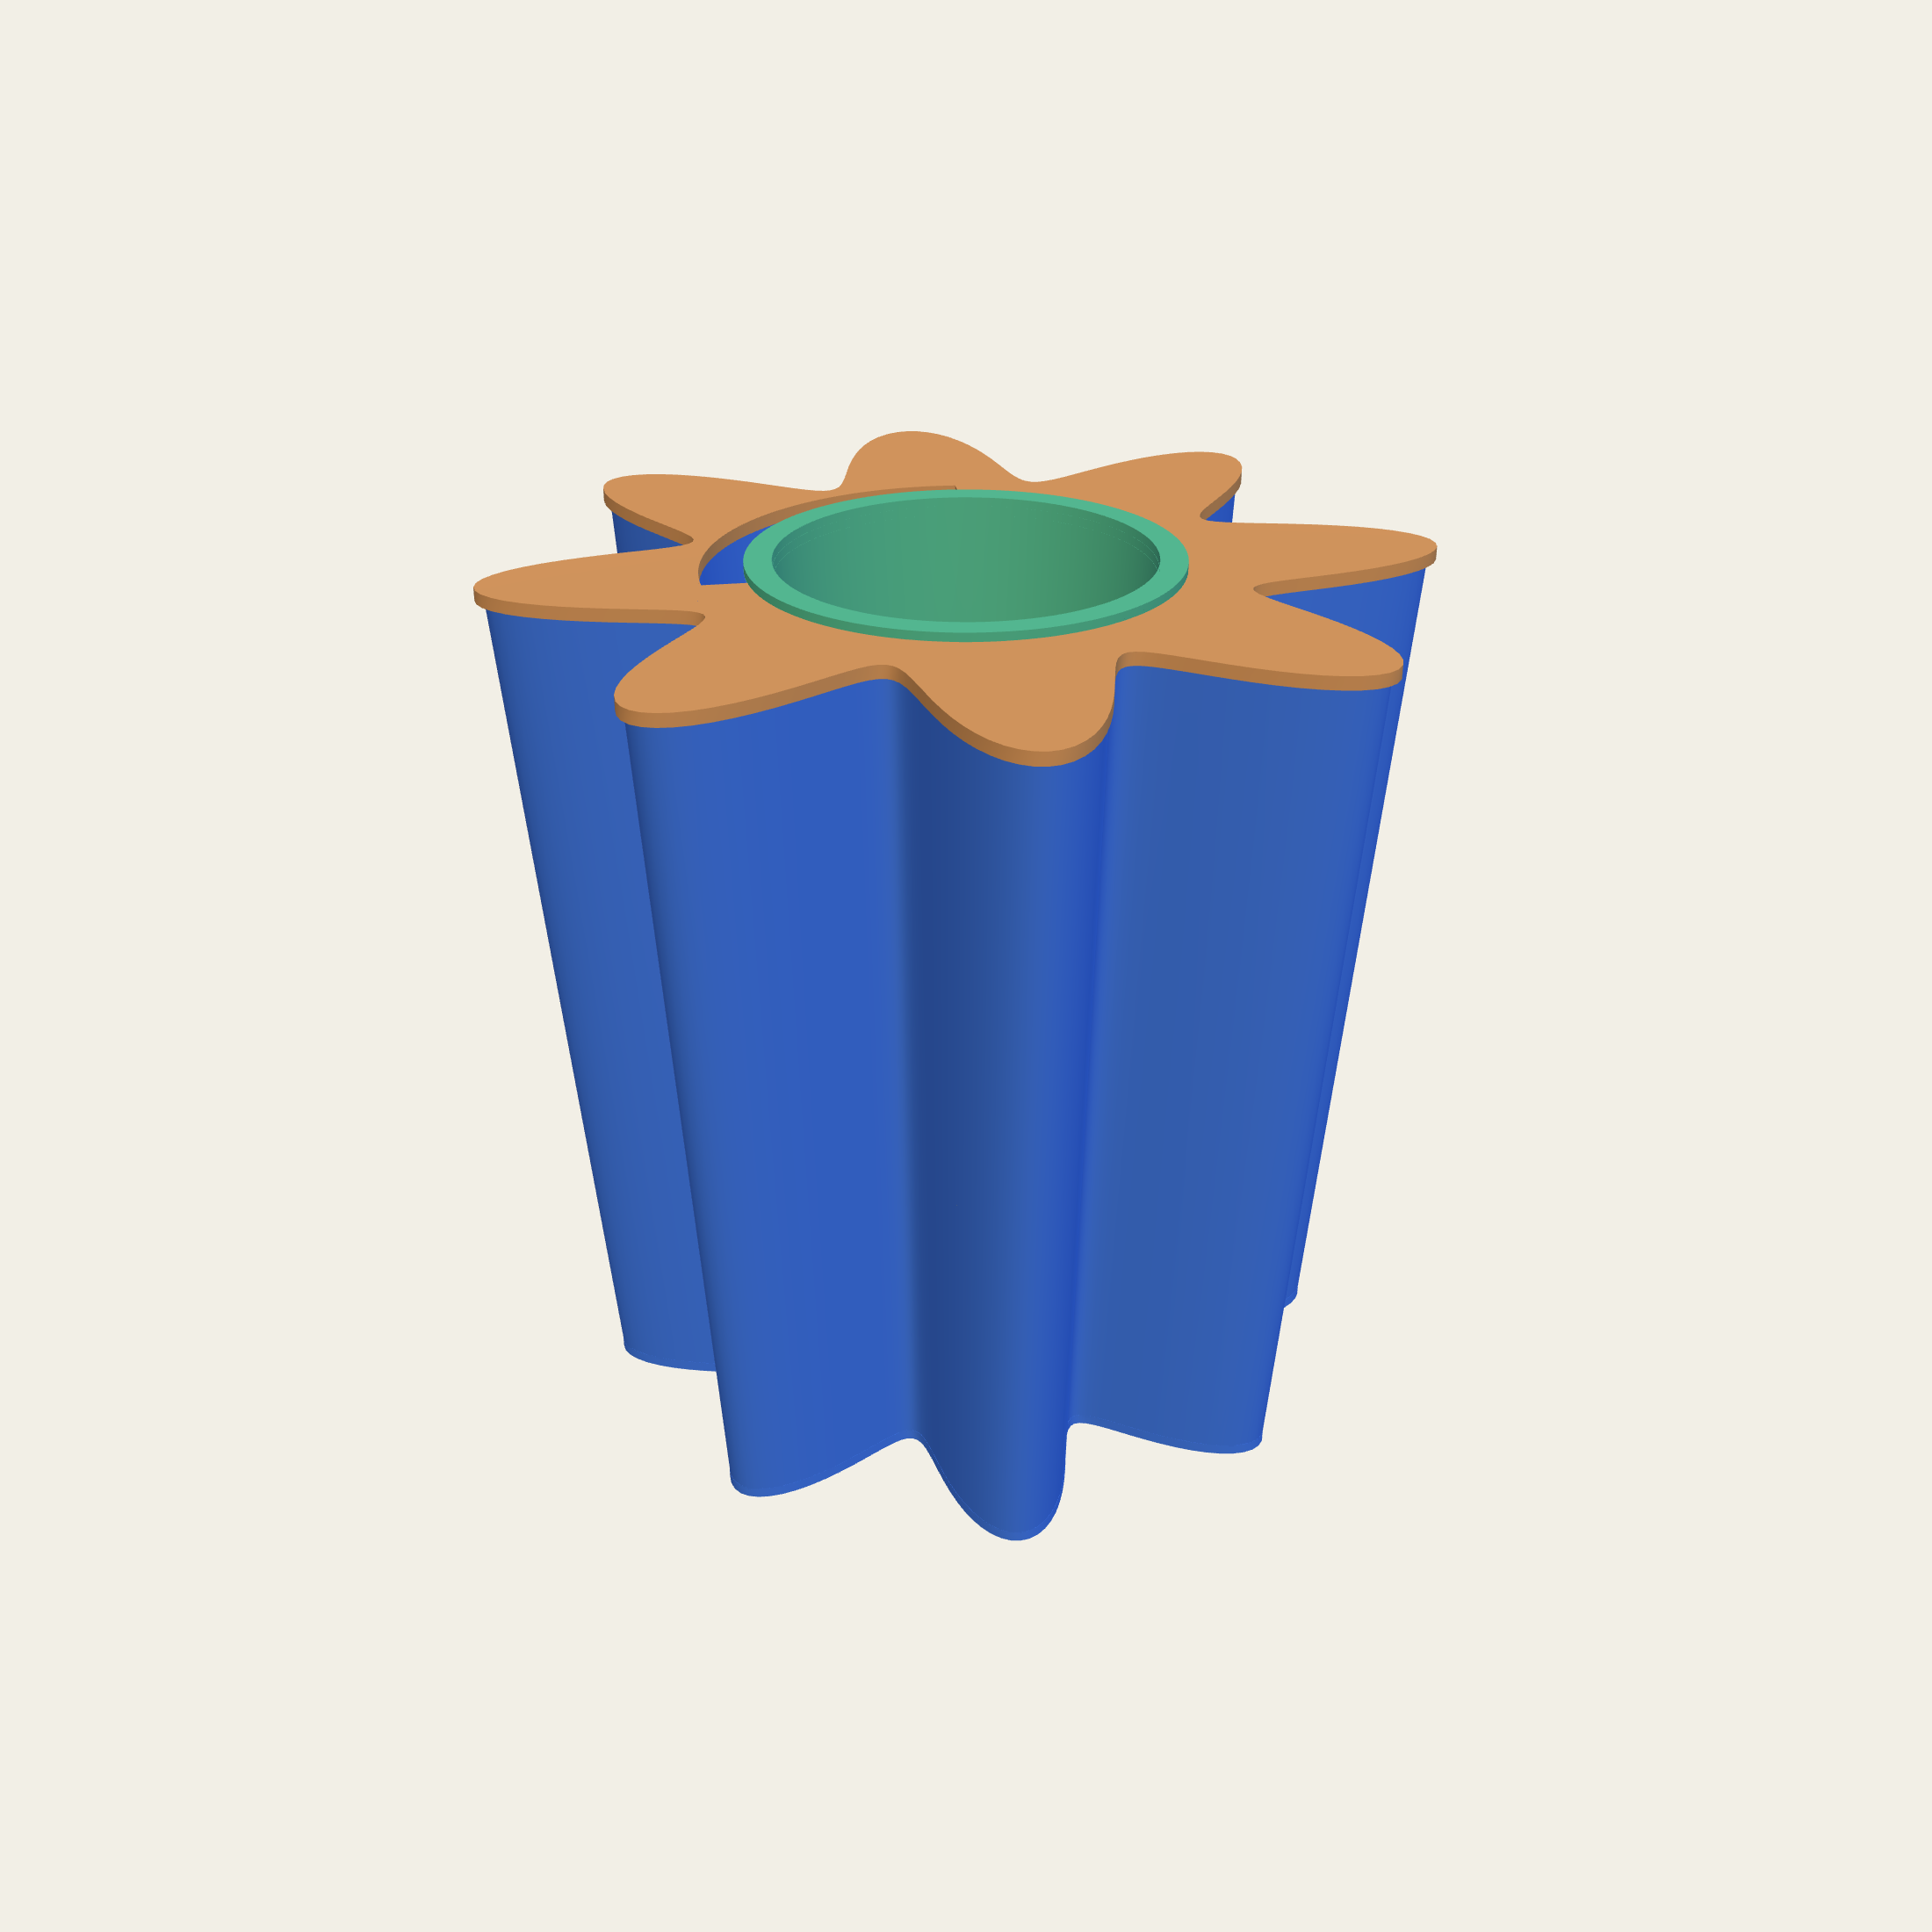
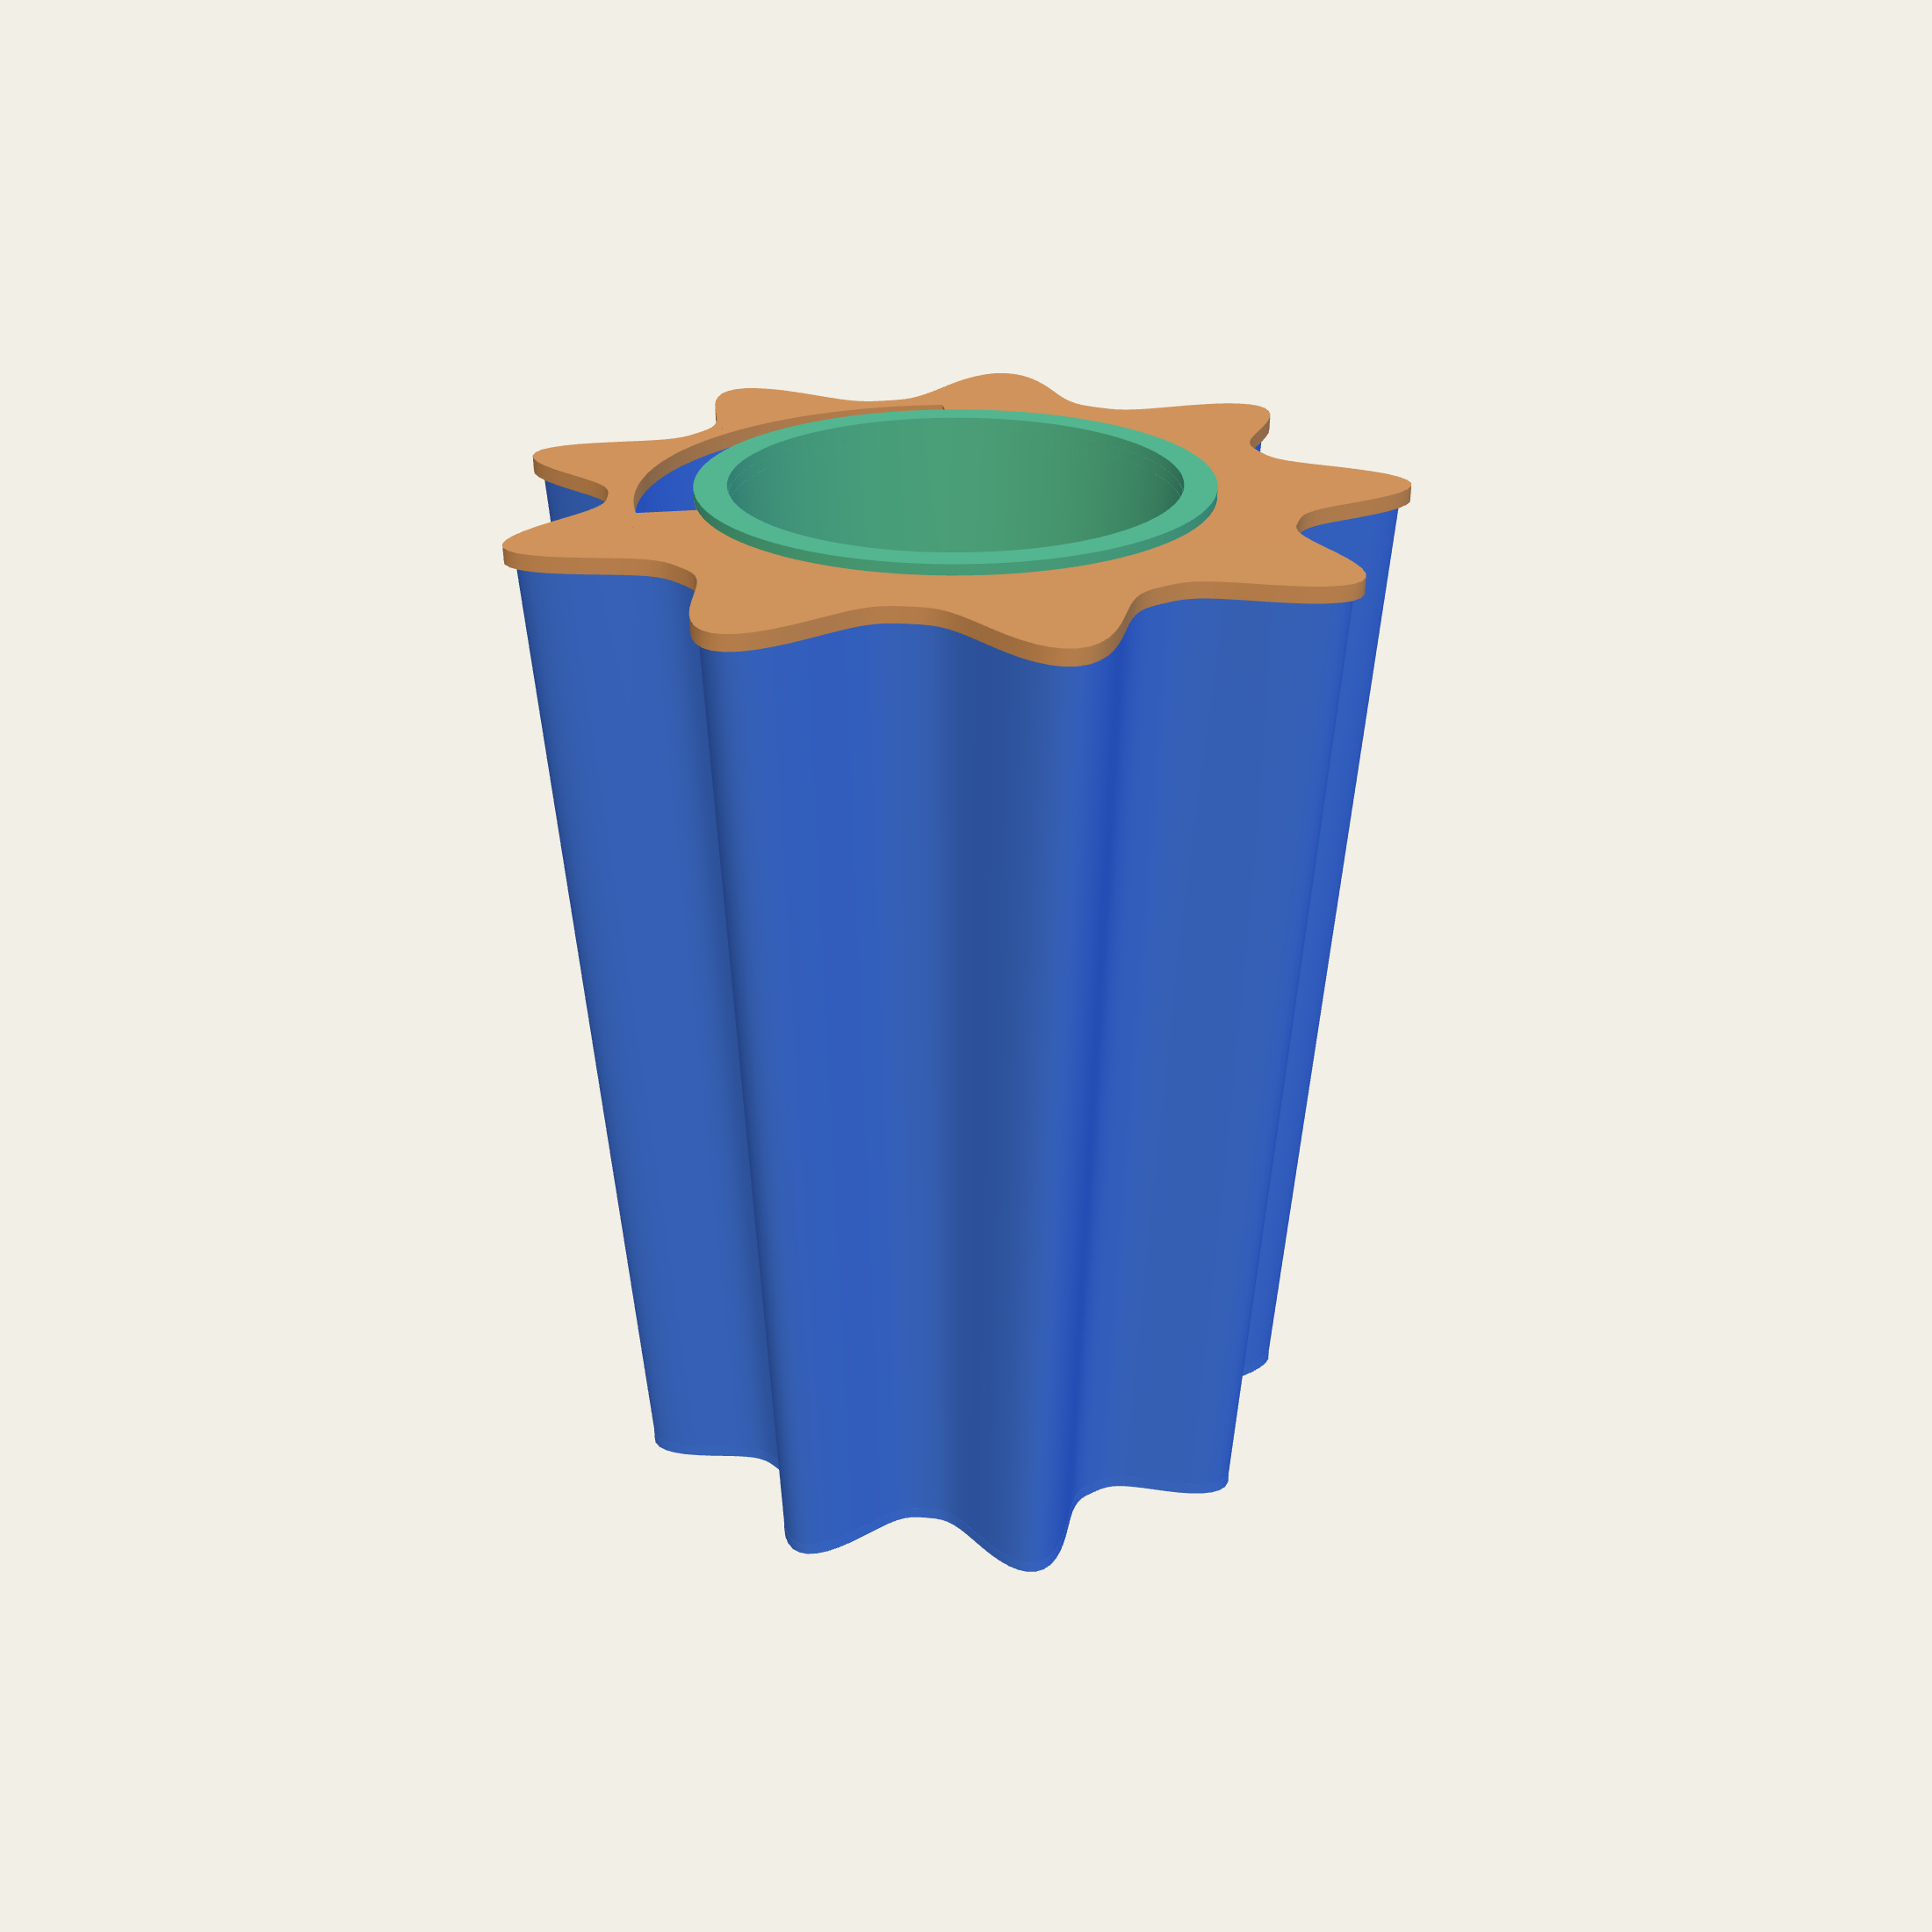
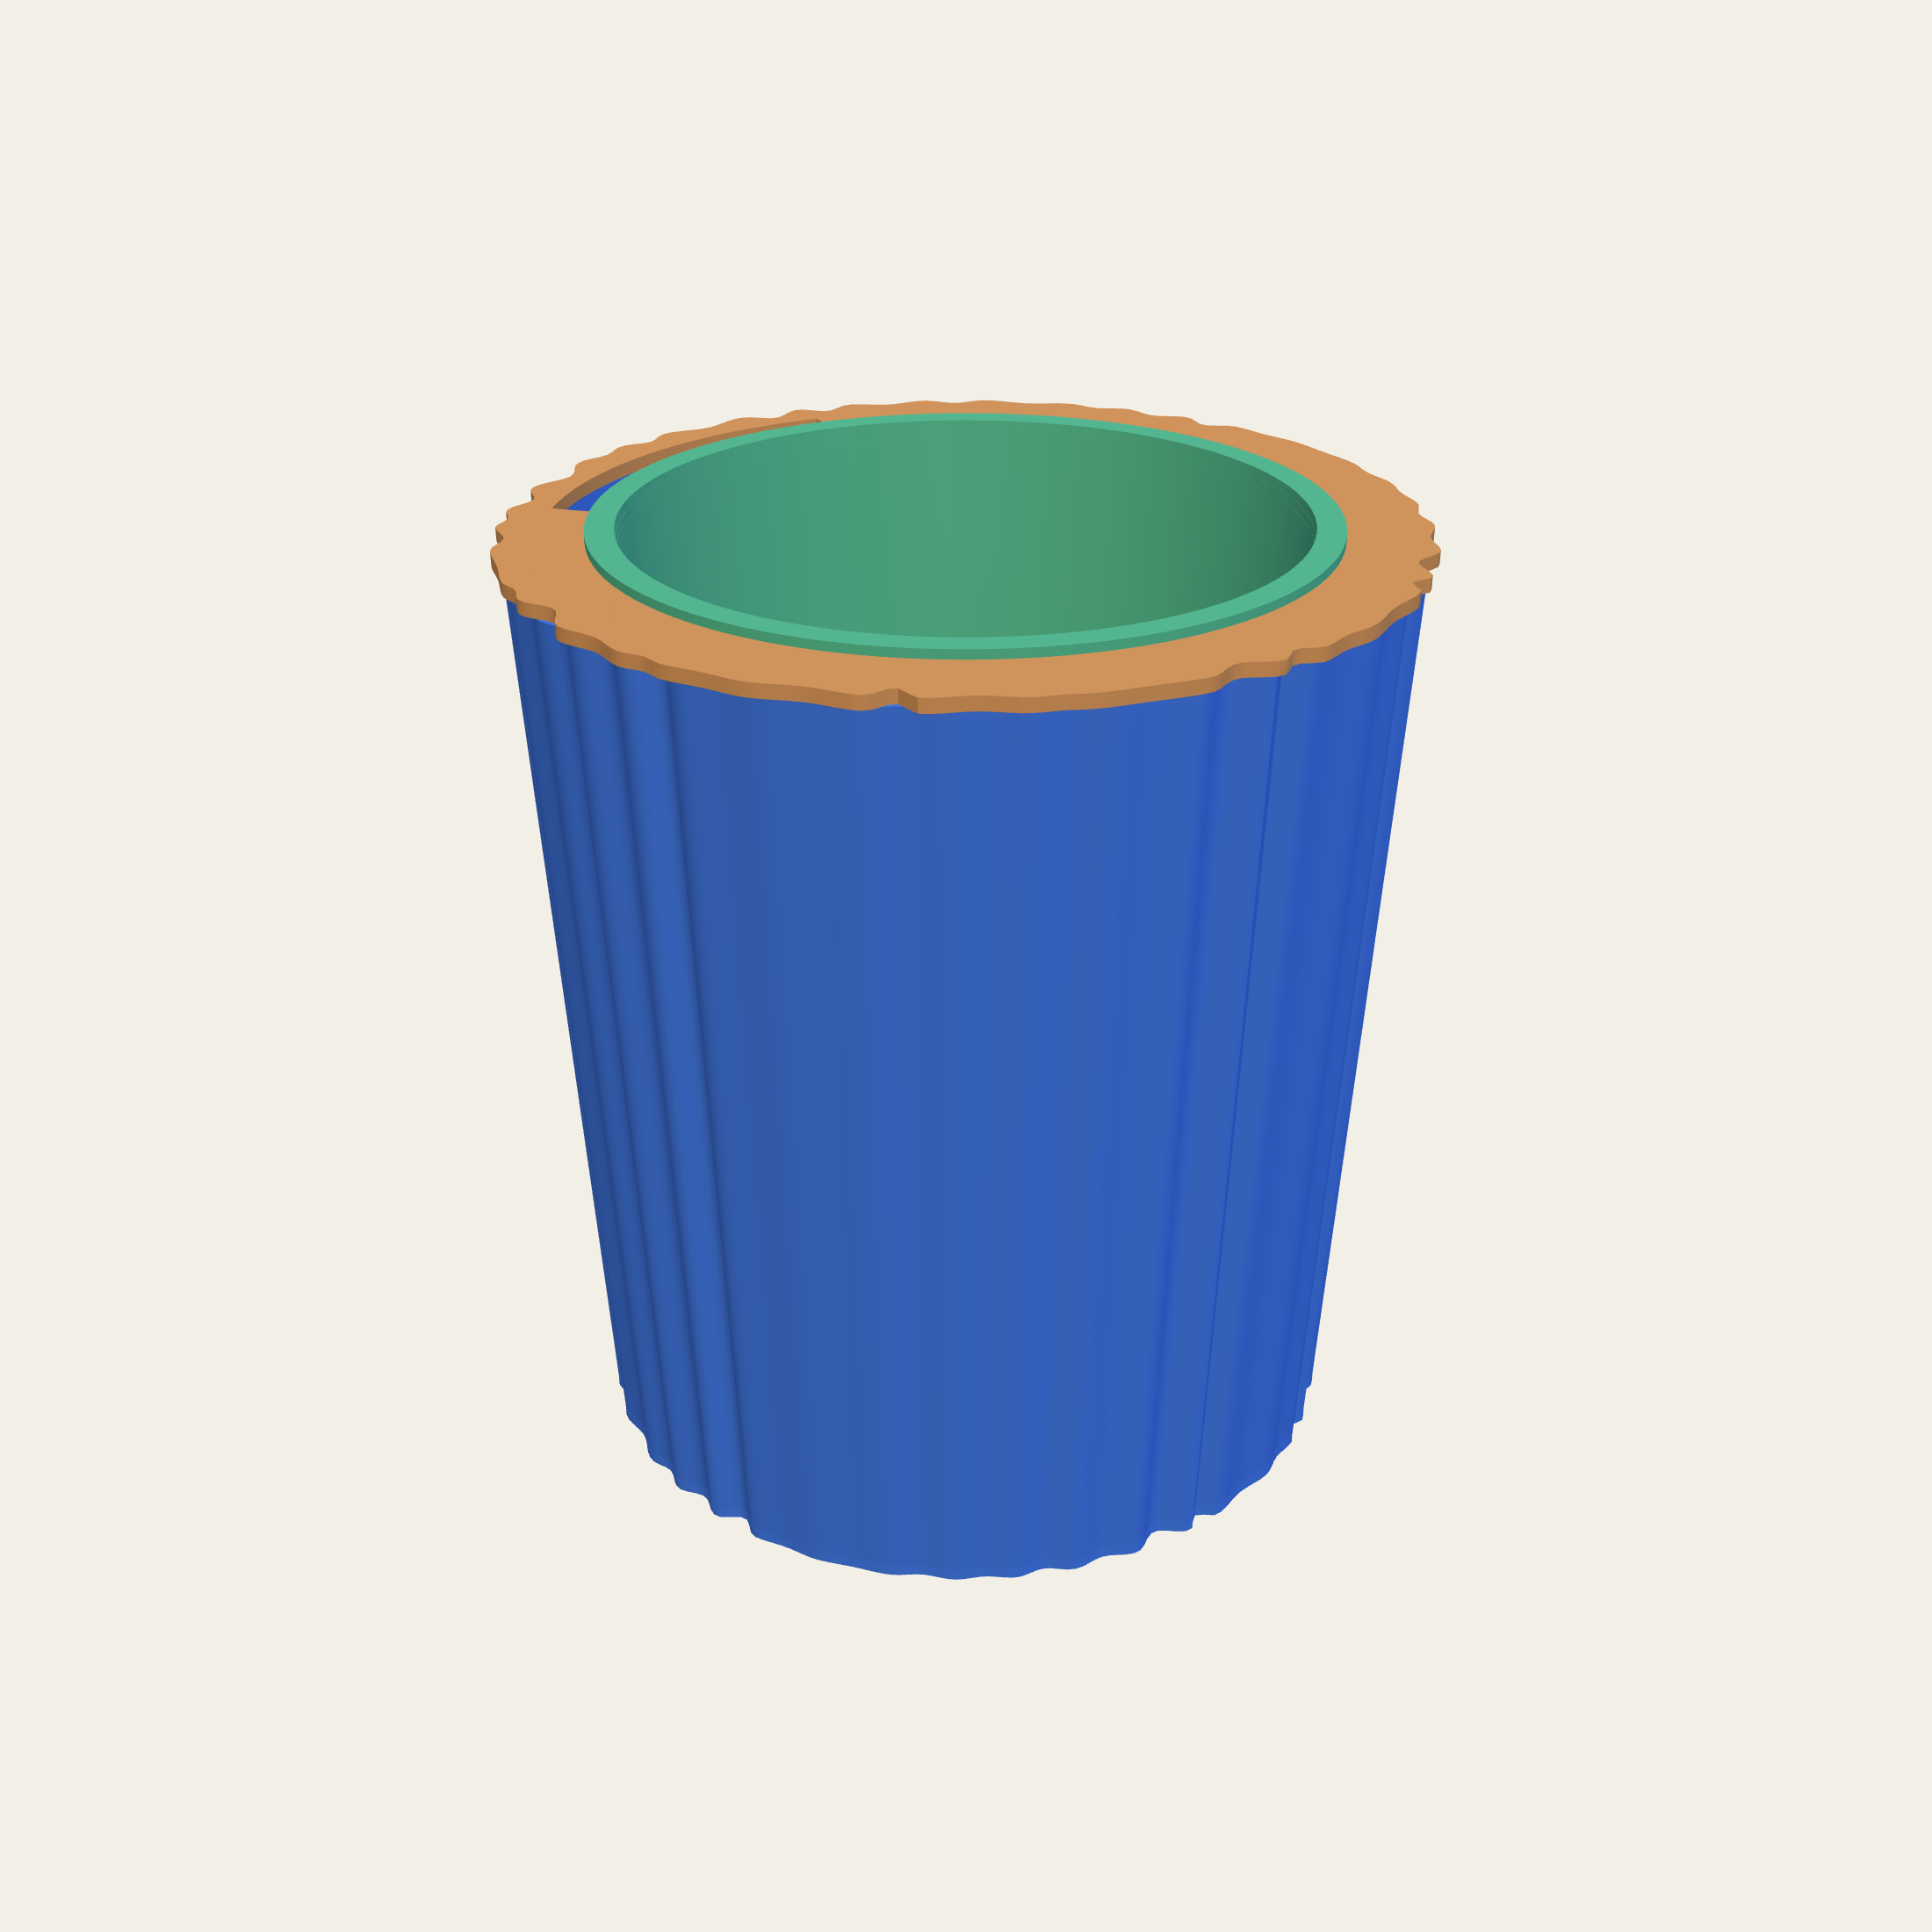
A flute is a groove run up the wall. It is the oldest trick on a column and it works for the same reason here: it catches a line of light down one side and a line of shadow down the other, so a pot in a flat room still has an edge to it.
Four numbers change it completely. How deep it is cut. Whether its section is round or a V. Whether it runs straight up or twists. And whether it runs up at all, or round.
These are all one body. Nothing underneath has moved between these five pictures.
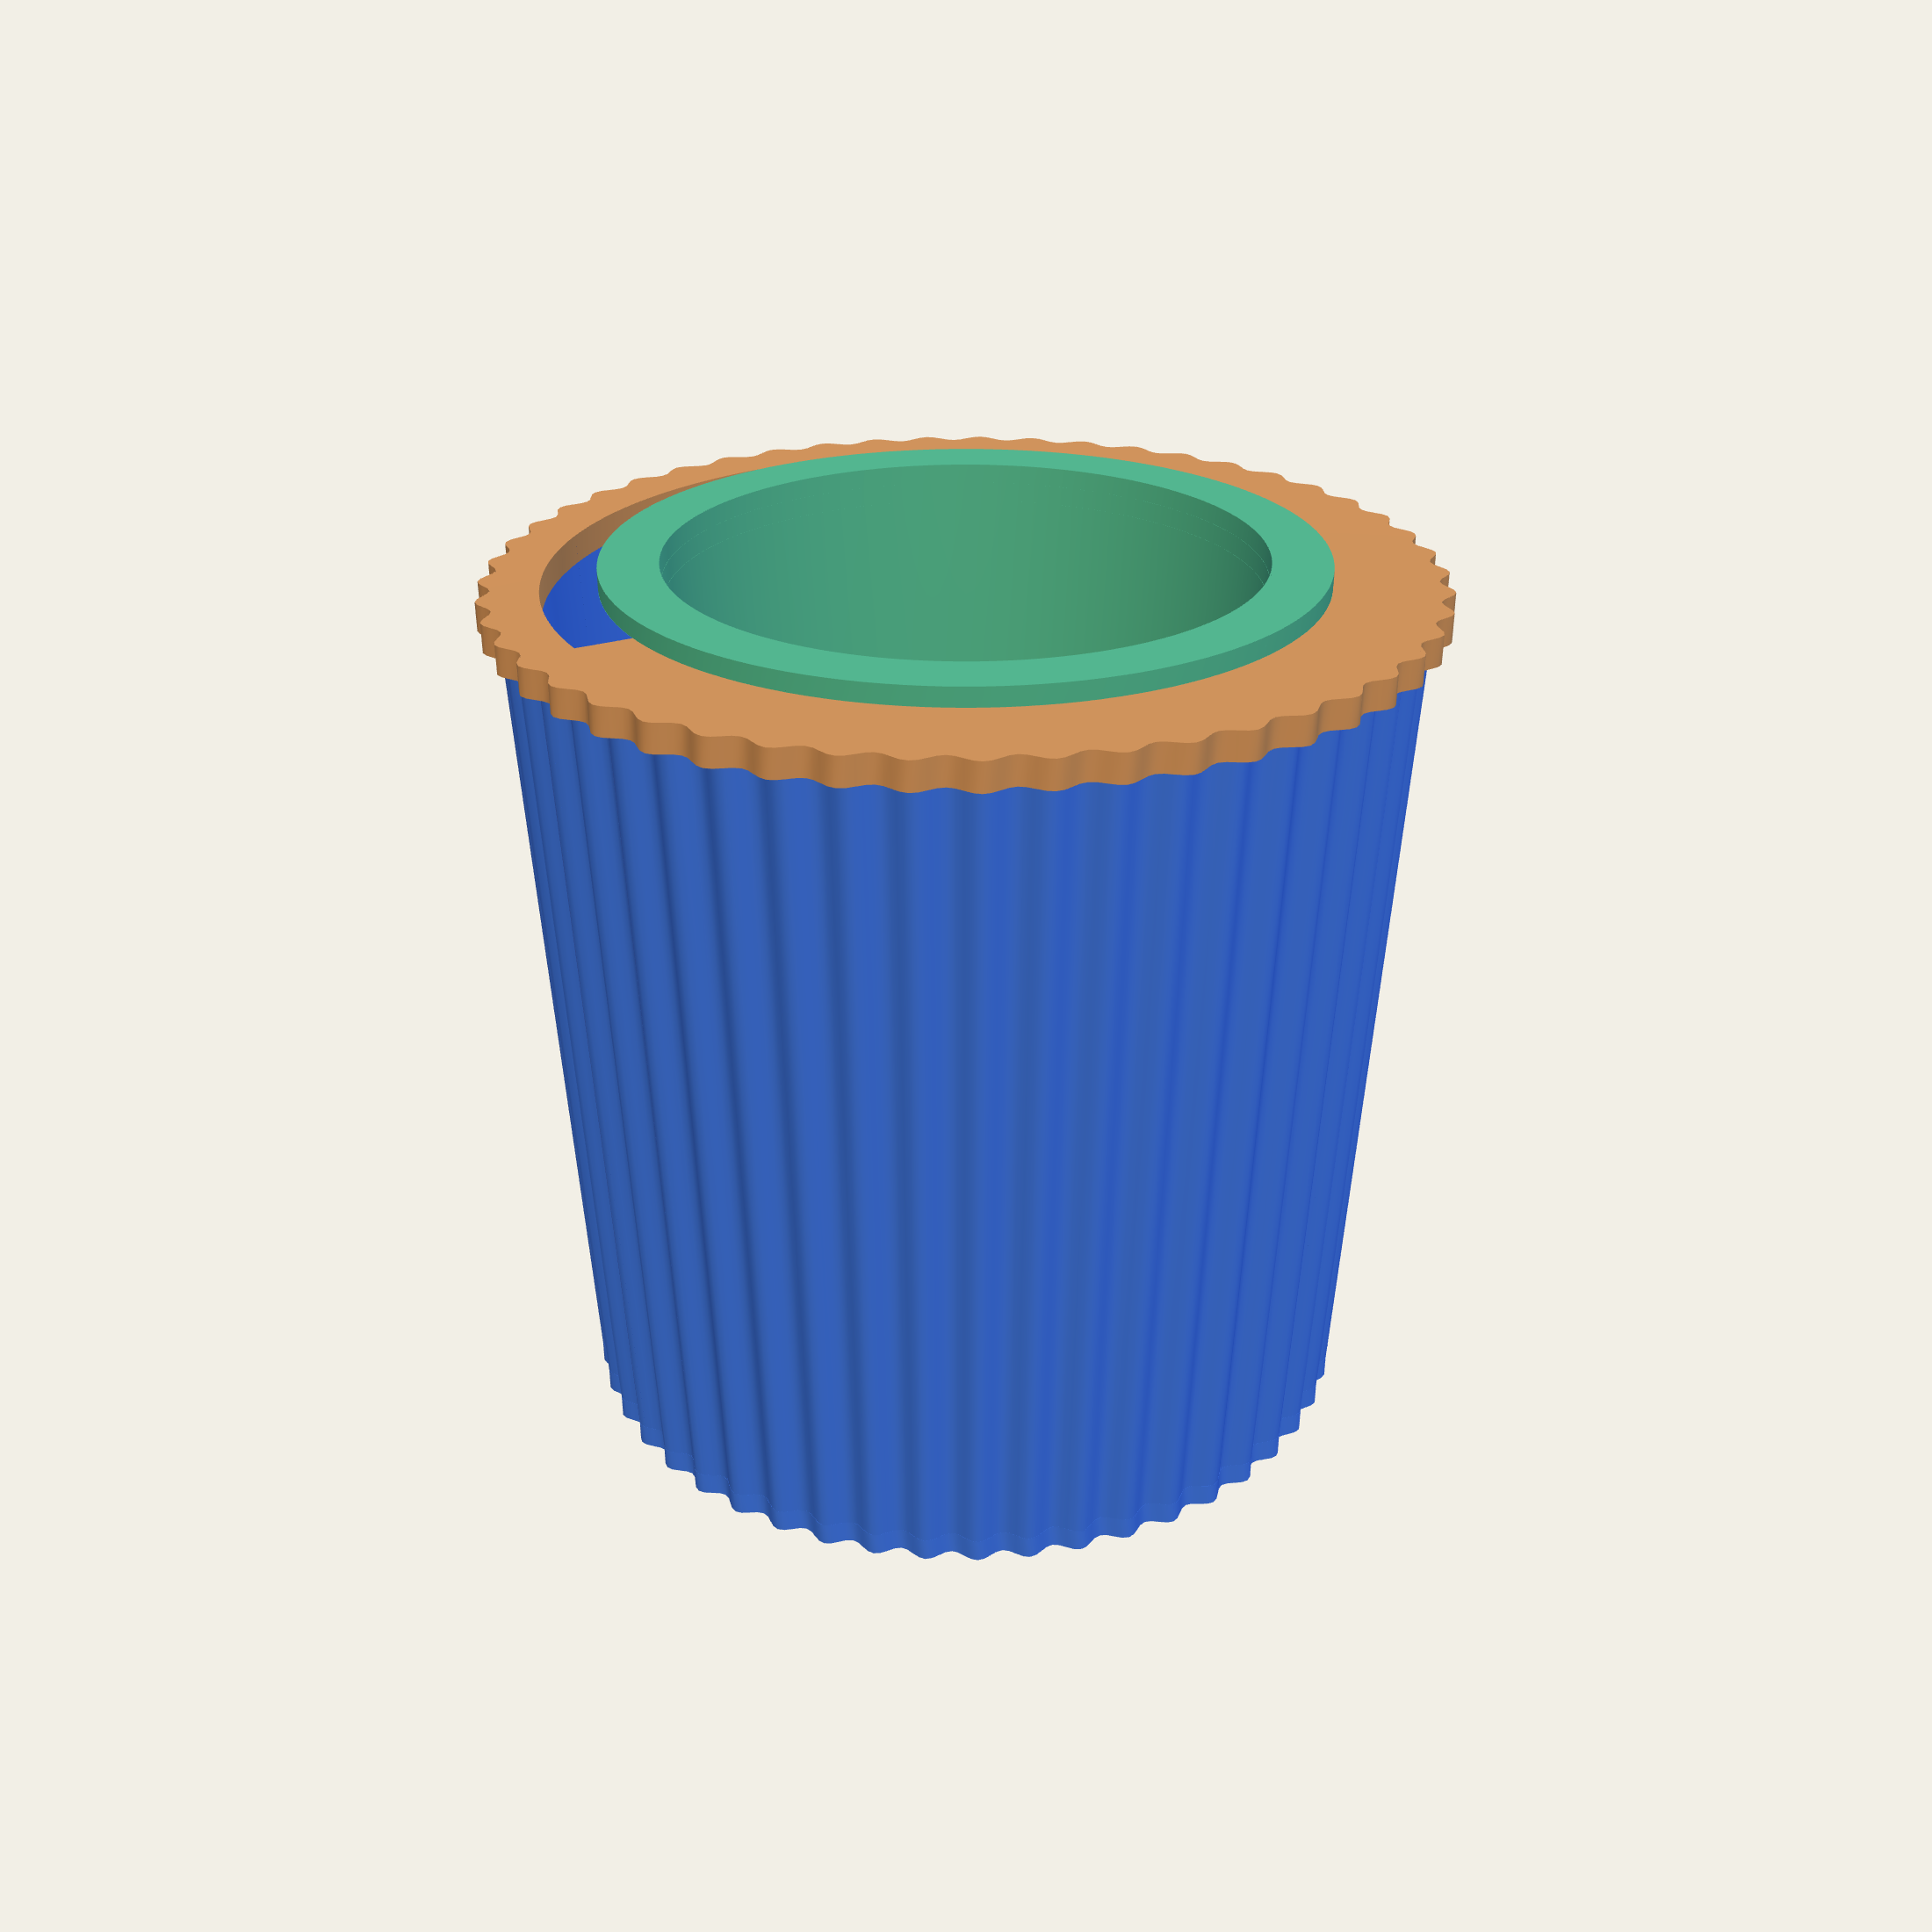
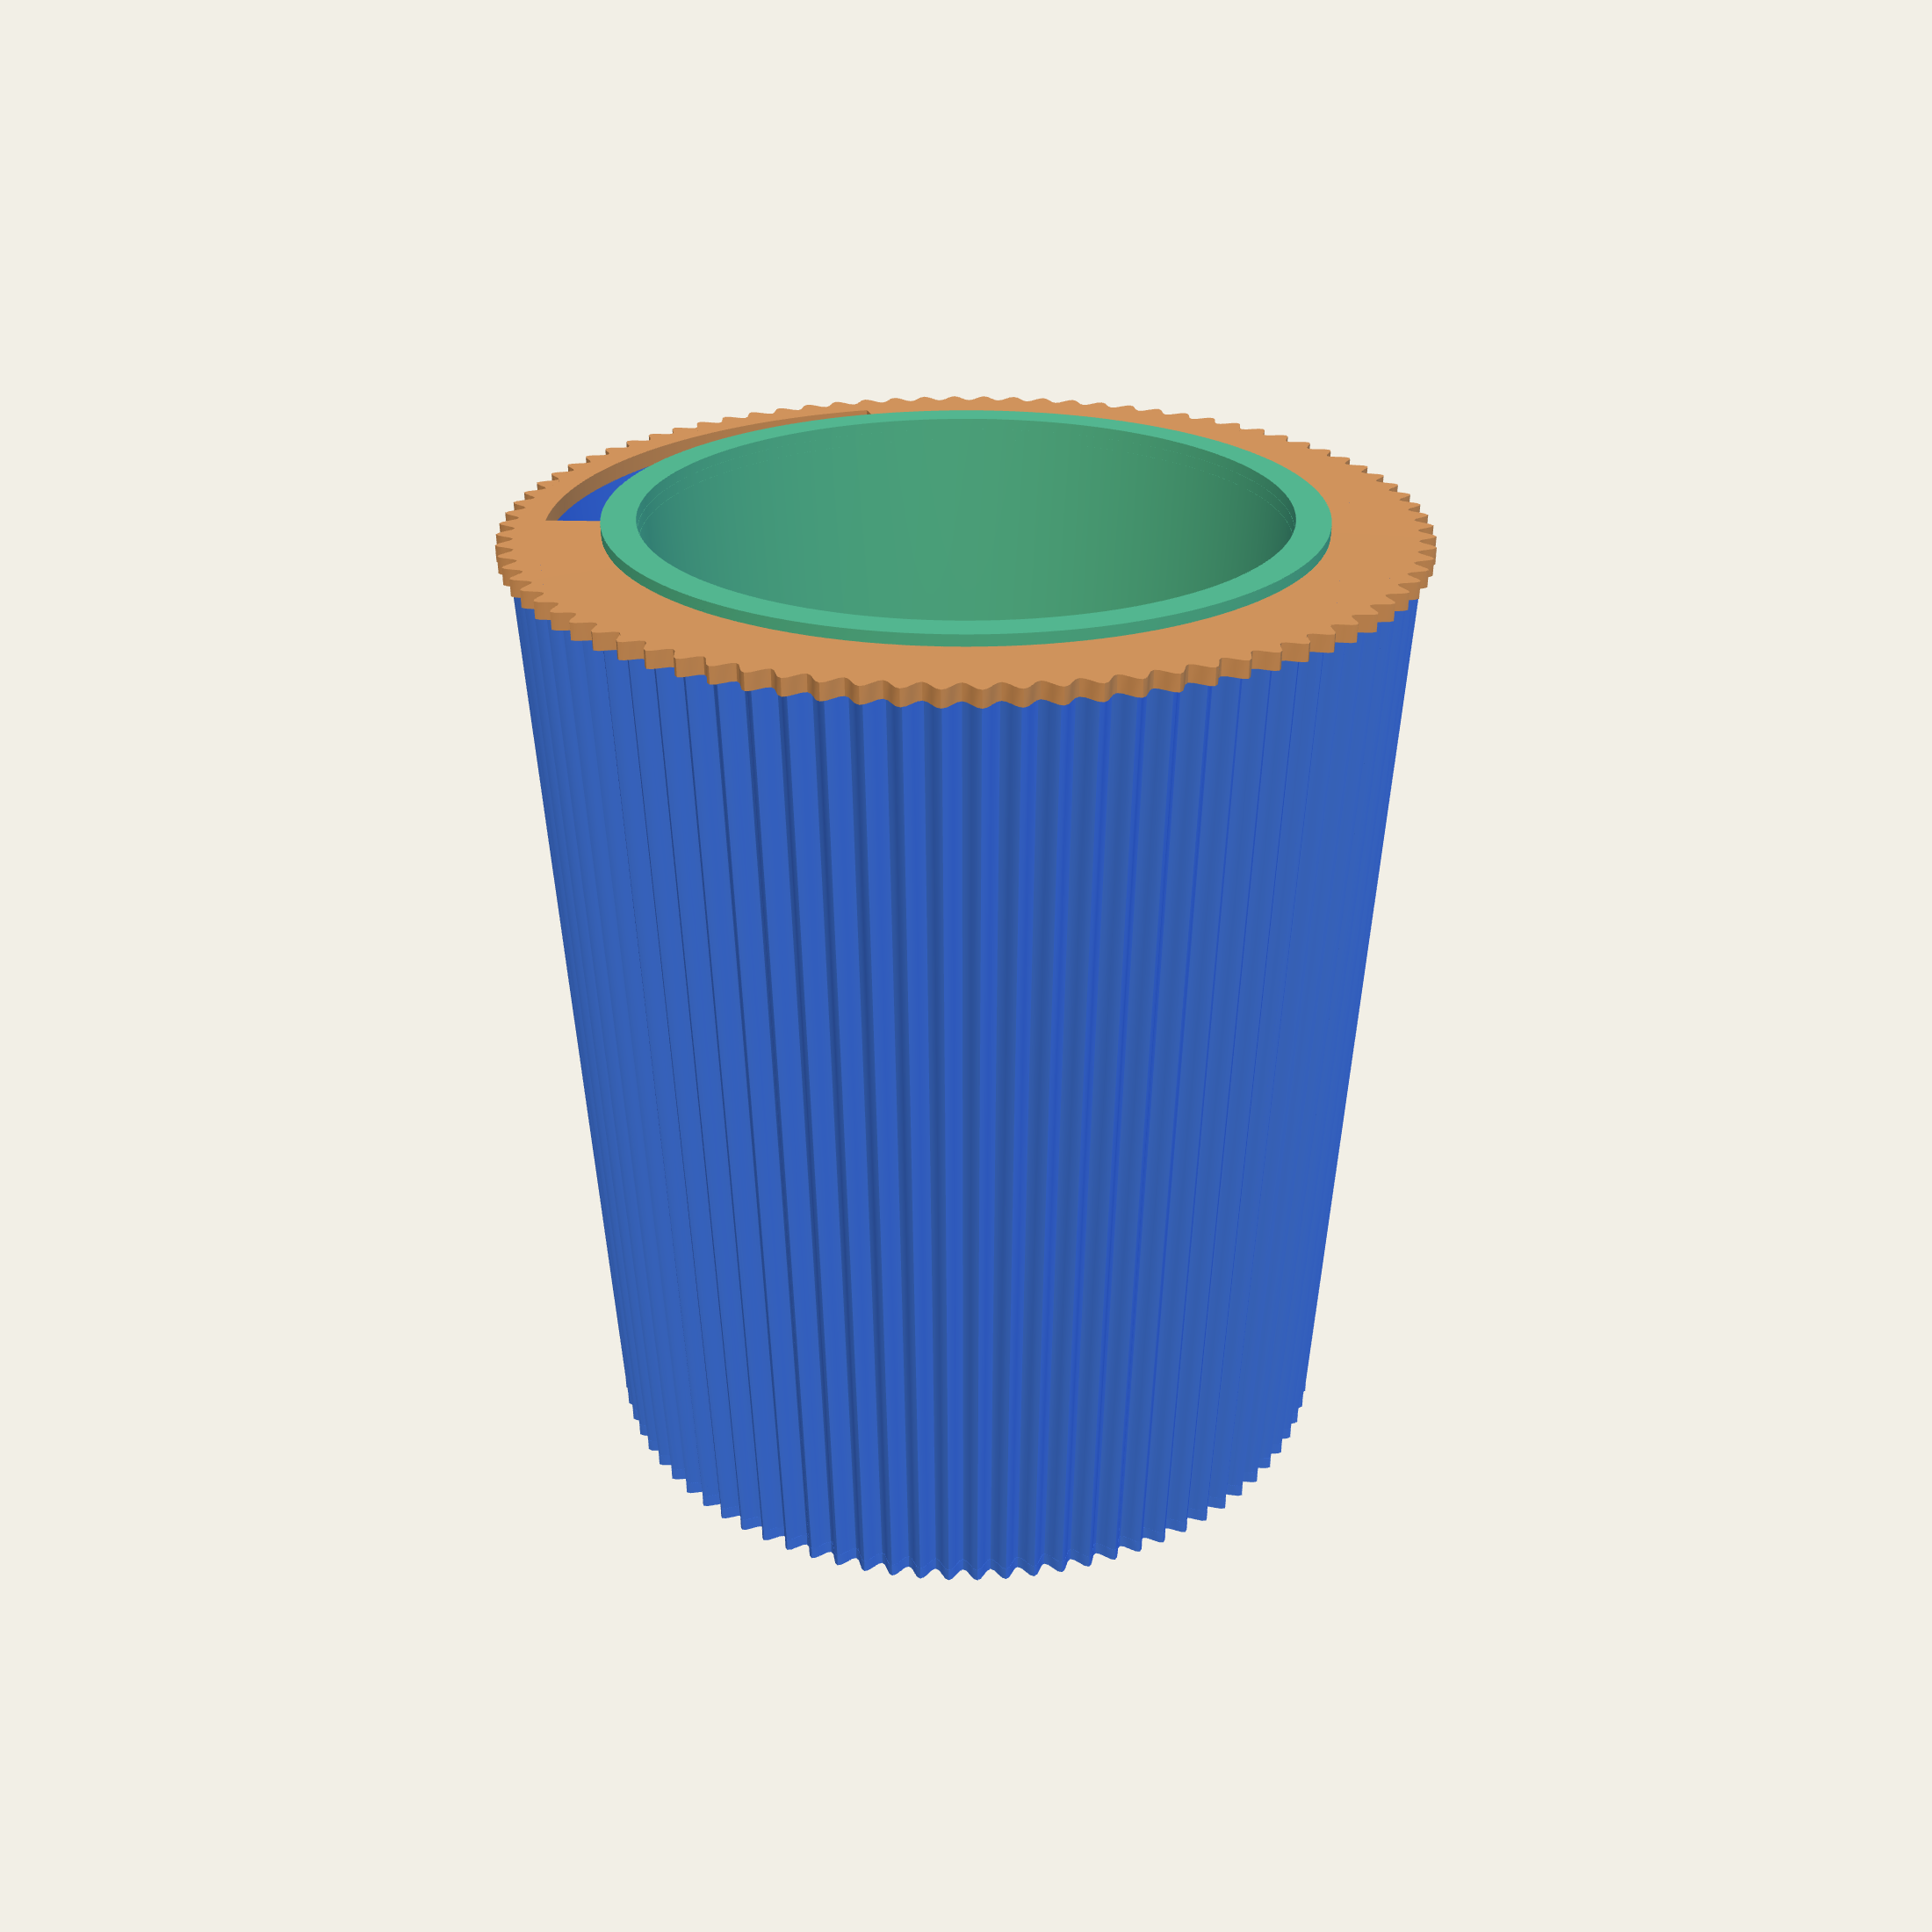
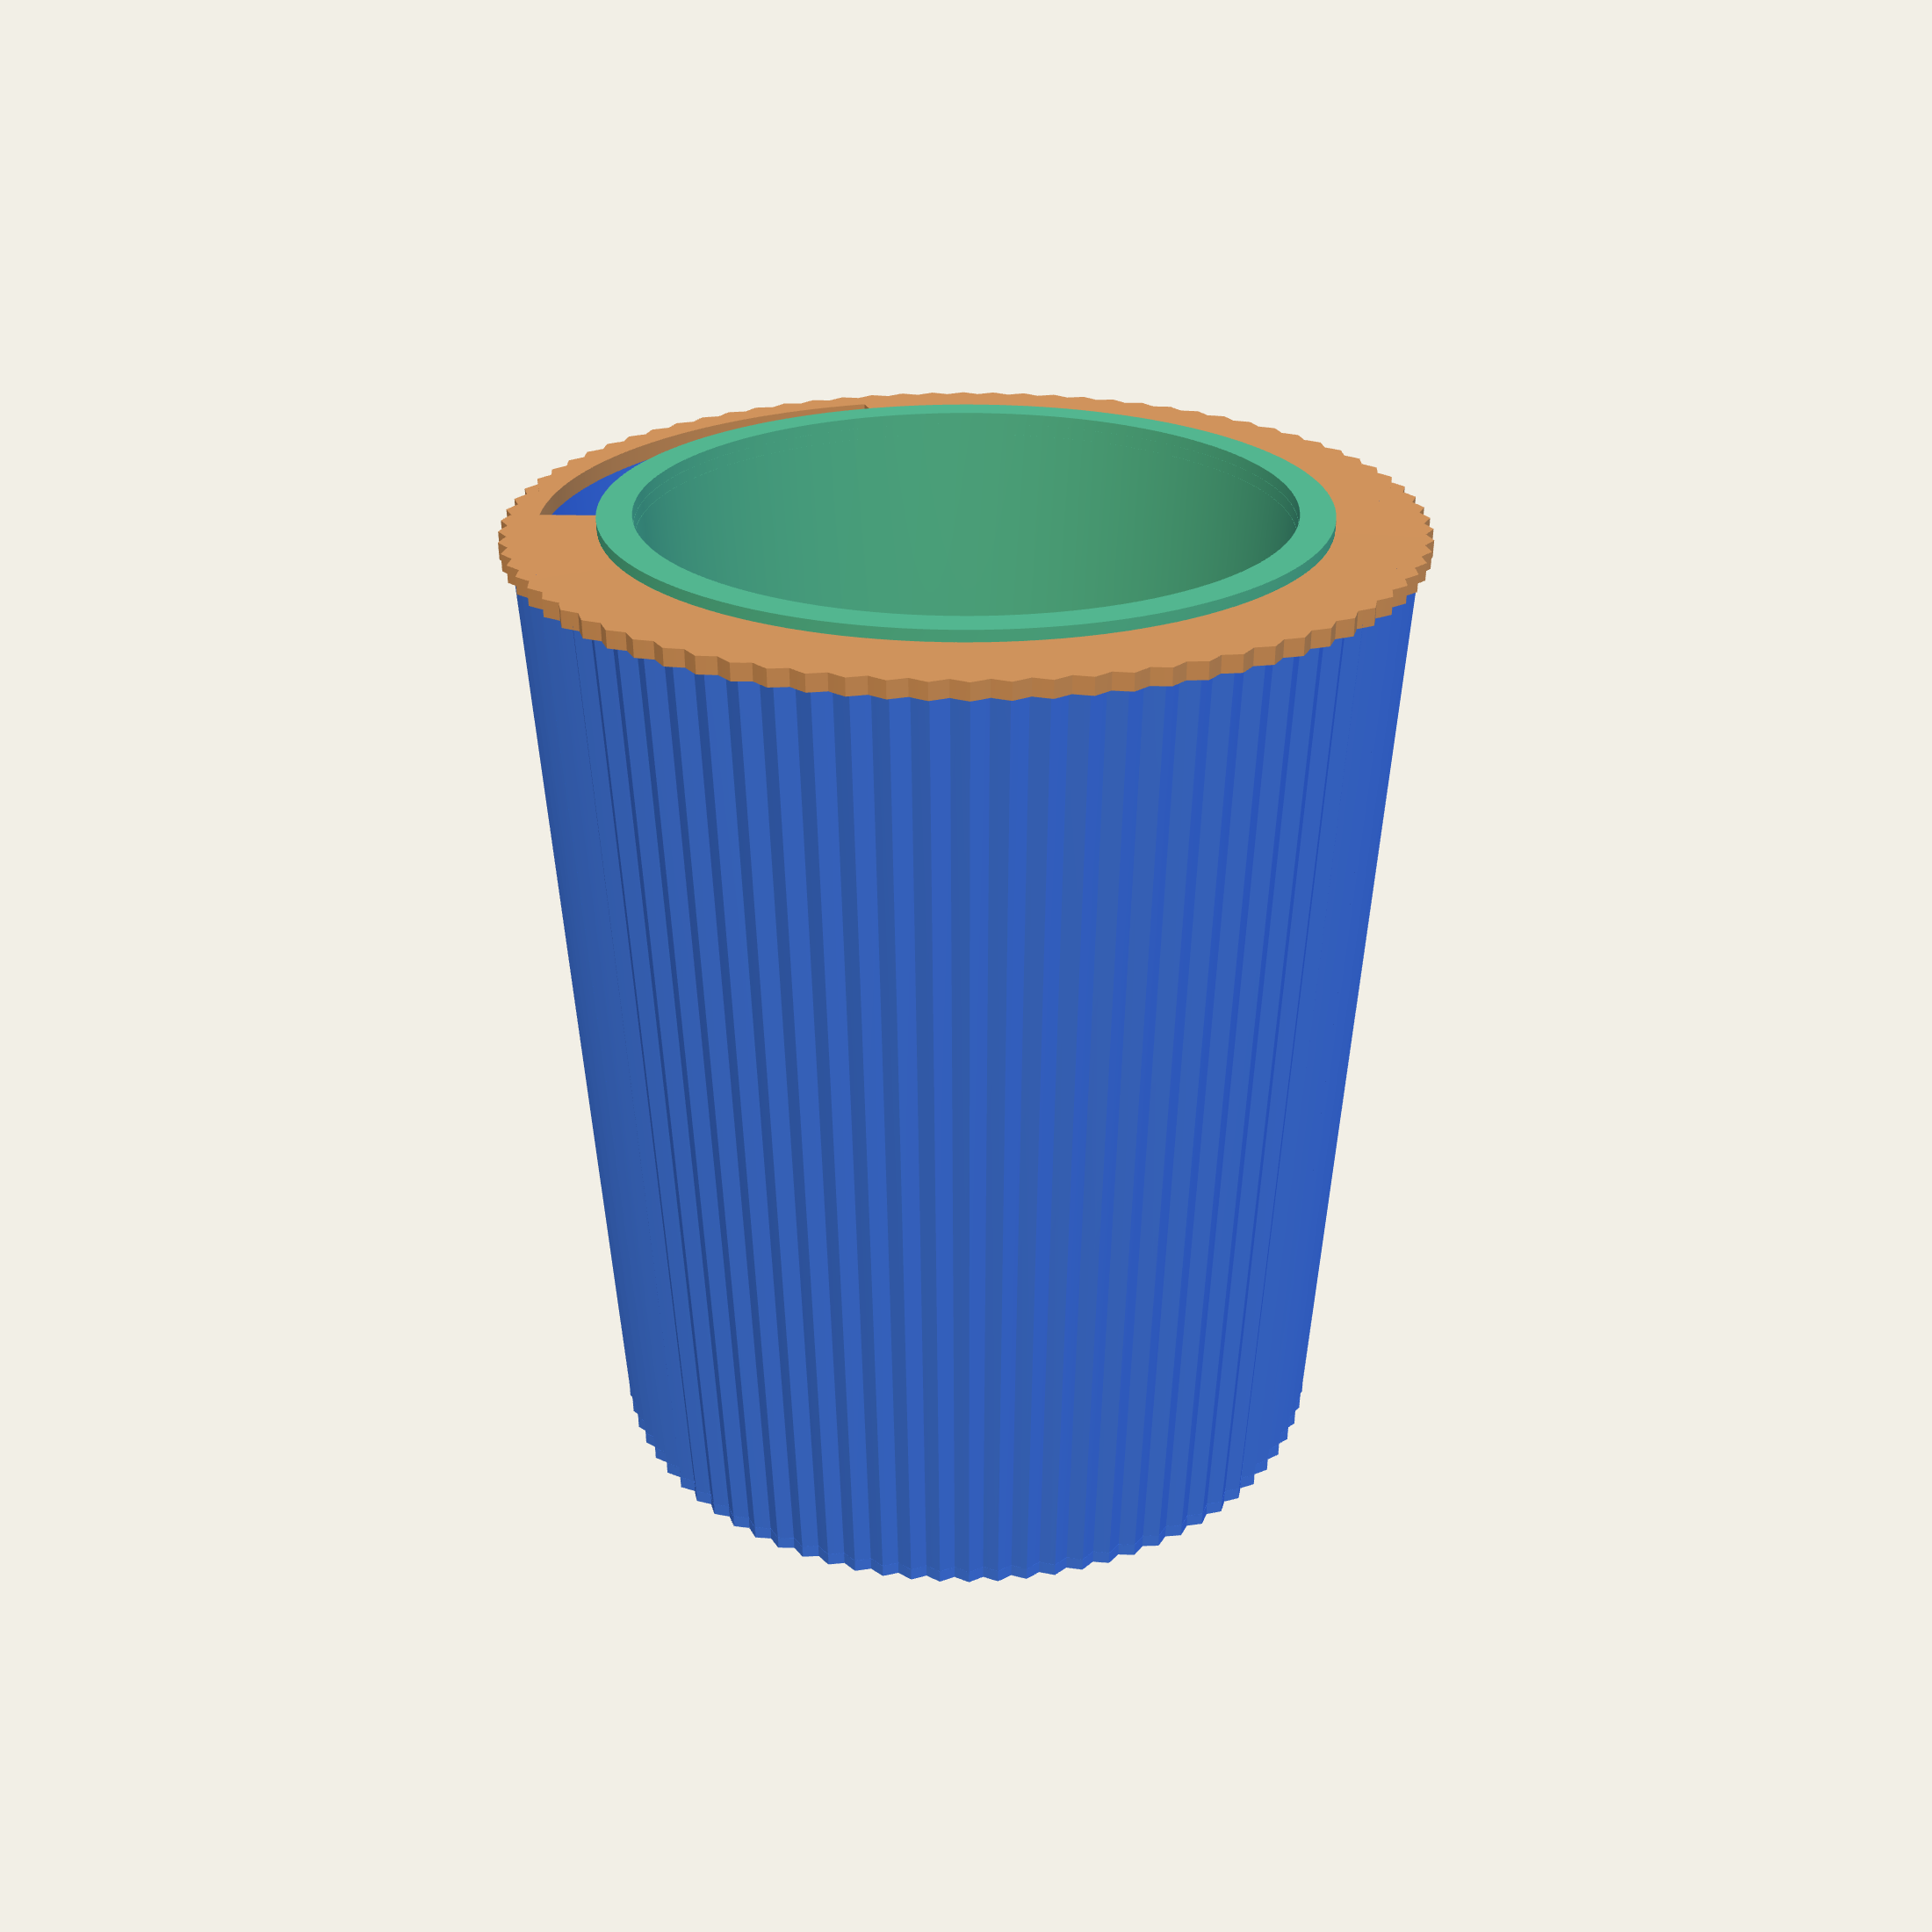
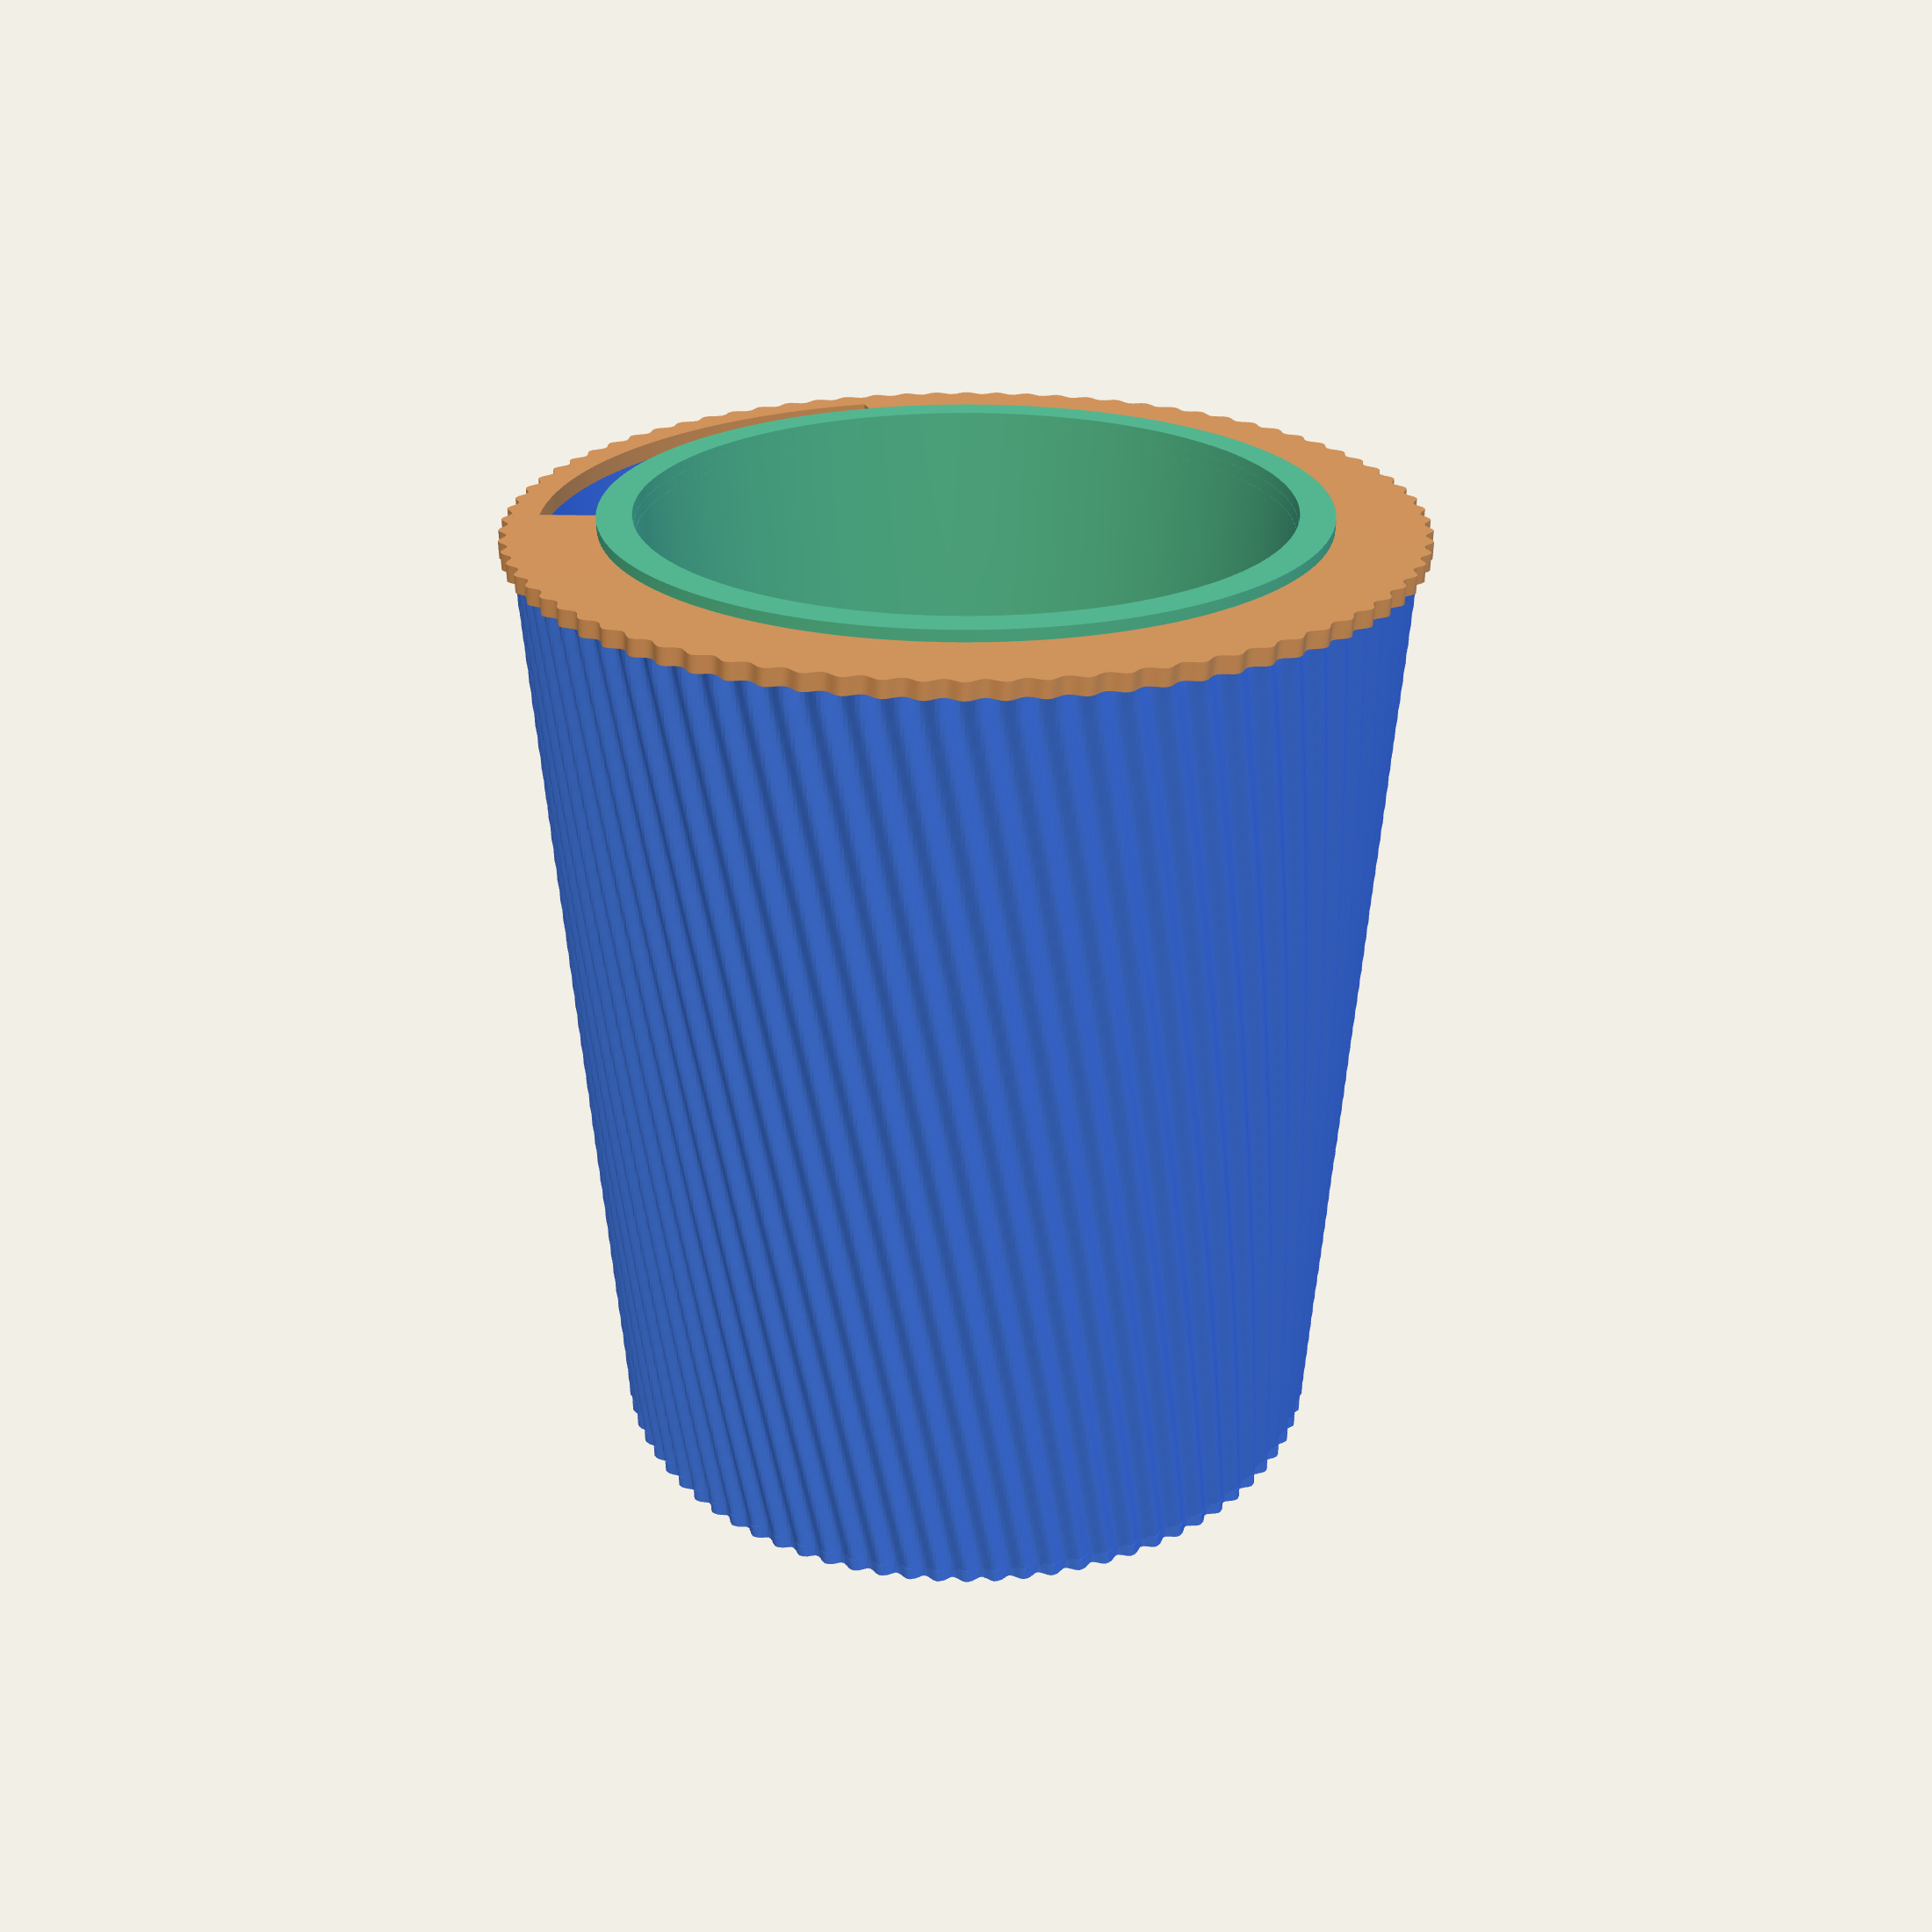
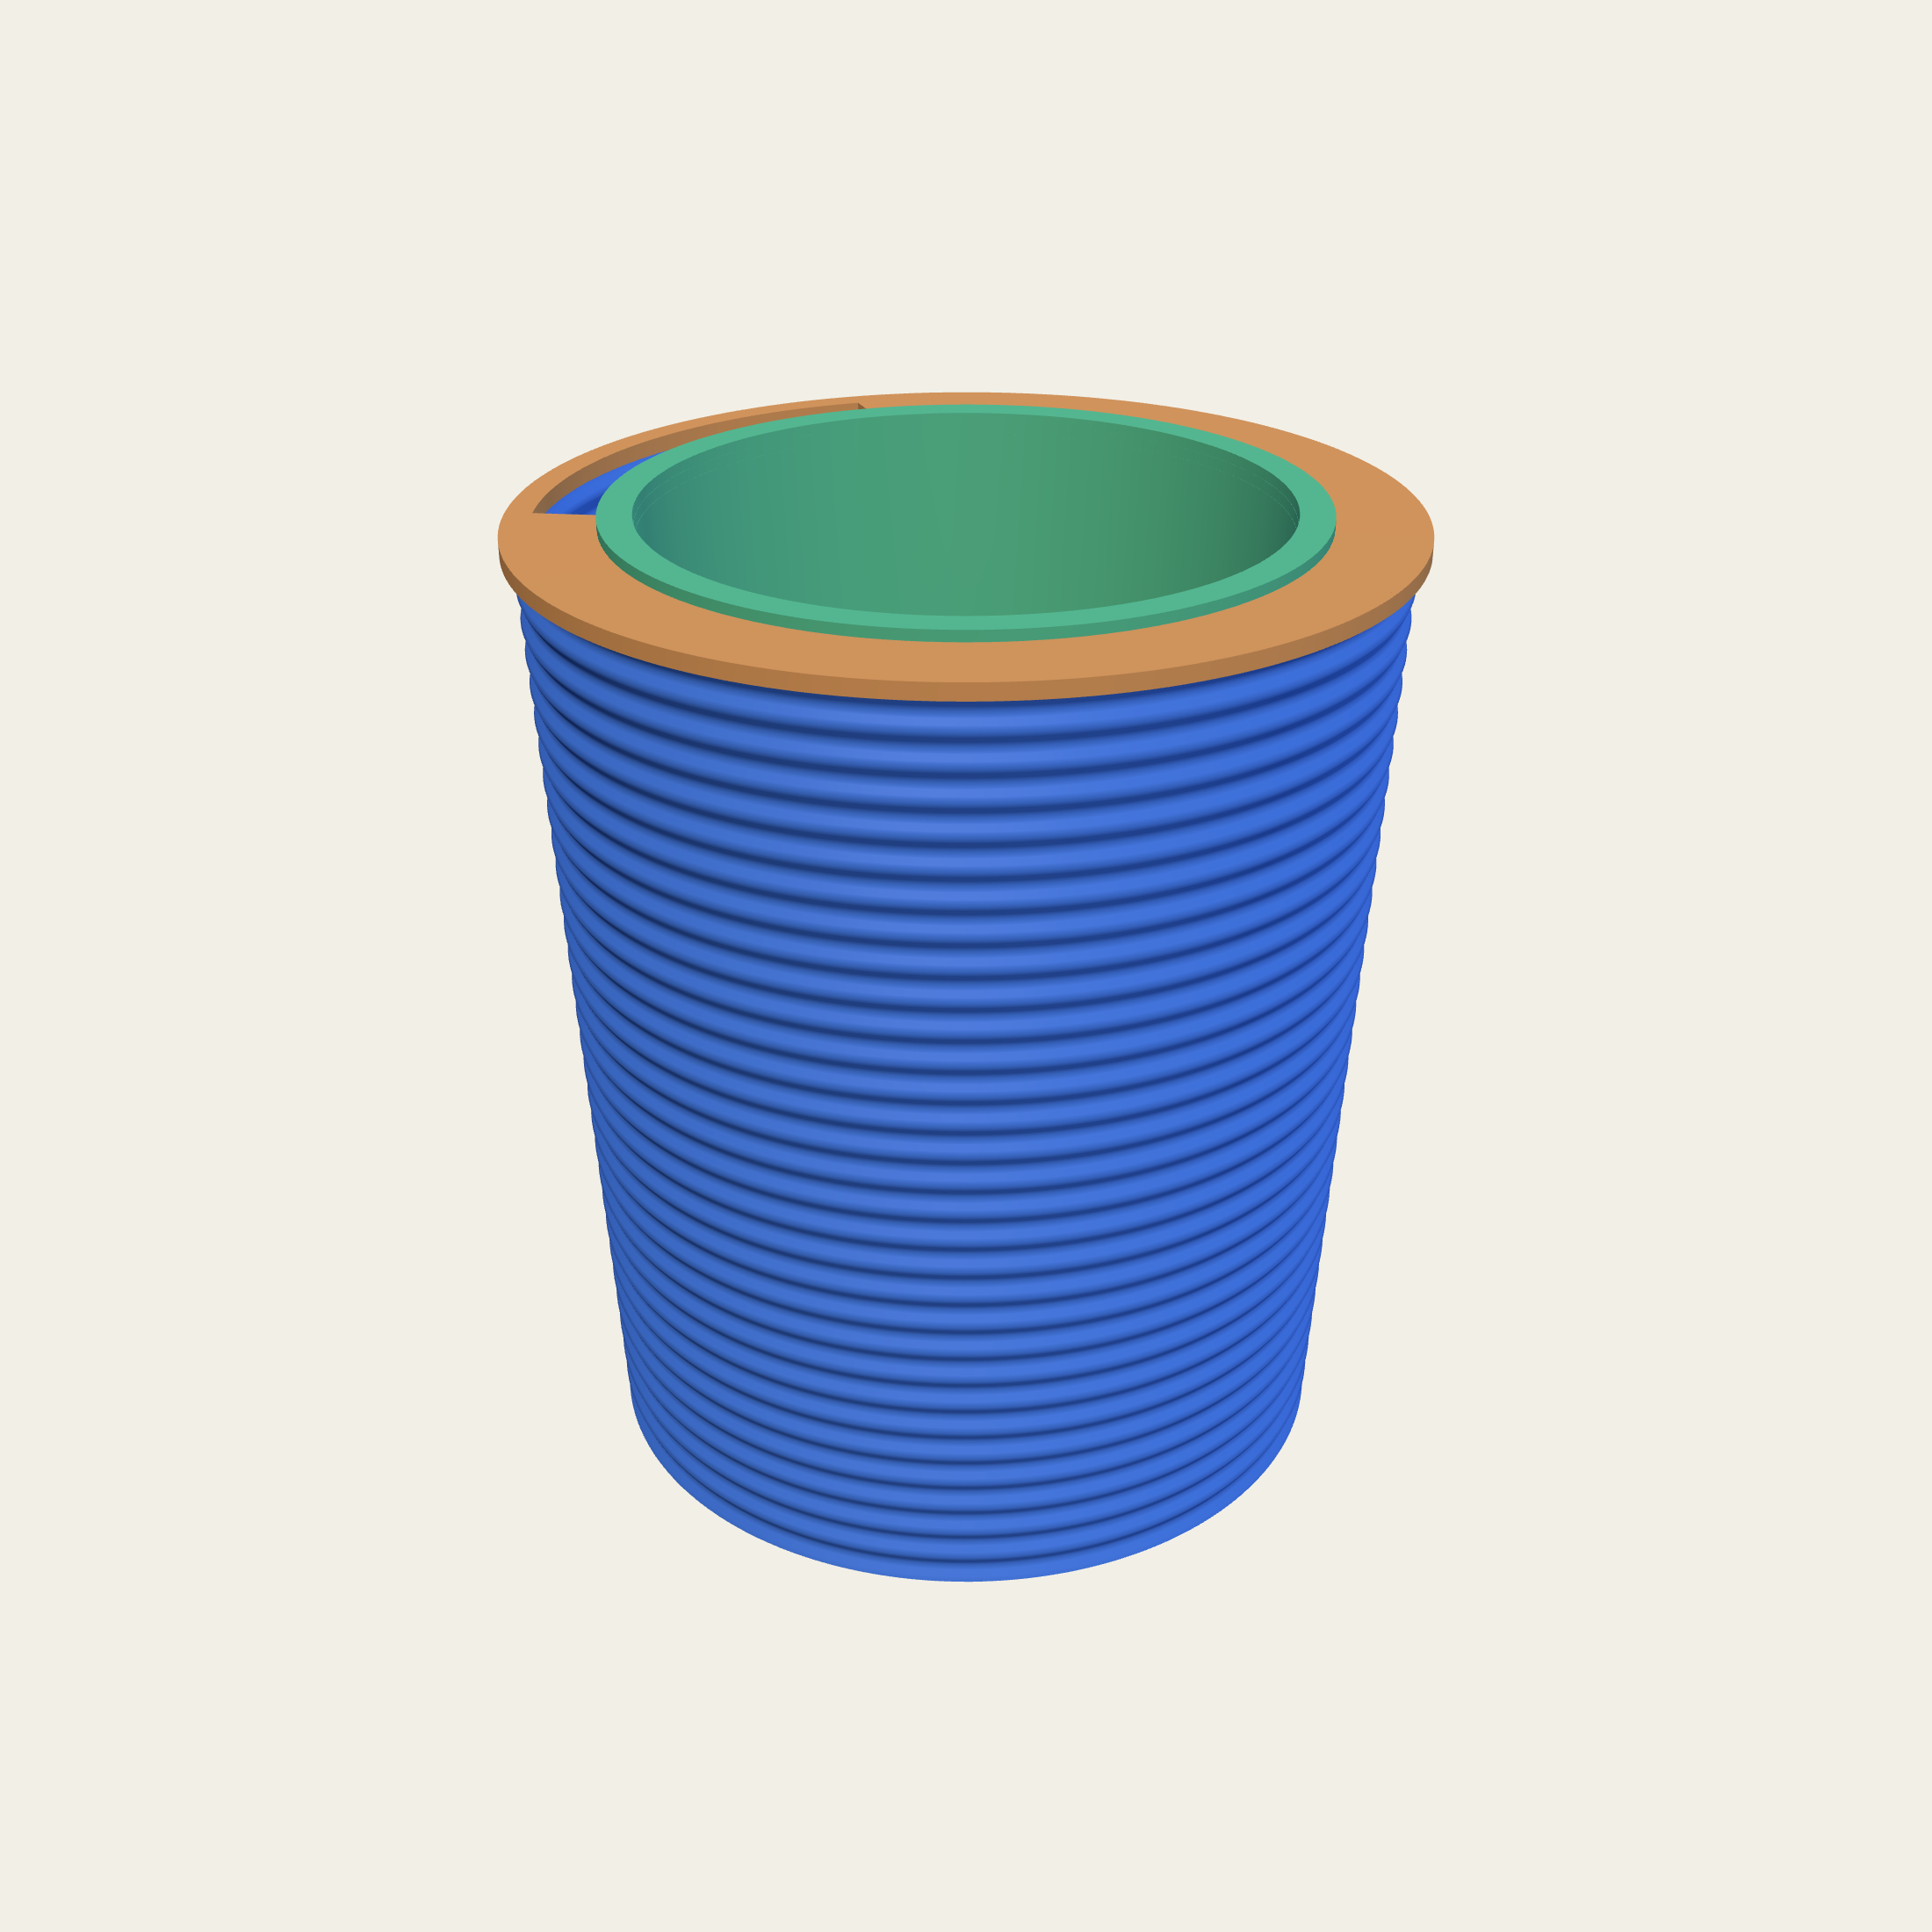
Every treatment on the wall goes two ways: standing proud of the surface, or cut into it. It is one number changing sign, and it is the difference between a pot that catches light on its high points and one that holds shadow in its lines.
Raised reads warmer and shows dust less. Cut reads sharper, and in a room lit from one side it draws a much harder line. On a dark colour, cut wins; on an unpigmented natural, raised wins. That is our experience rather than a law, and you can look at both before deciding.
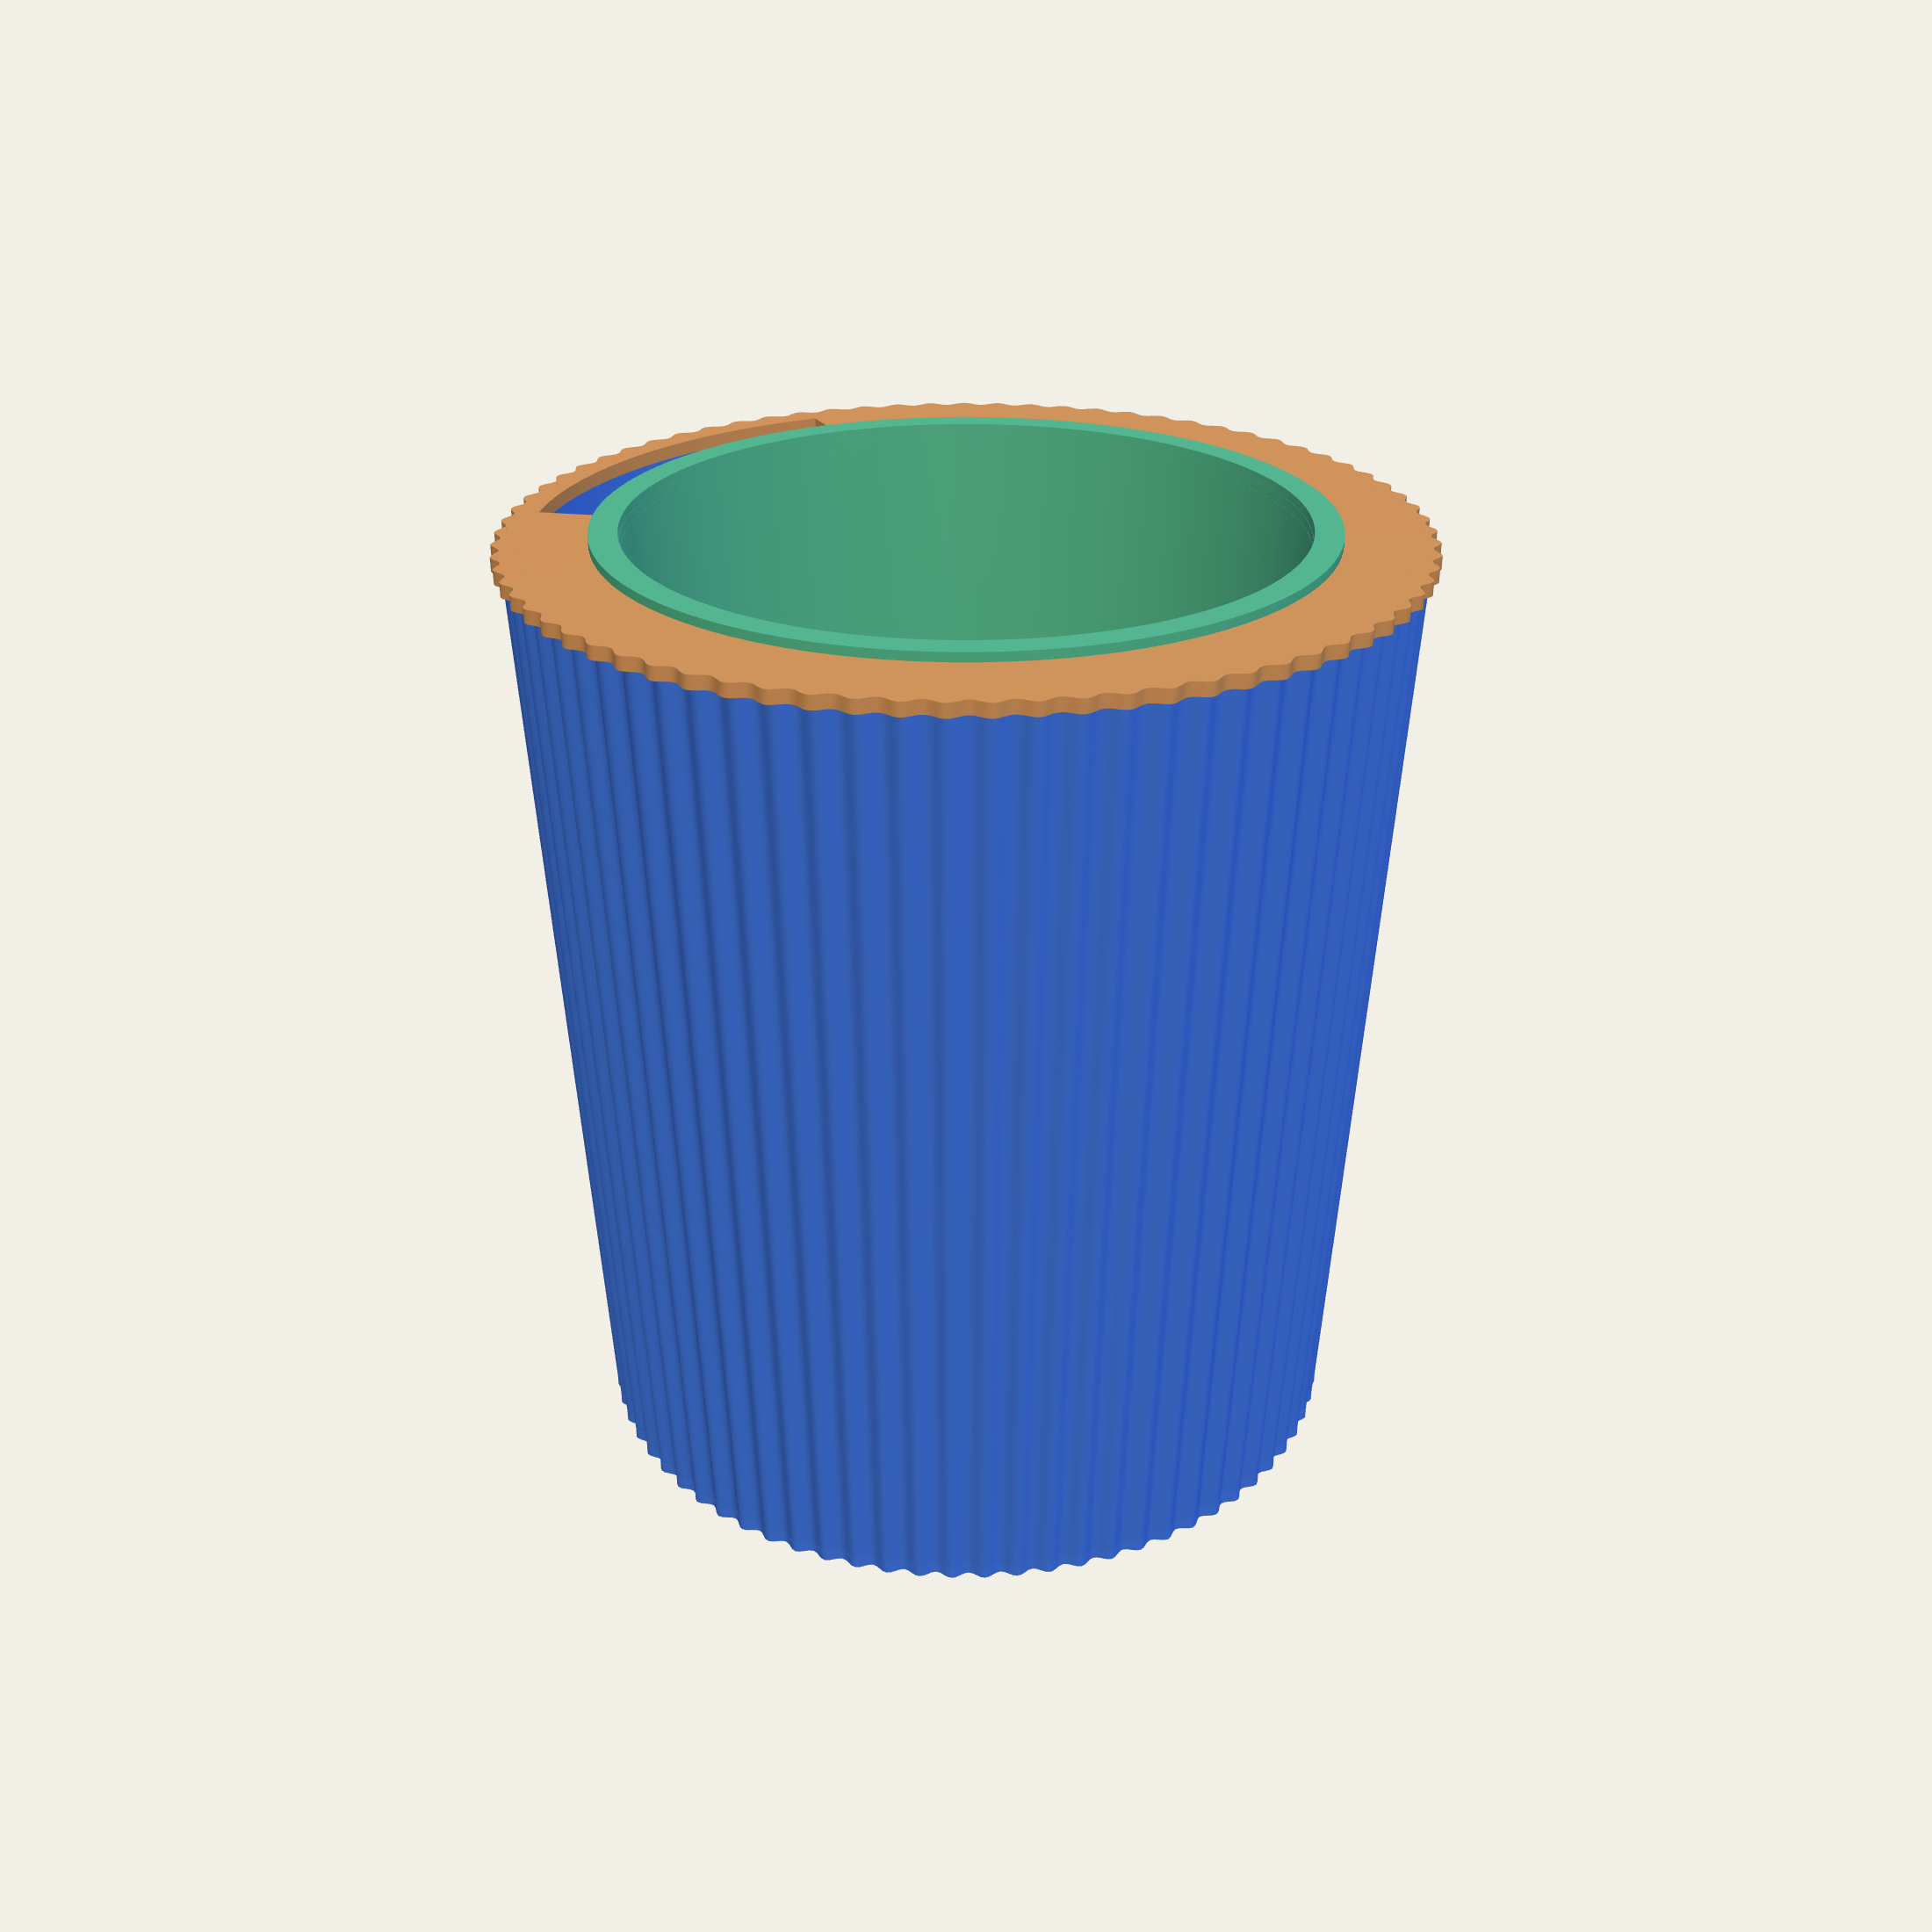
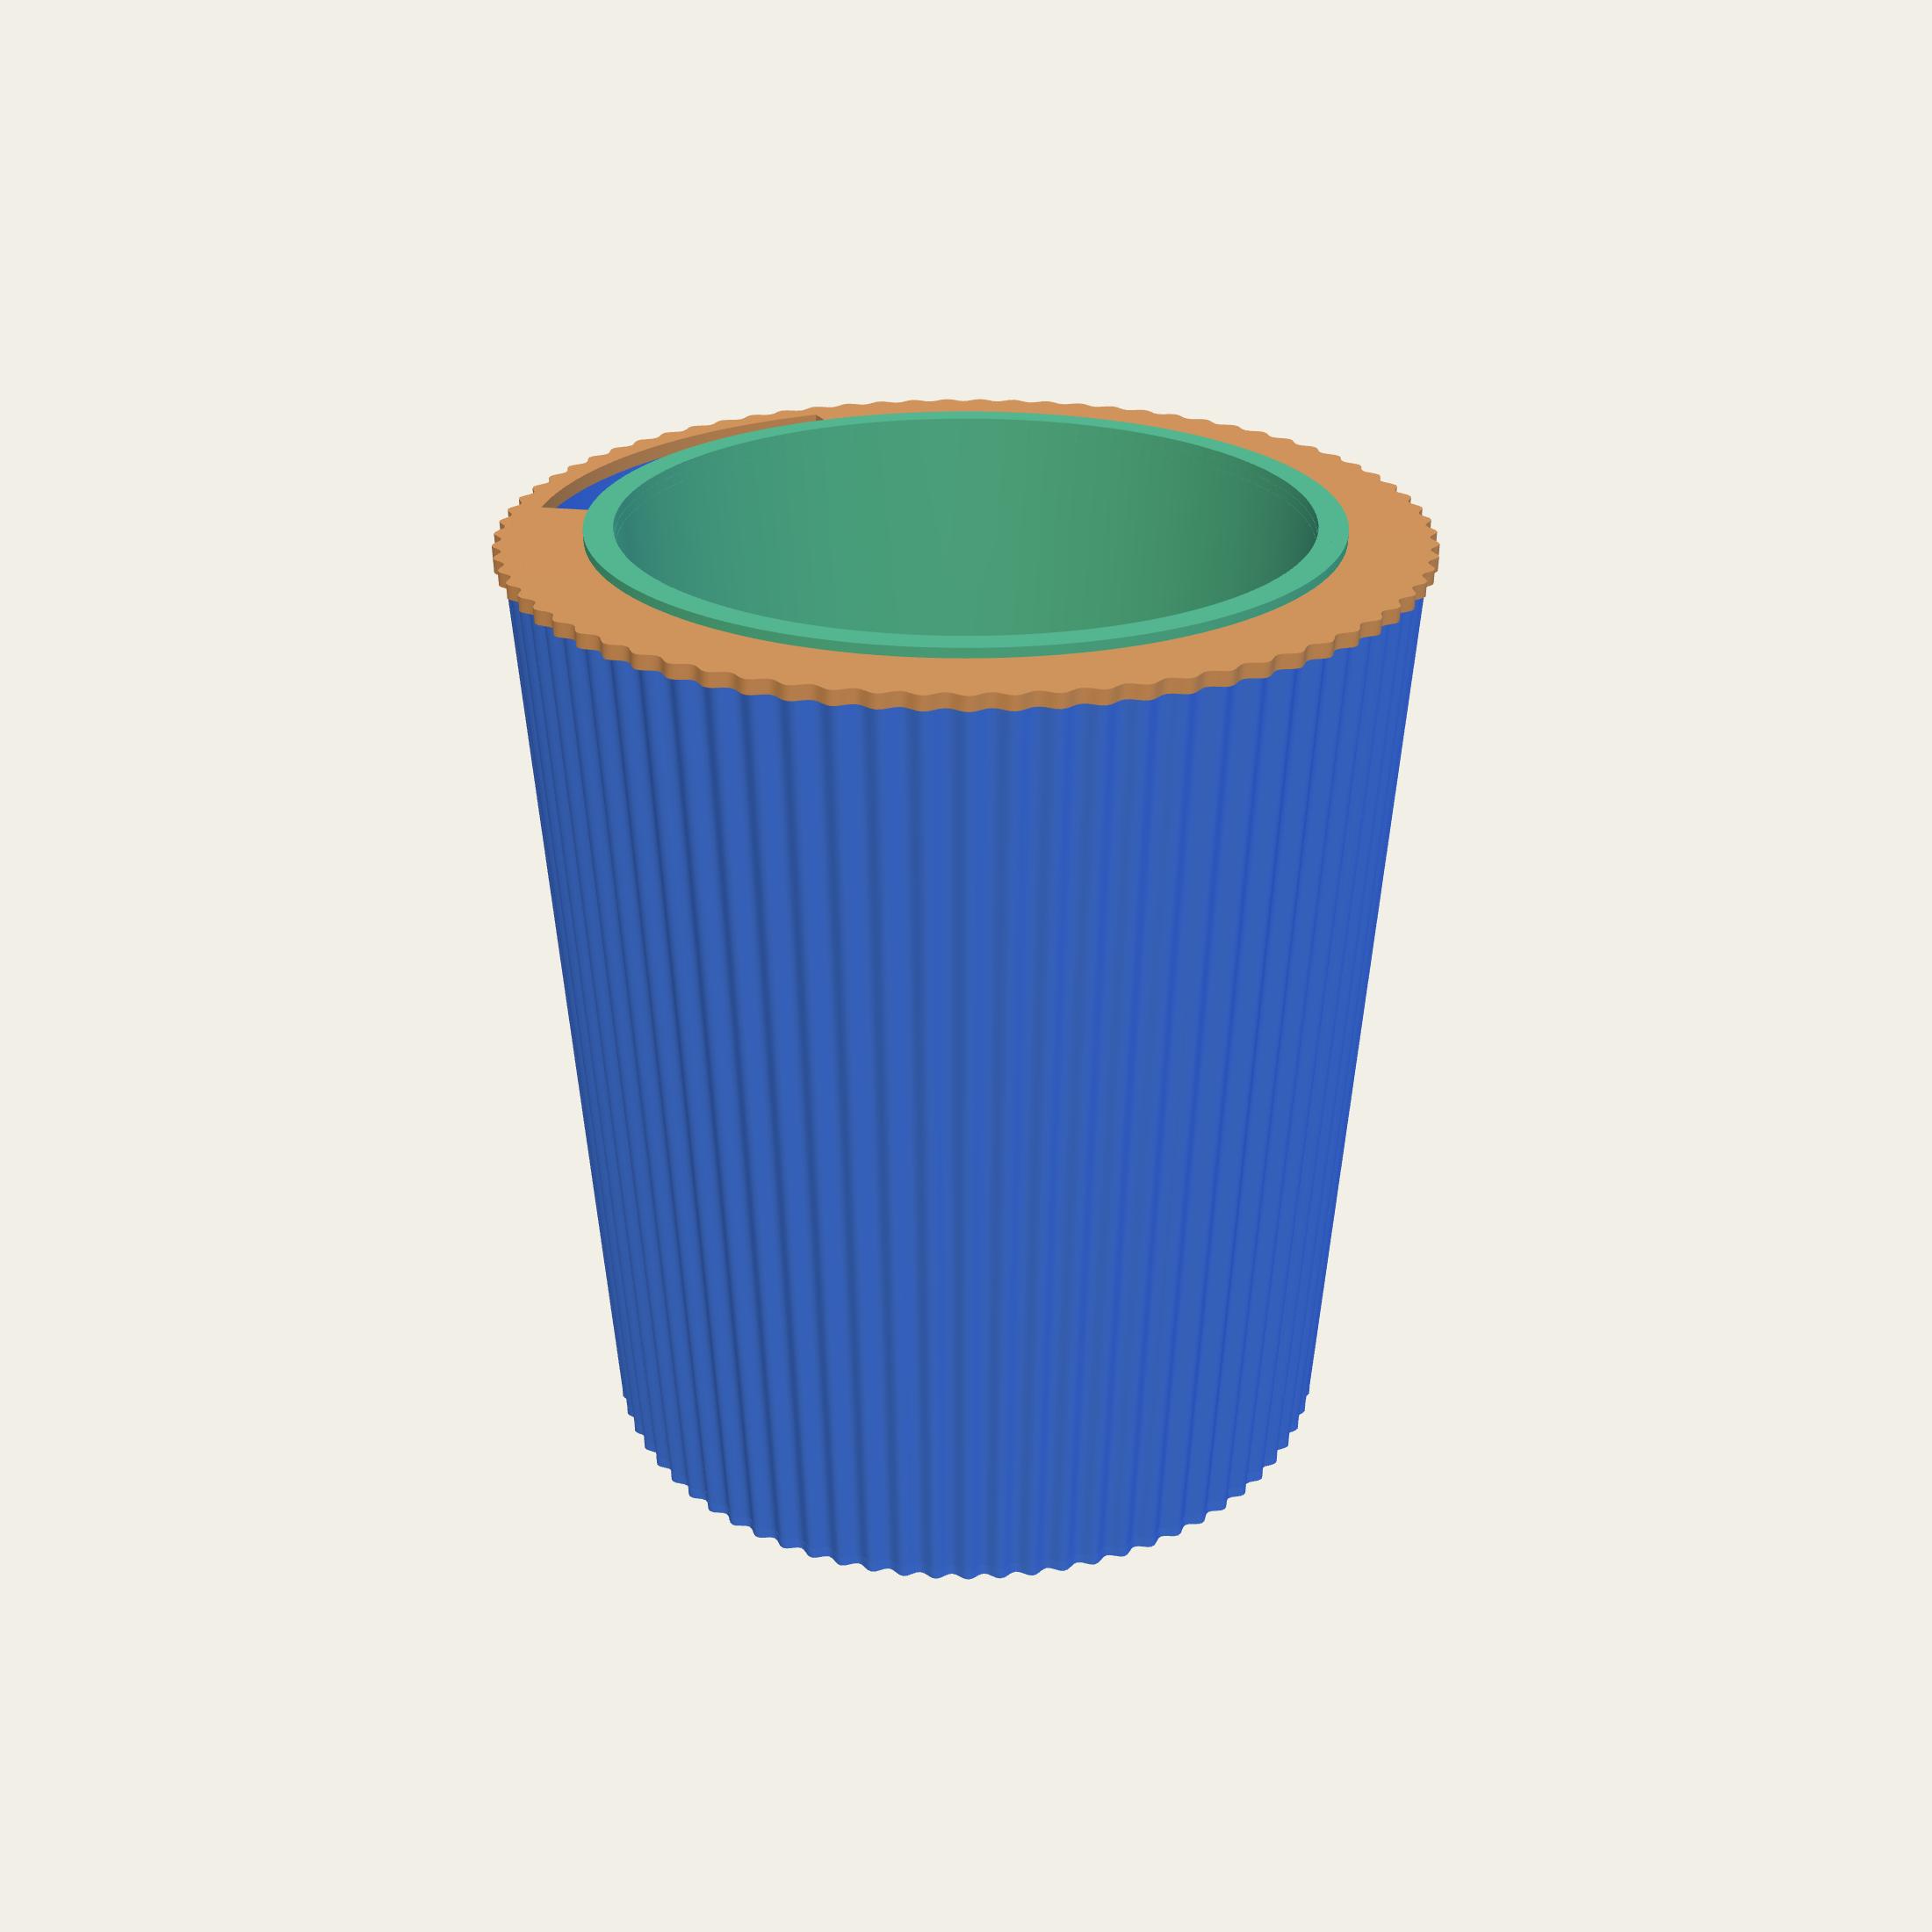
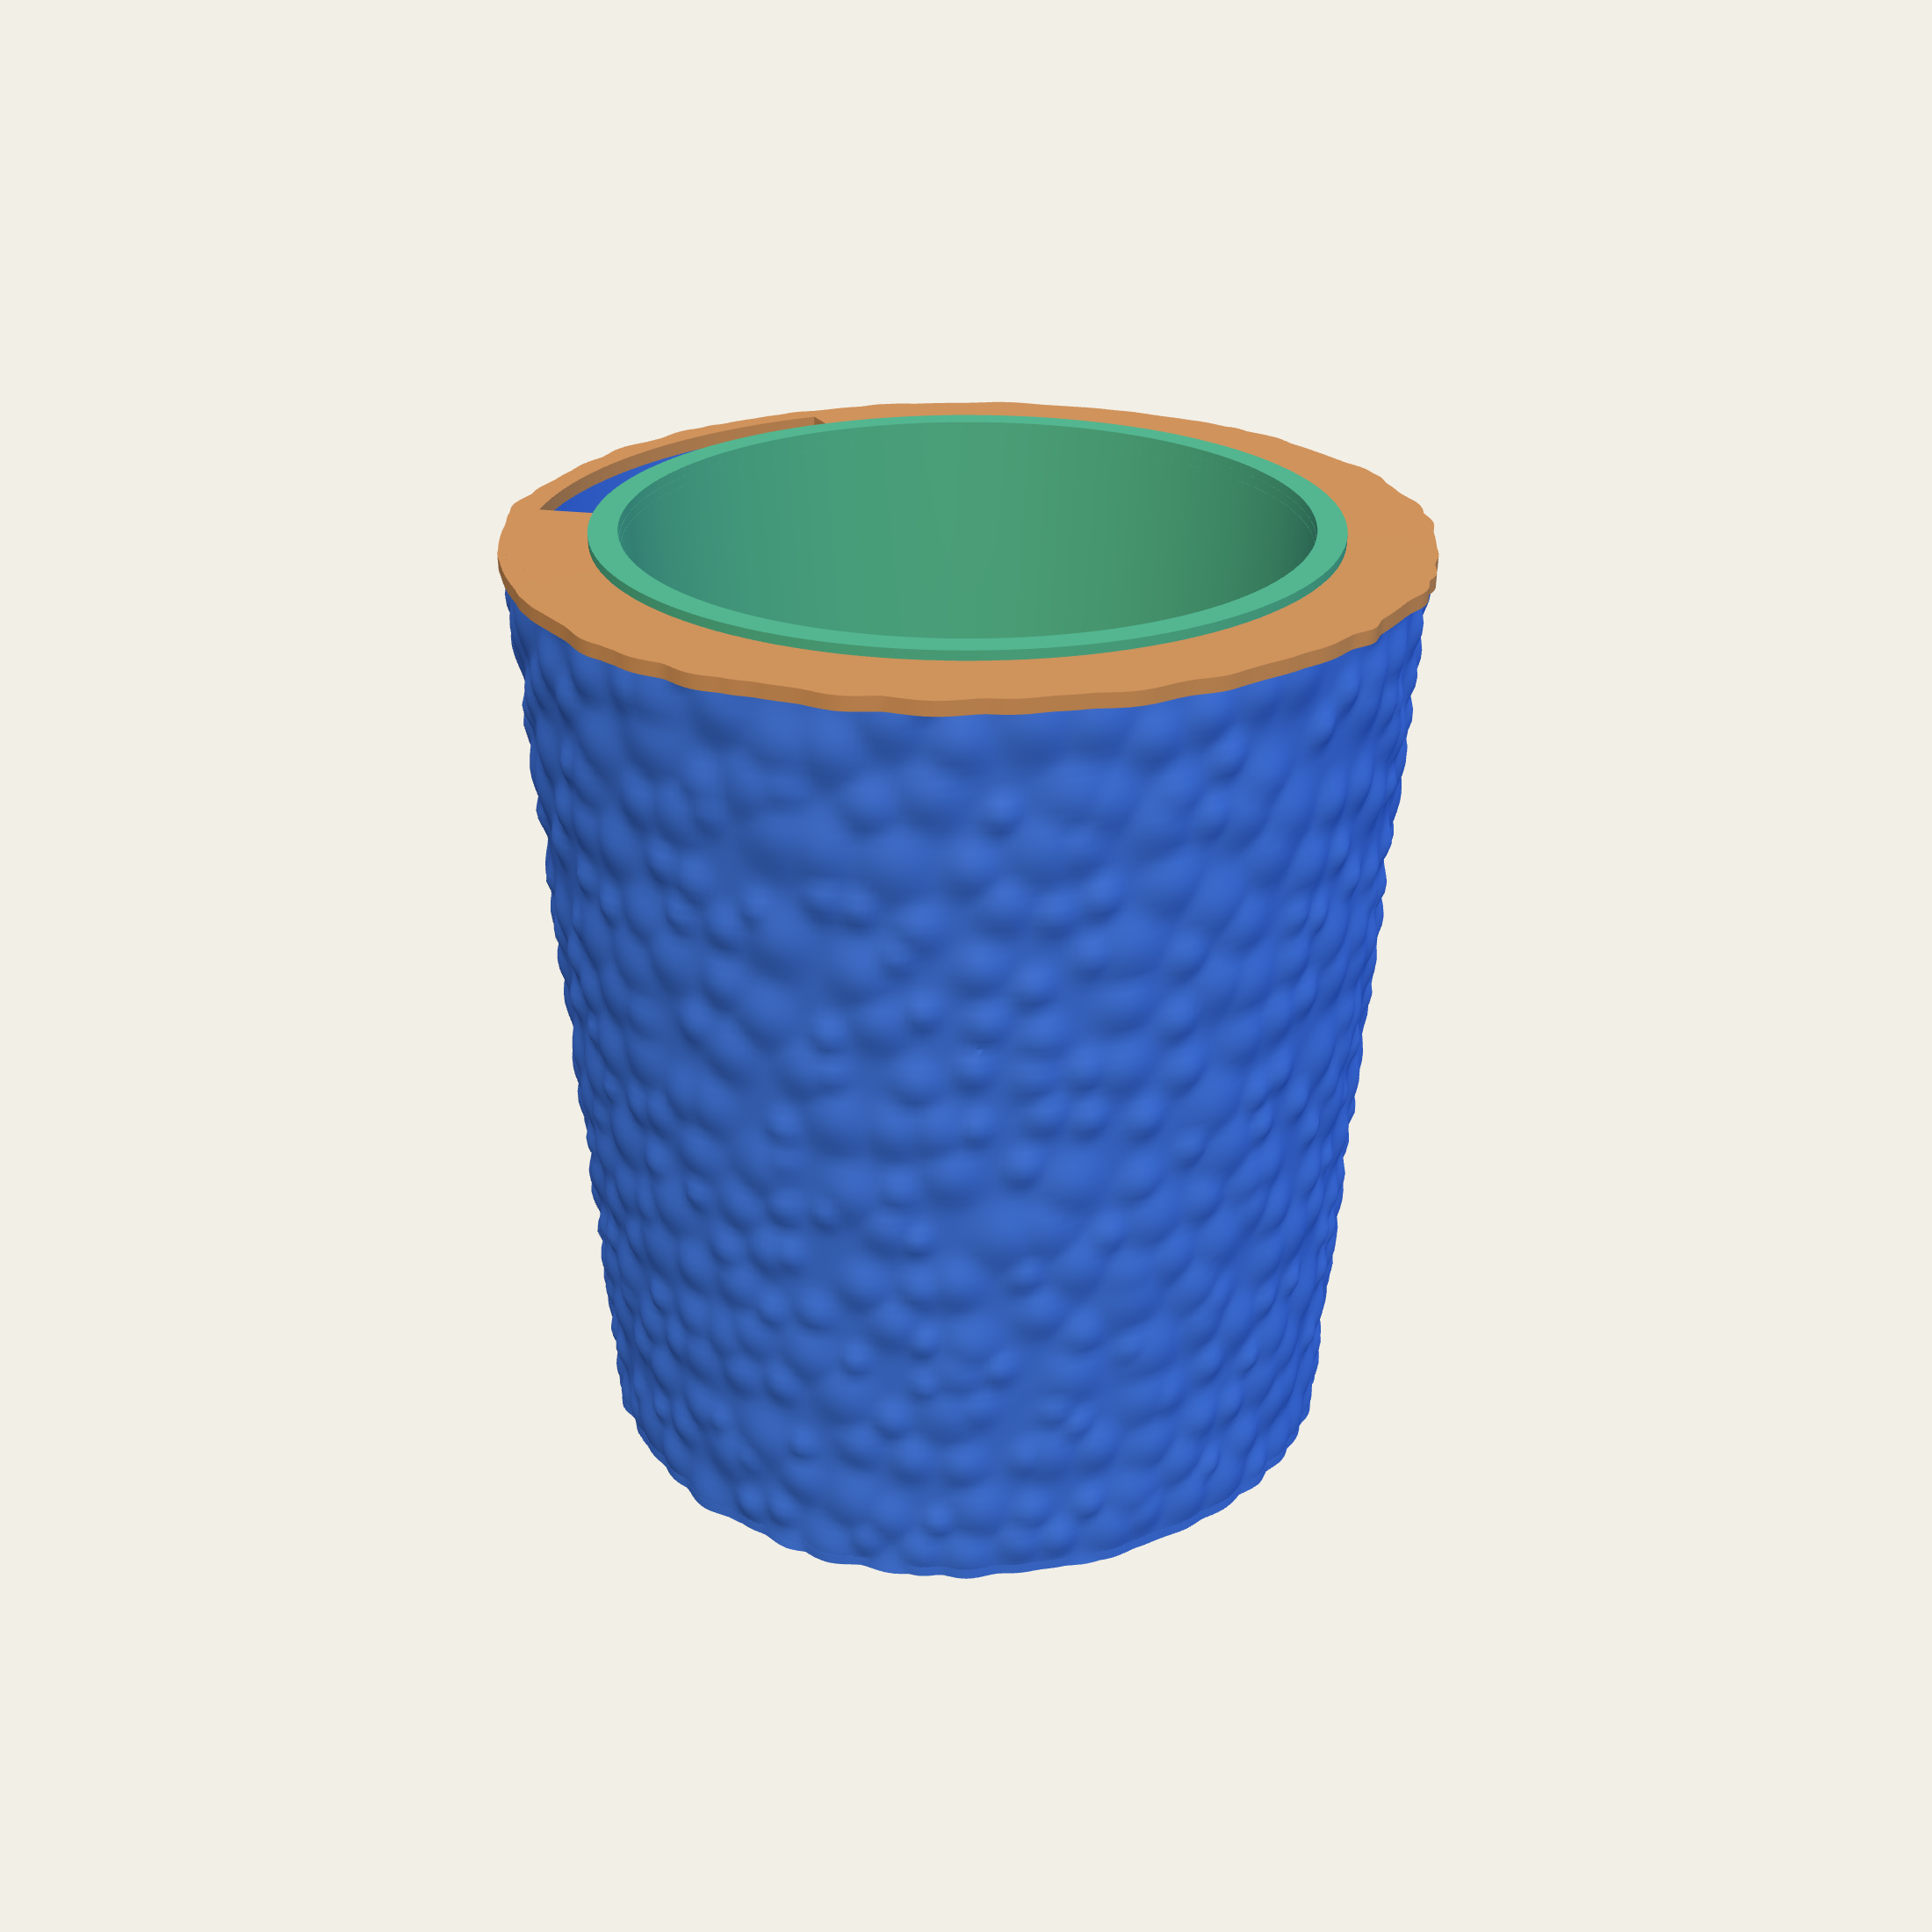
A machine-made pot gives itself away in its regularity: every flute the same width, every one the same depth, all the way round. Let the depth and the spacing loose and the wall stops looking printed. Wide flutes sit next to narrow ones, some cut deep and some barely there.
It is not random in the way that would matter. Every pot drawn this way carries a seed number, and the seed is what makes the pattern. Write it on the order and the same pot comes back next year, flute for flute, and so does the second one of a pair. One of a kind and repeatable is usually a choice between two things.
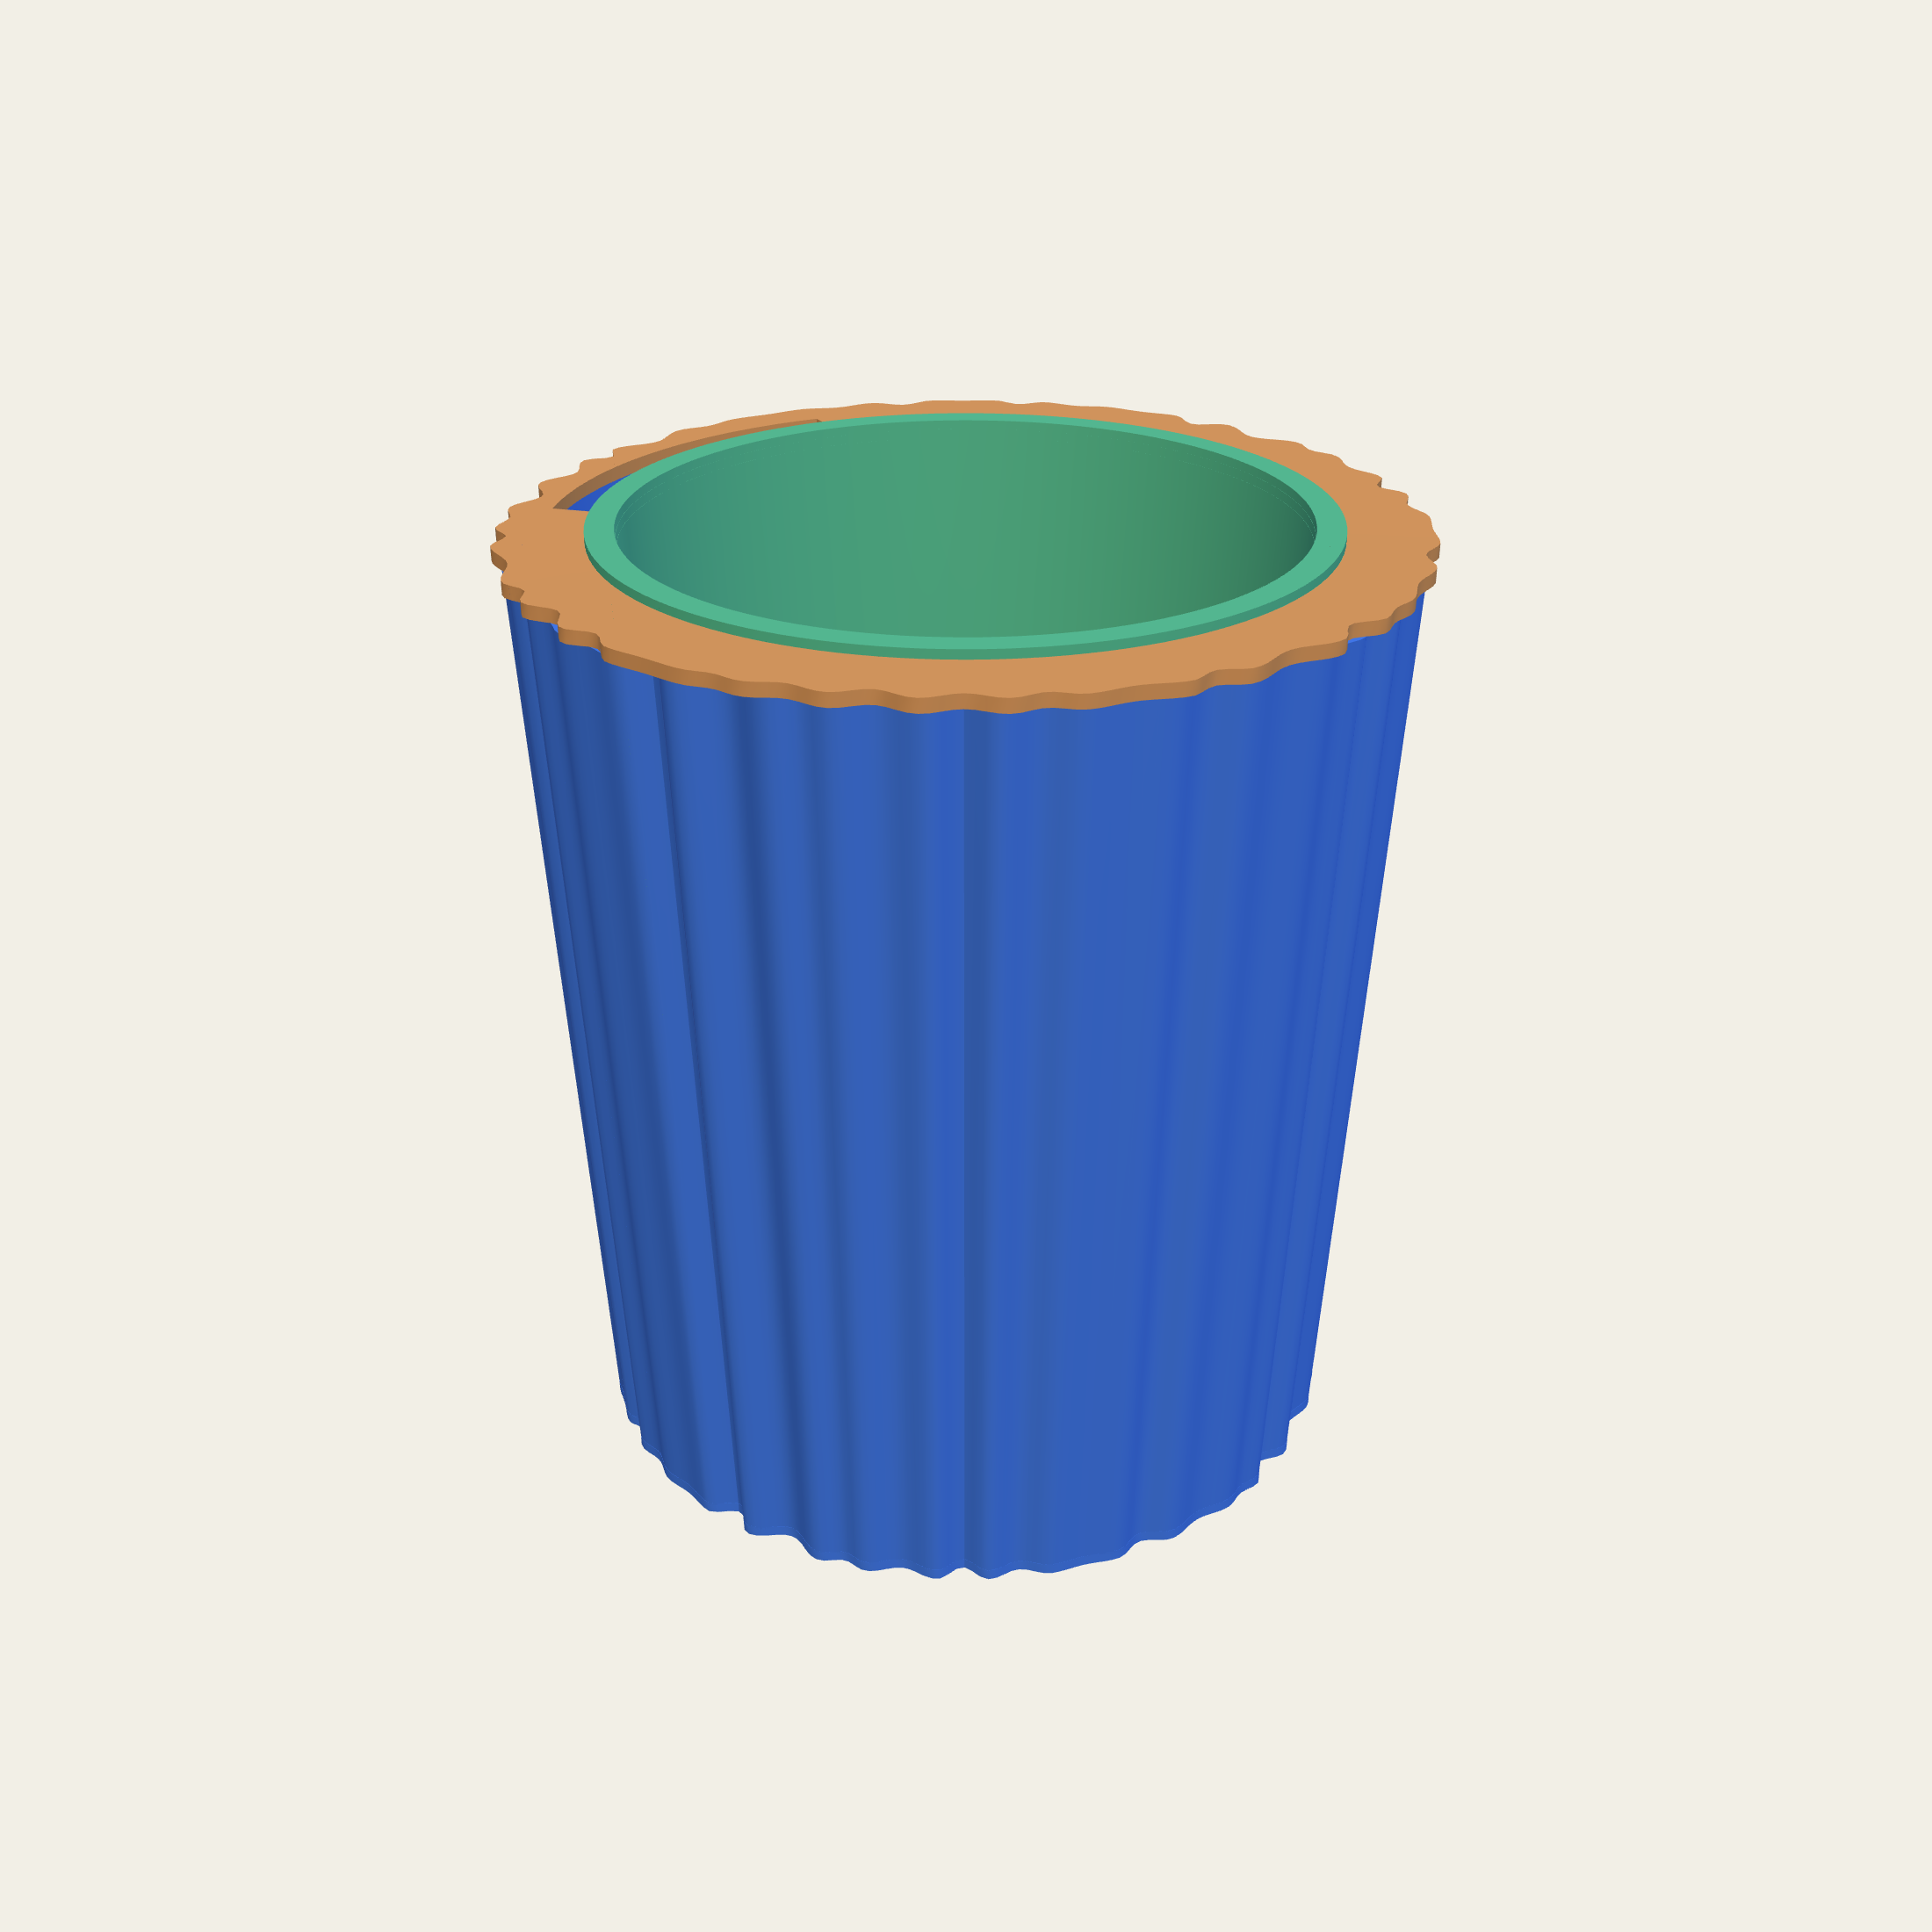
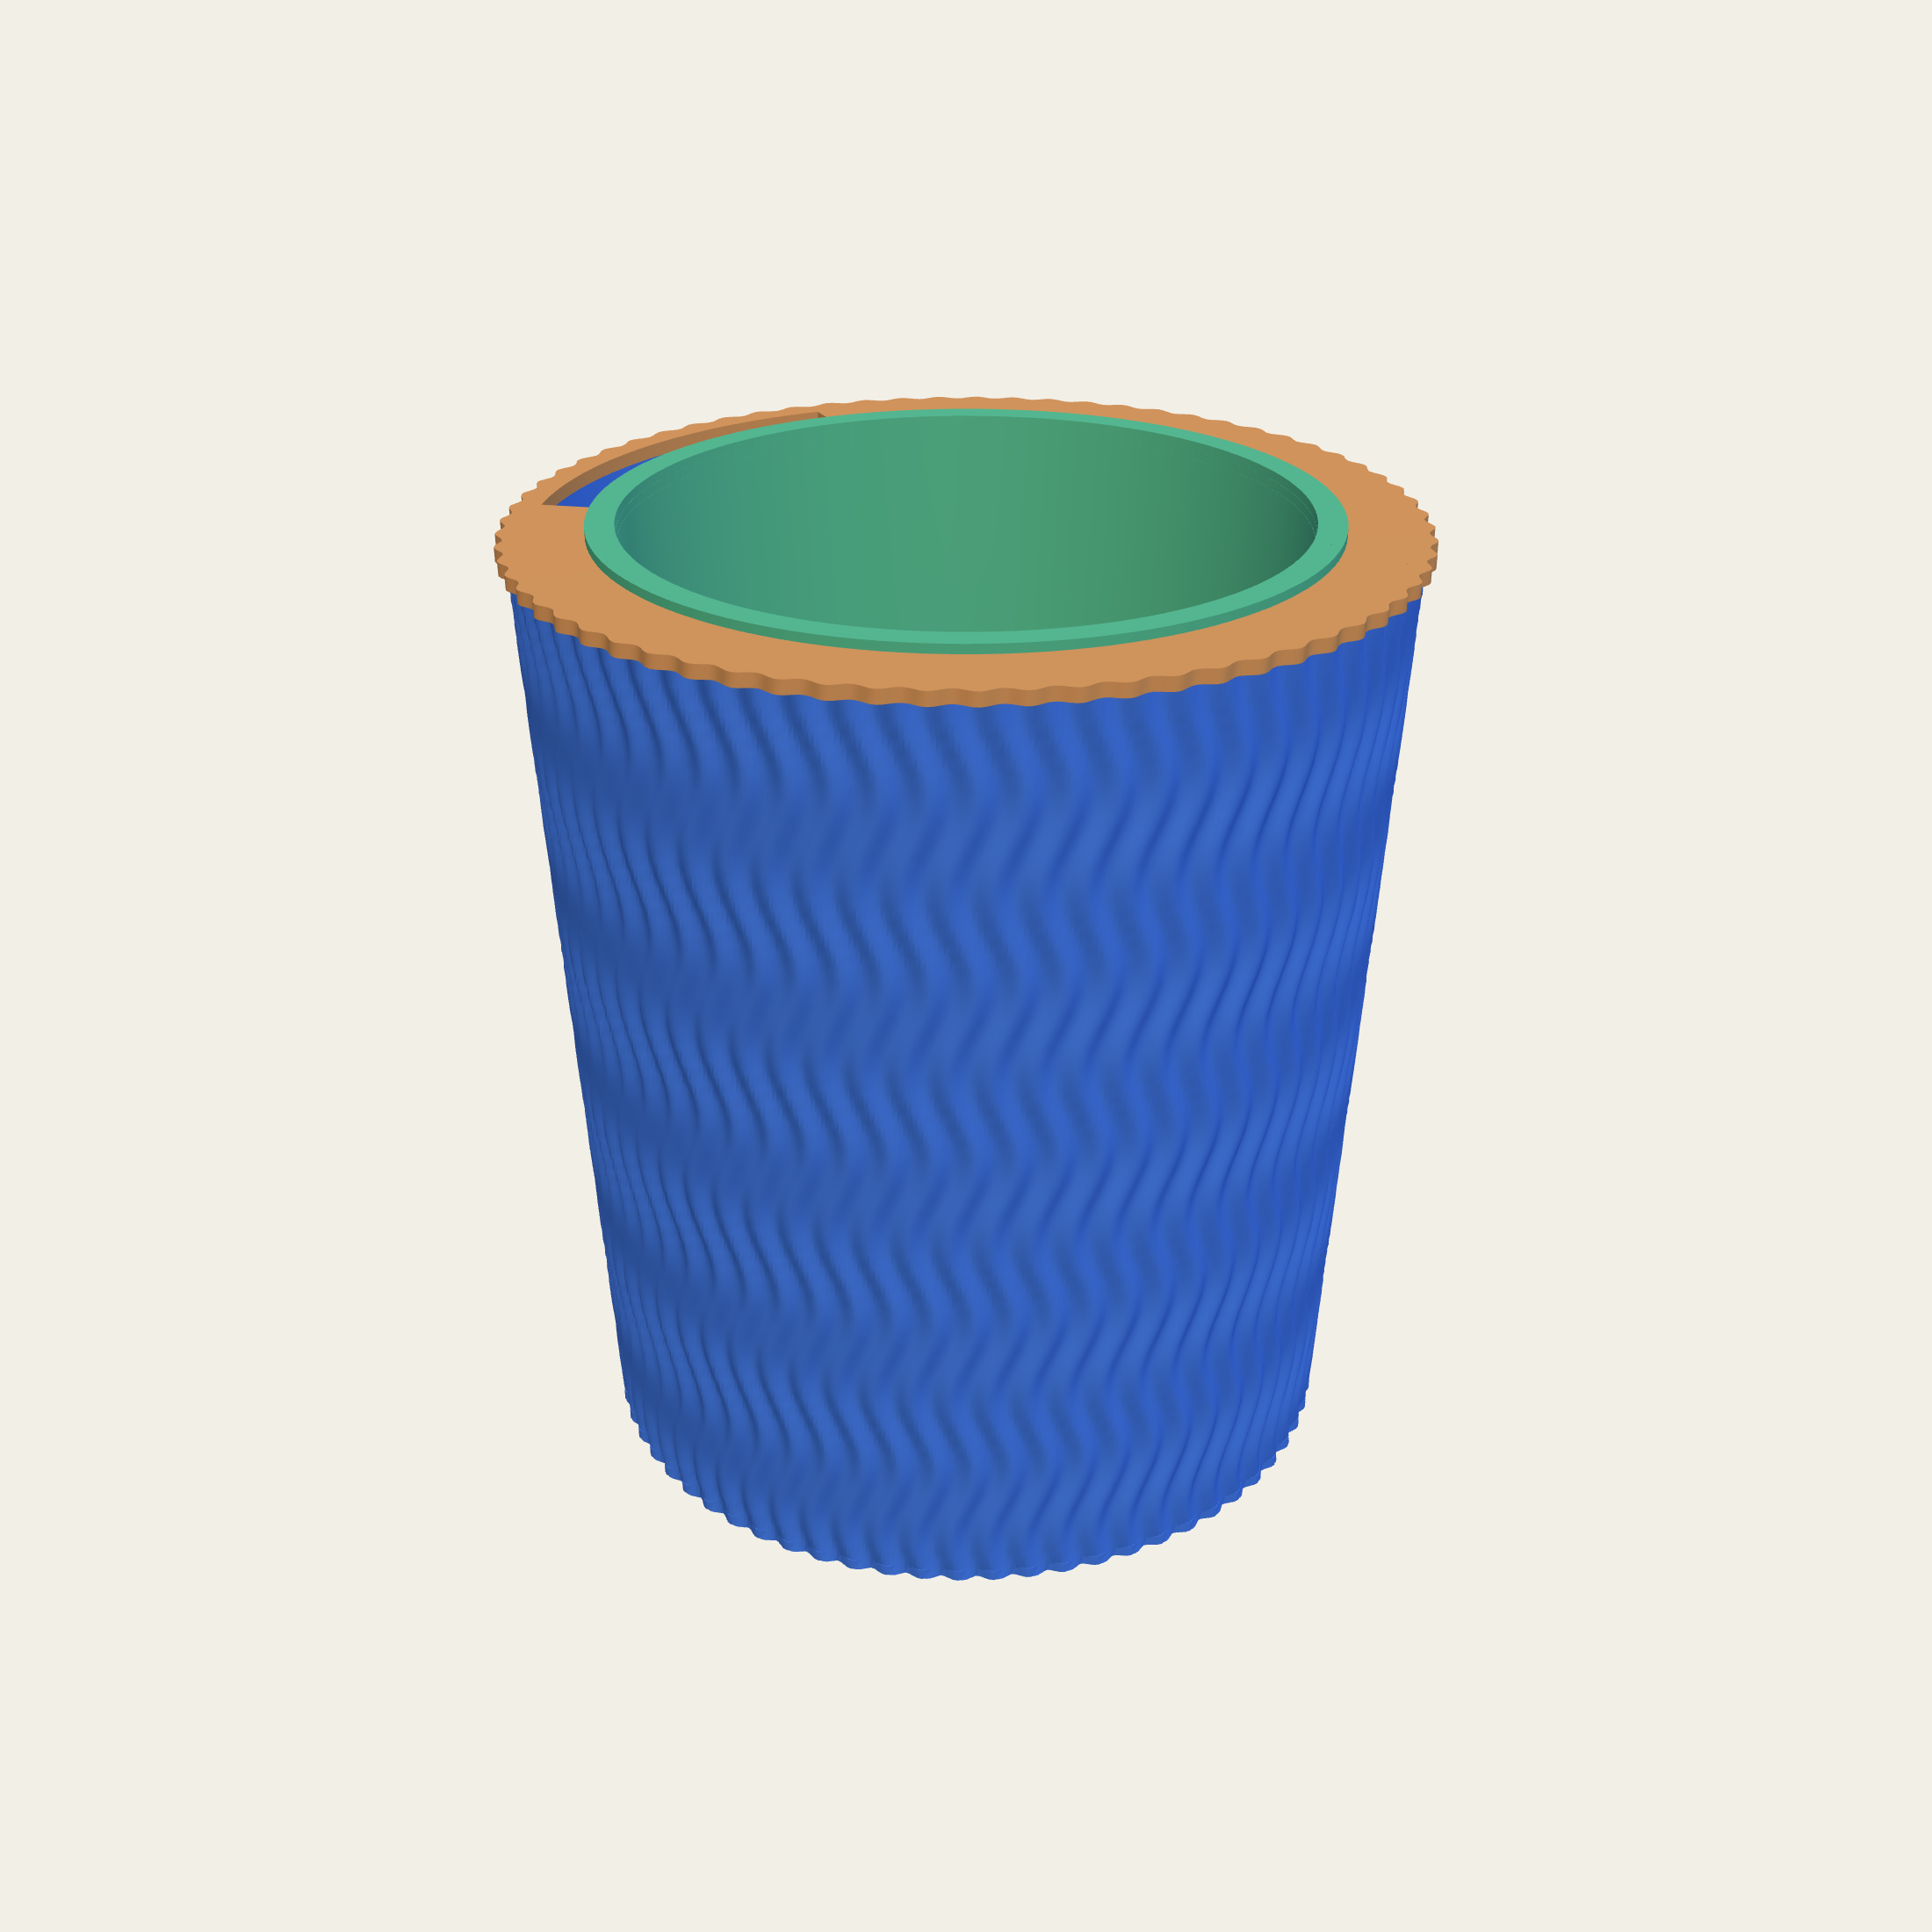
Flutes that do not run straight. Each one swings from side to side as it climbs, and because they all swing together the wall reads as a single slow movement rather than a set of grooves. Two numbers own it: how far a flute swings, and how far up the pot one swing takes.
It is the treatment that does most to a plain cylinder. A straight flute makes a pot look machined; the same flute with a swing in it makes the same pot look turned by hand.
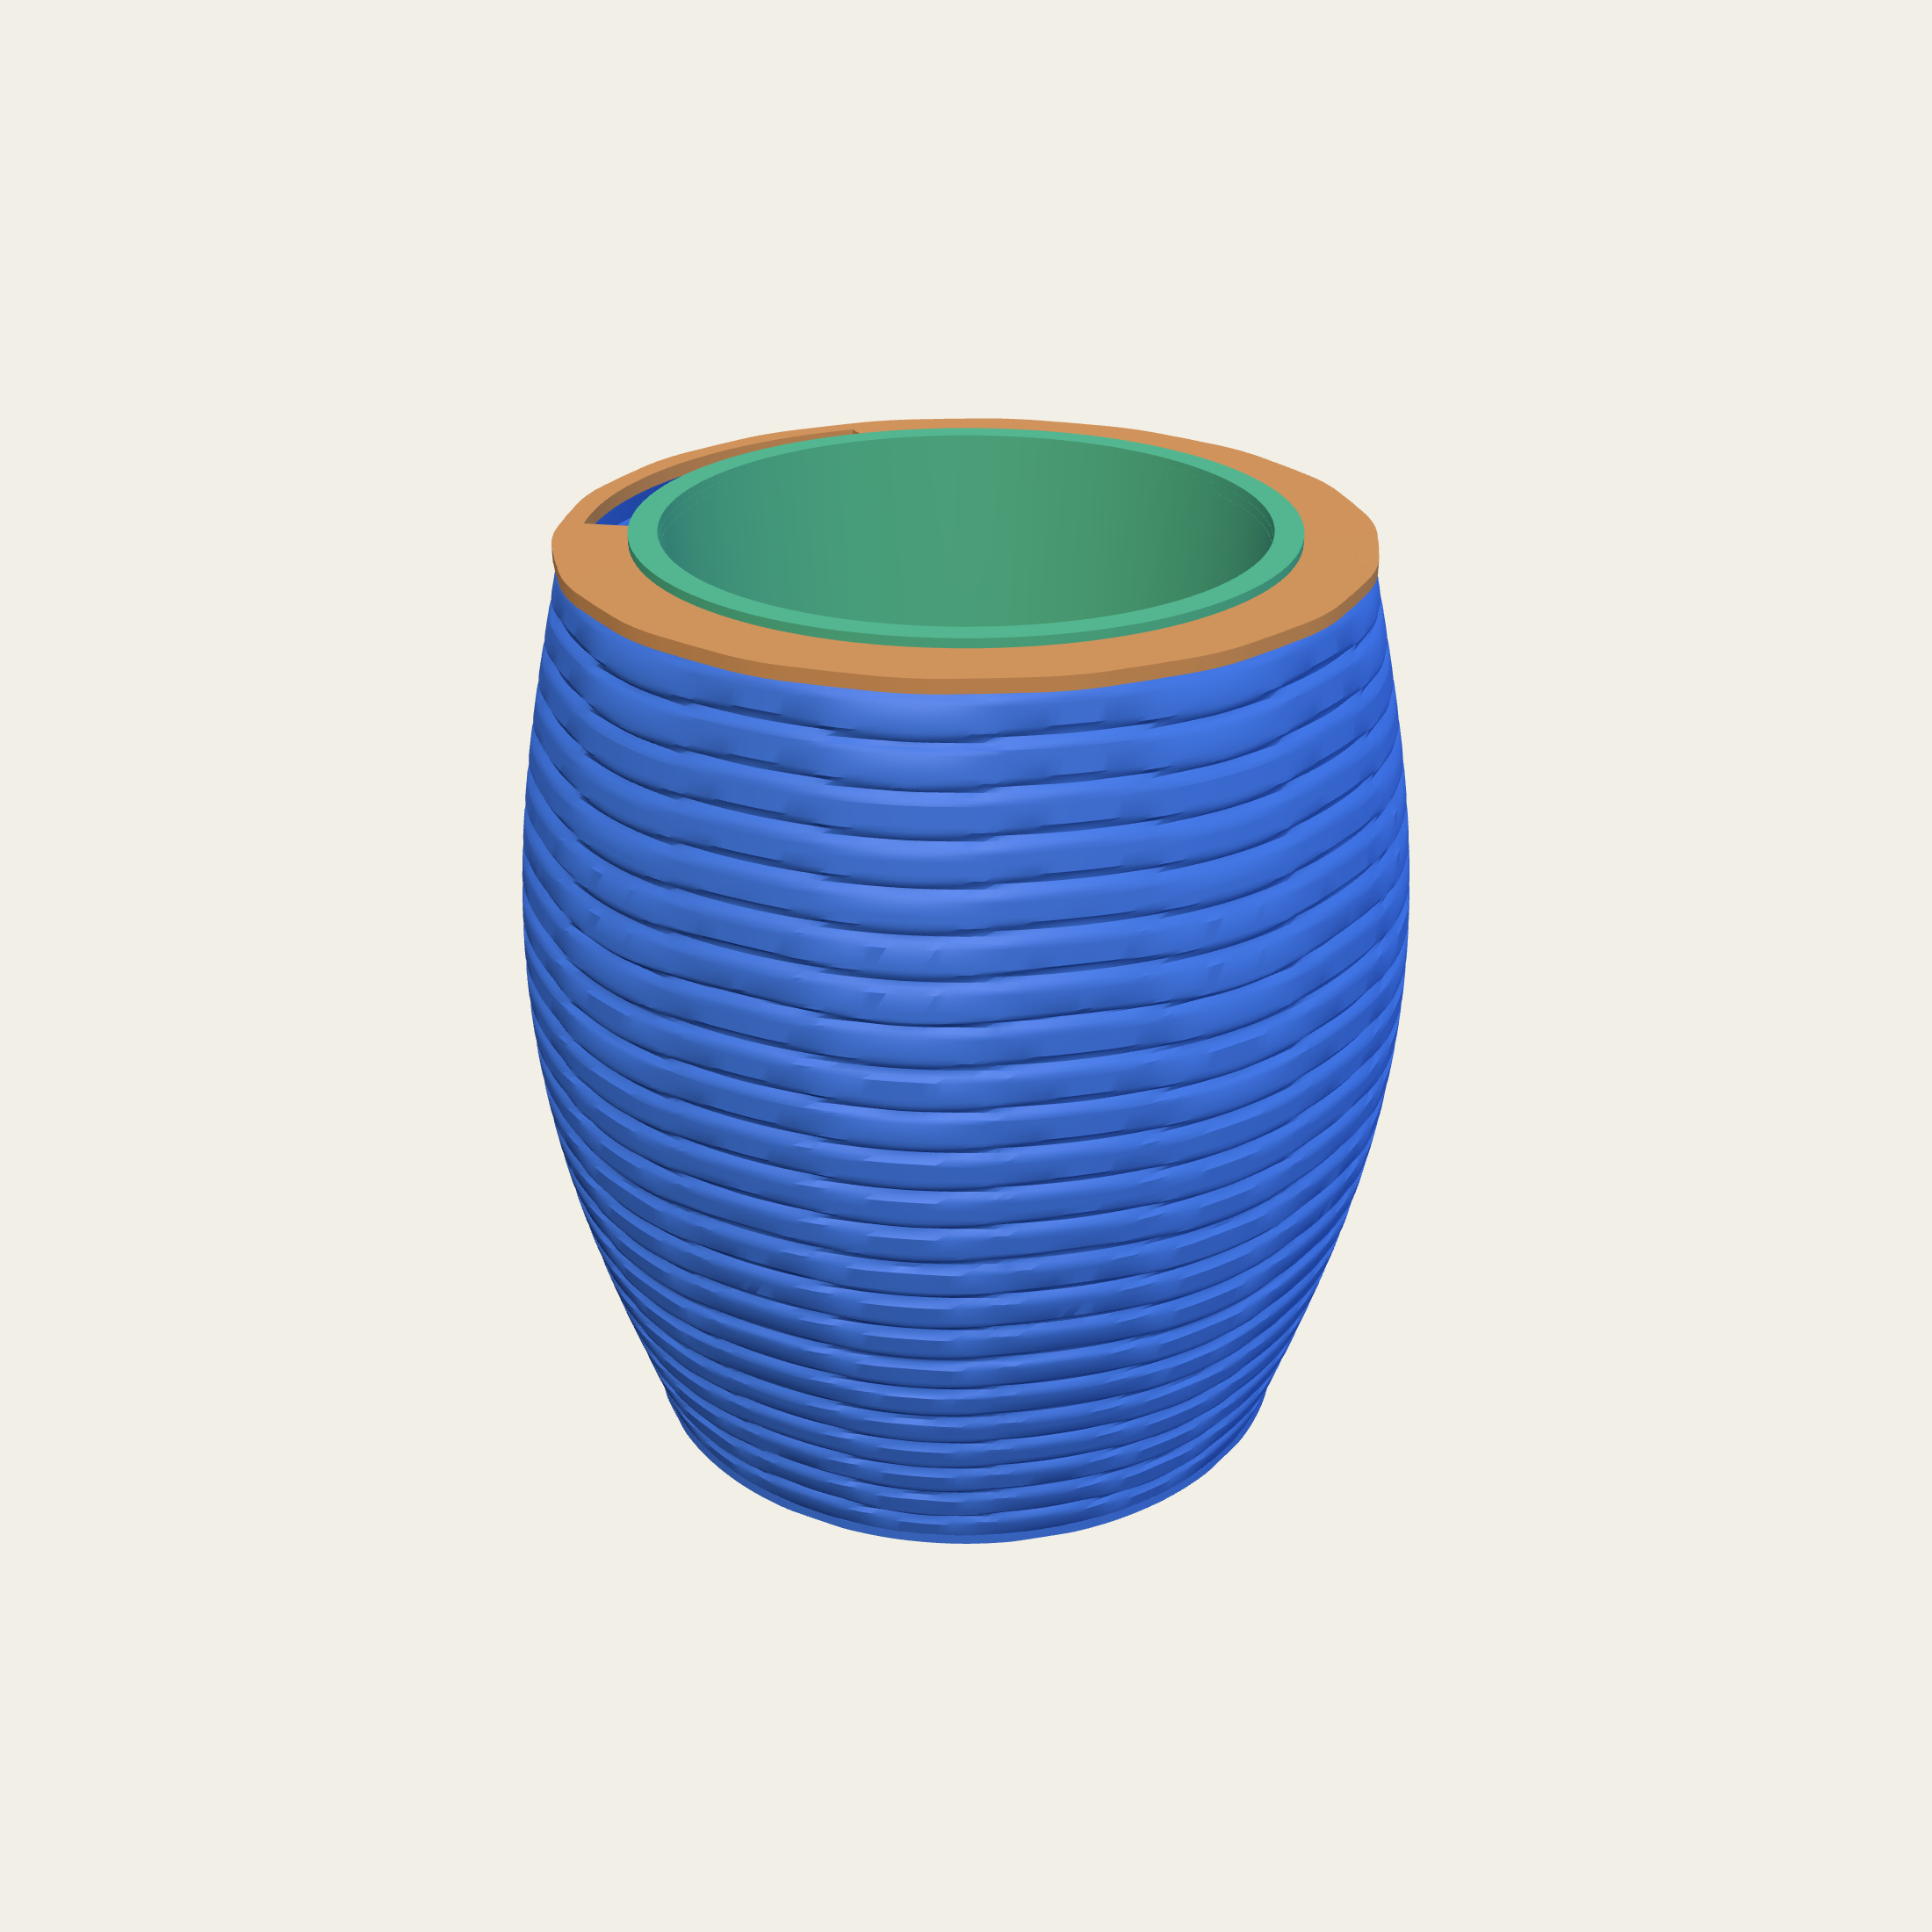
Bands that trace the pot the way a contour map traces a hill: closing round its widest point, crowding where the wall turns and opening out where it runs straight. On a waisted or a bulbous body it makes the silhouette legible from across a room, which a plain wall does not.
Two things keep it from looking printed. The bands can wander off the level rather than sitting in perfect rings, and some of them can be drawn heavier than others. It is the quietest of the families and the one that survives being put next to other things: a shelf of plain pots with one contour pot on it looks considered, and a shelf of six different treatments looks like a sample board.
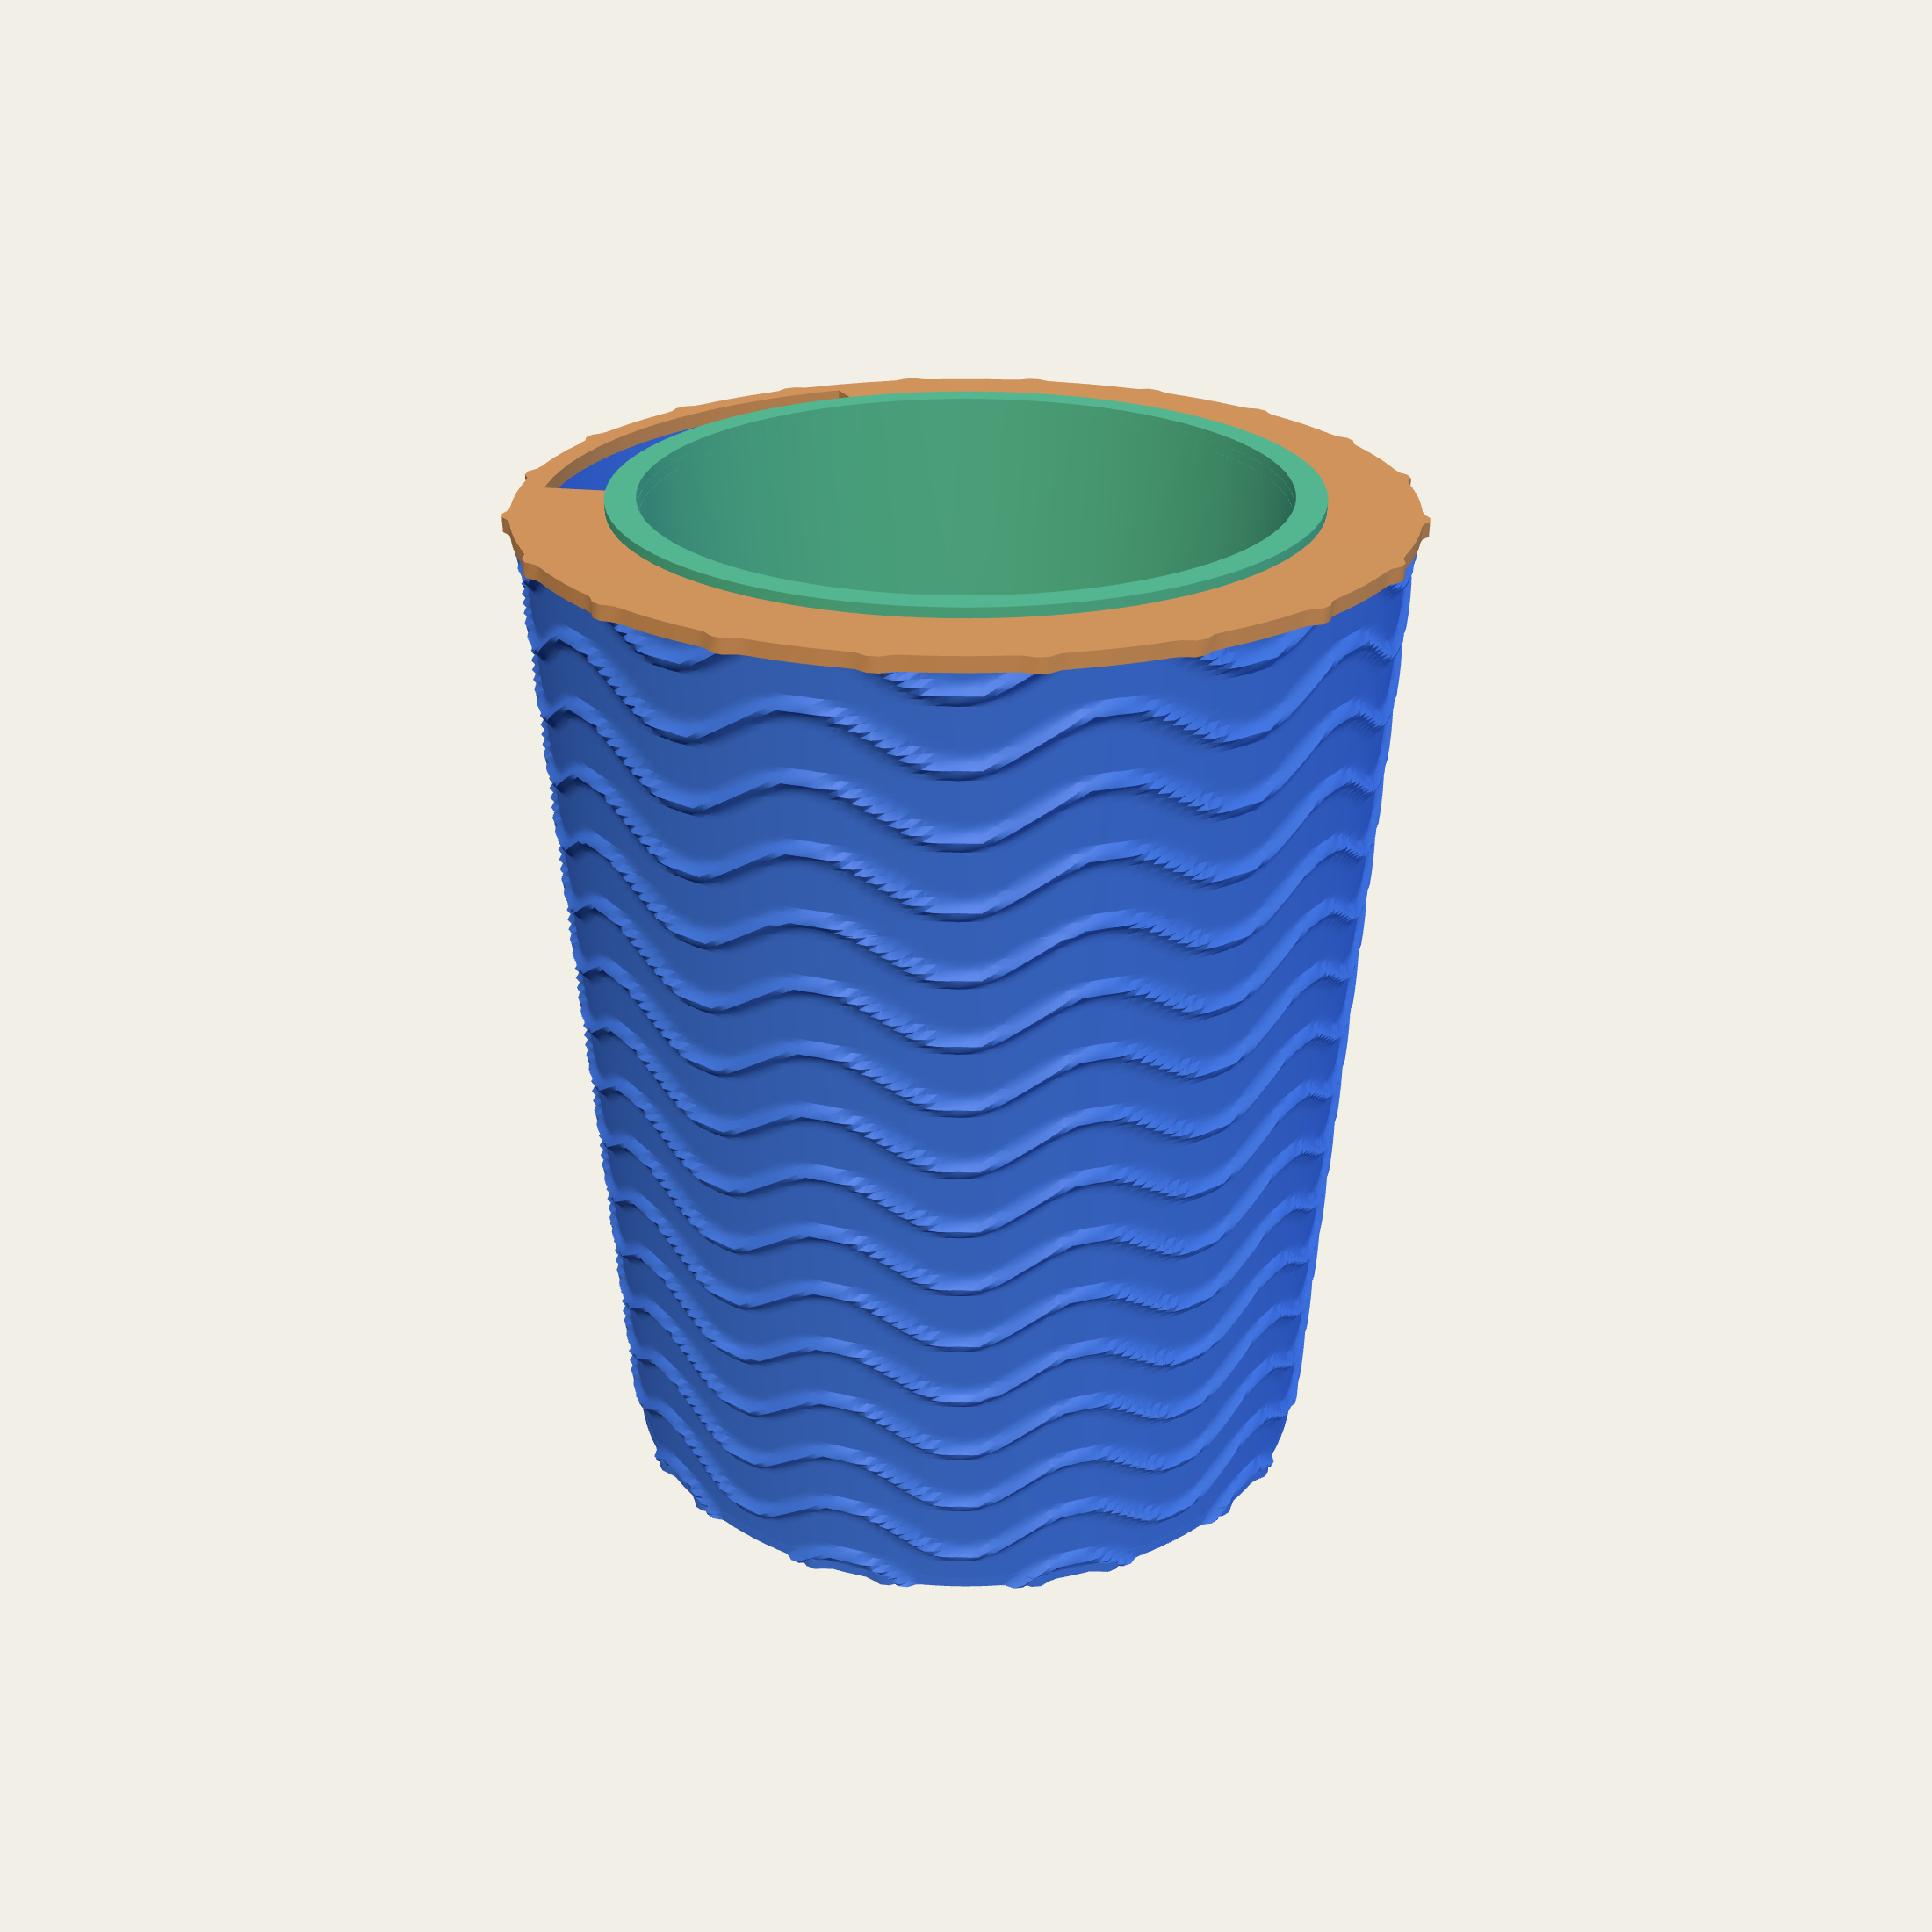
A band that rises and falls as it travels, stacked up the wall so the whole pot moves. Run it round and it is water; run it up and the bands interlock into something closer to a 1930s lobby floor. Same treatment, one control.
It is the loudest thing here and it wants room. On a 170 mm body the wave has a wall to travel on and reads from across the room; on a 90 mm one the same numbers crowd into a texture.
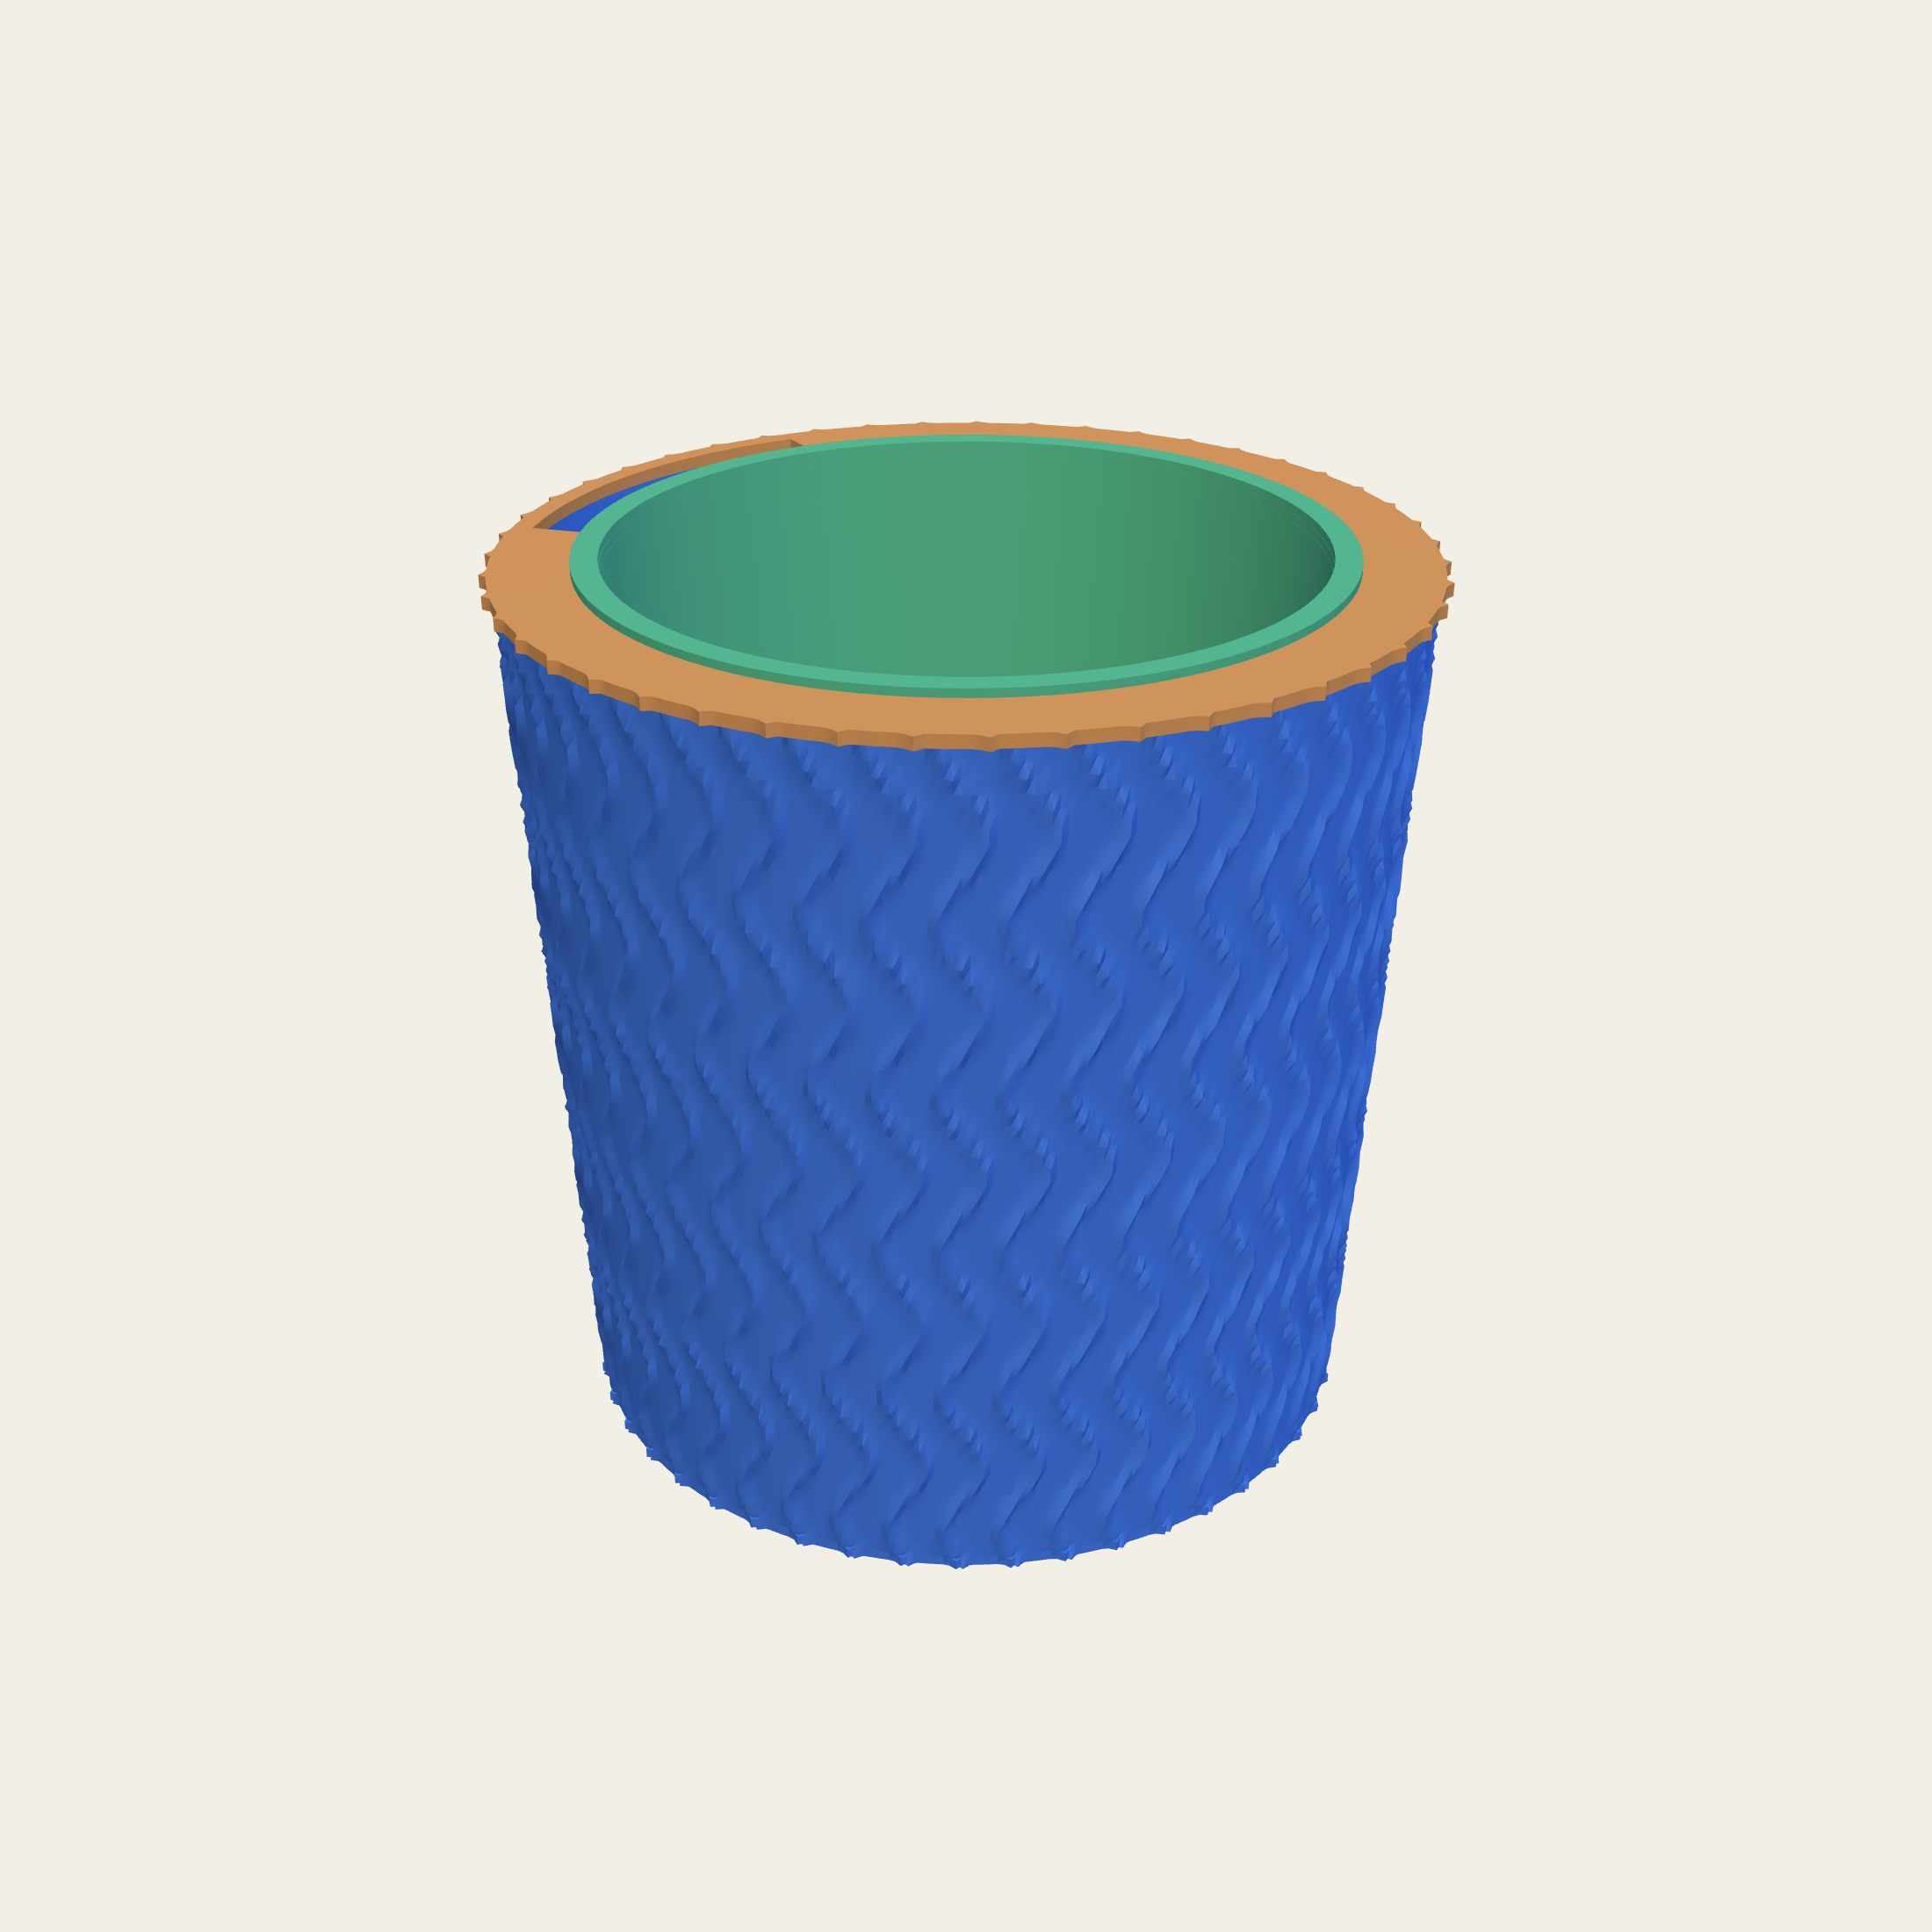
Pillows across the wall, each one proud of its neighbours, with the seams pressed in between them. It is the least ceramic-looking thing we make and the most textile, and people reach out and touch it, which is not something a plain pot gets.
The cells sit on a diamond grid or a square one, and the whole field goes either way from the same drawing. Standing proud, every pillow catches its own highlight. Pressed in, the field goes much softer and the seams become the only hard lines on the pot.
It suits a room with soft furnishings in it and a plant with a hard architectural leaf. A Sansevieria in a quilted pot is a better pairing than either of them deserves.
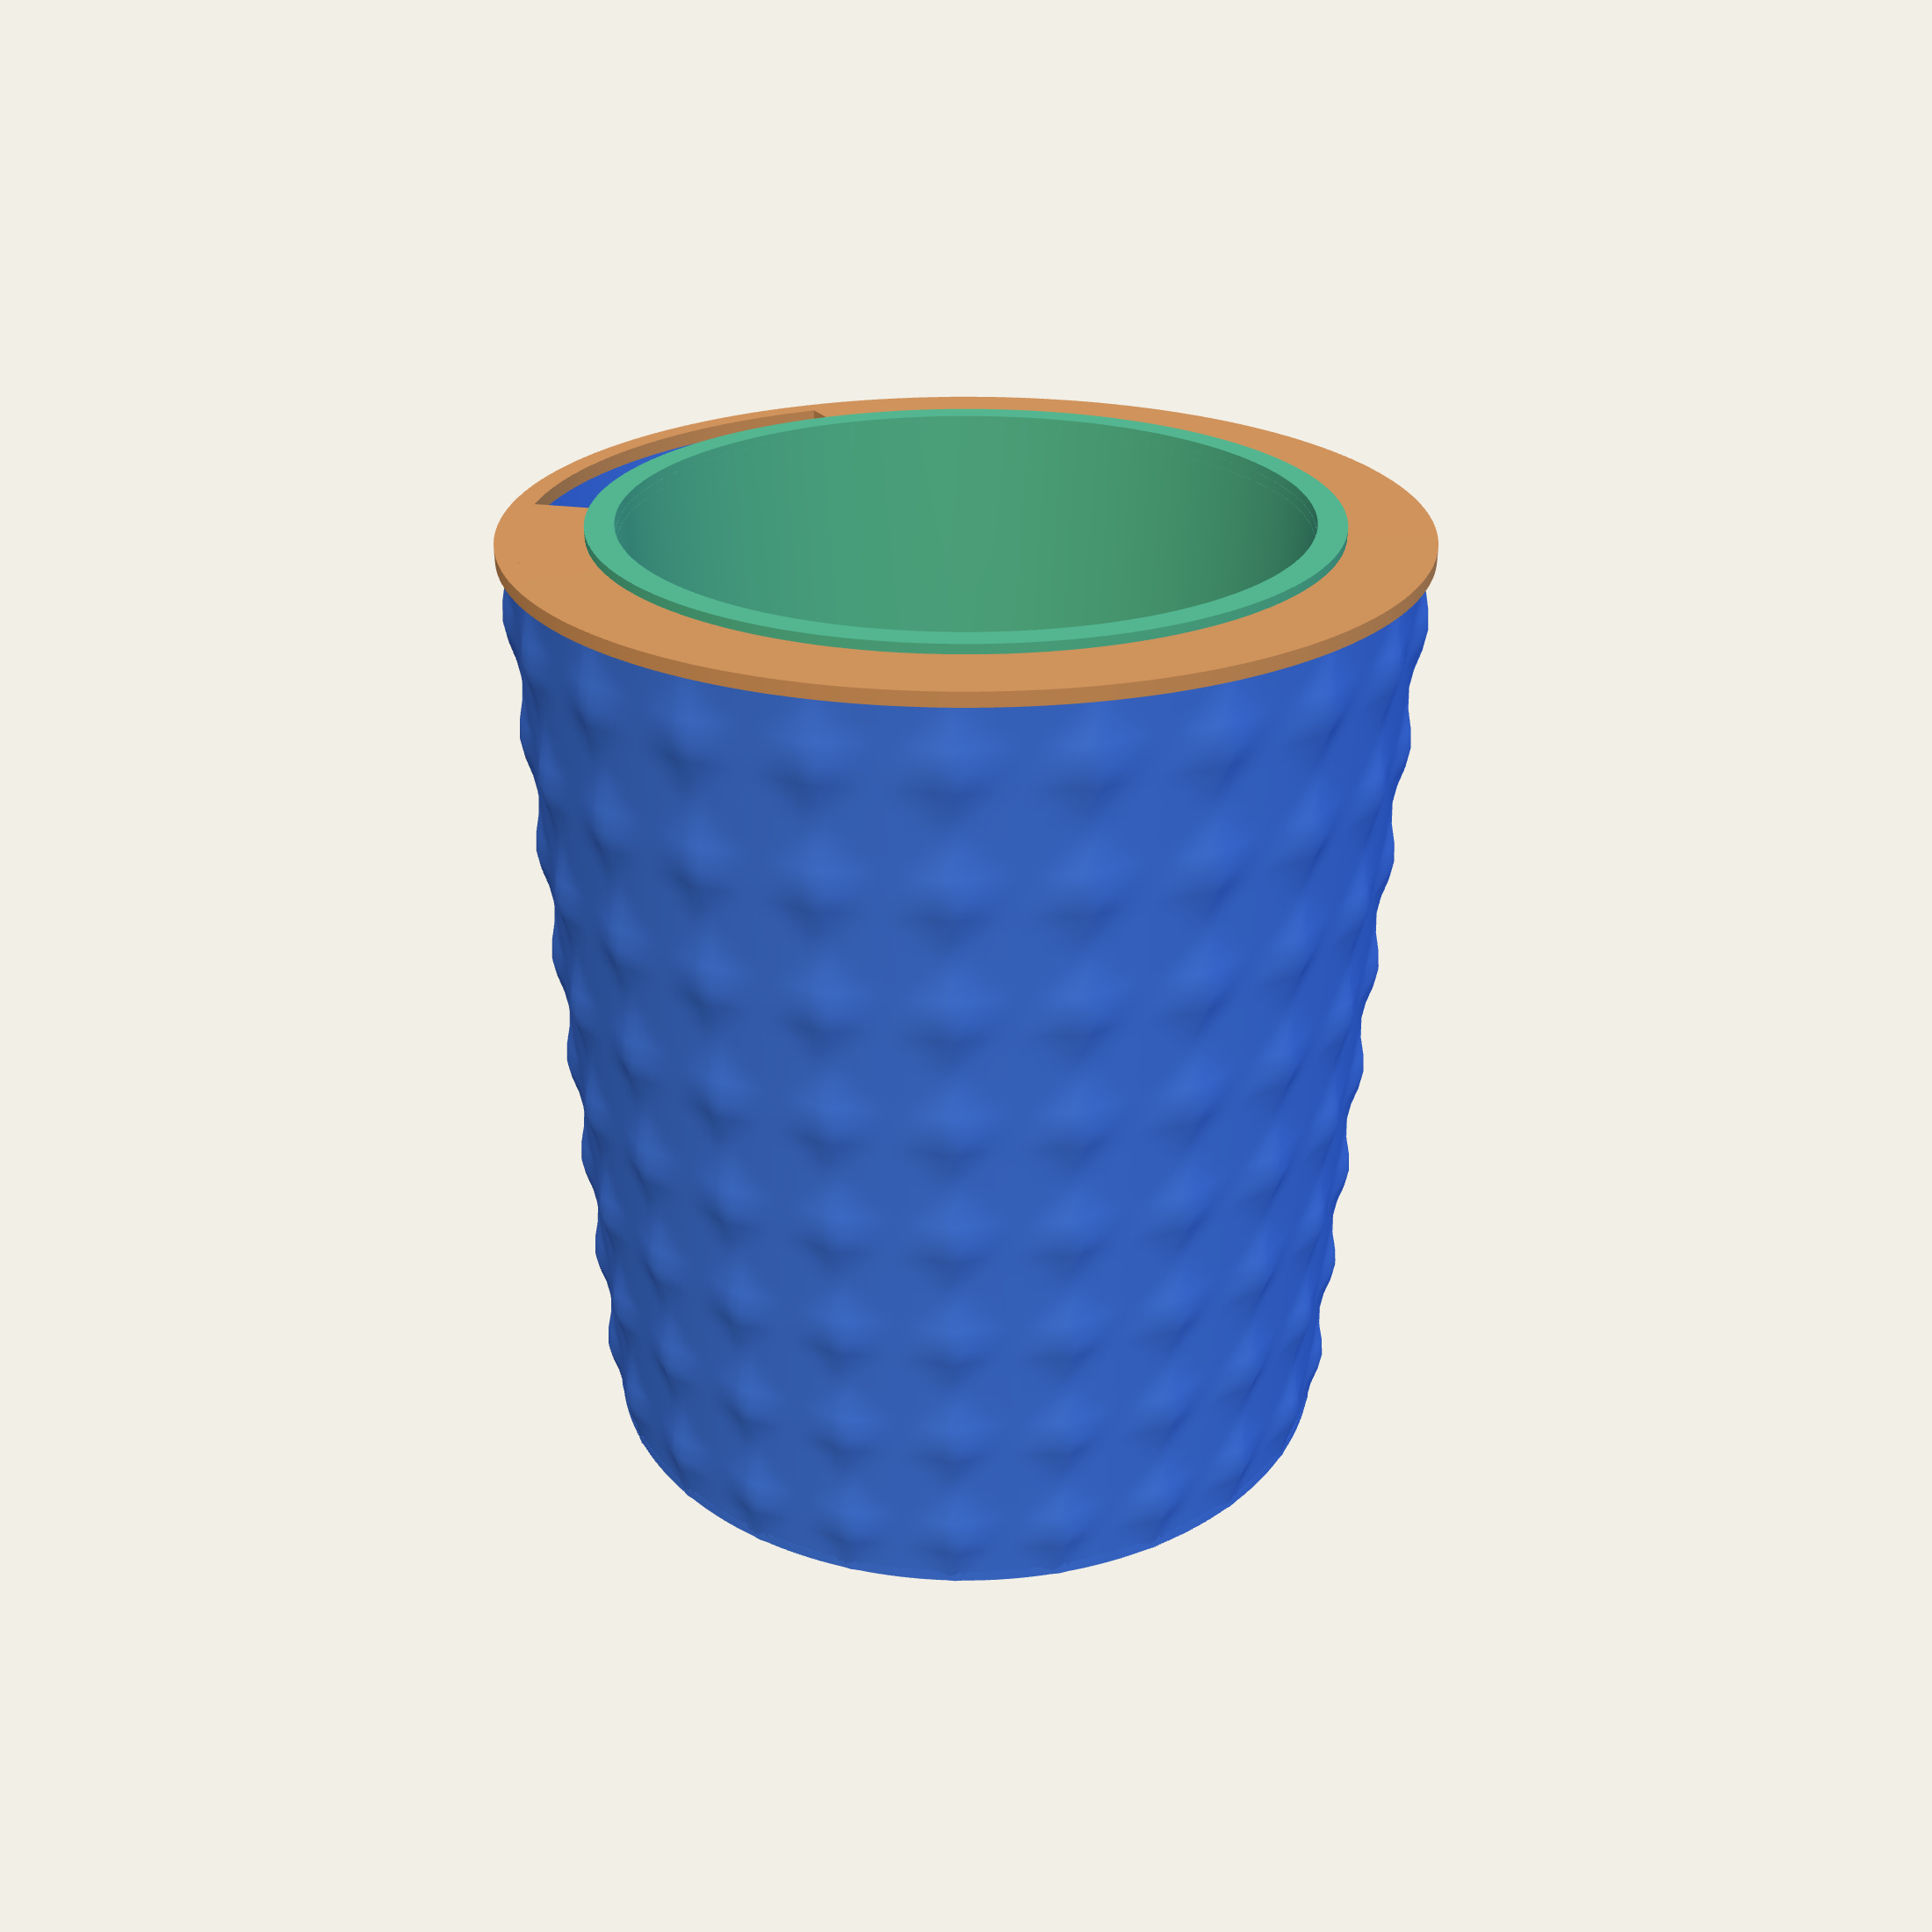
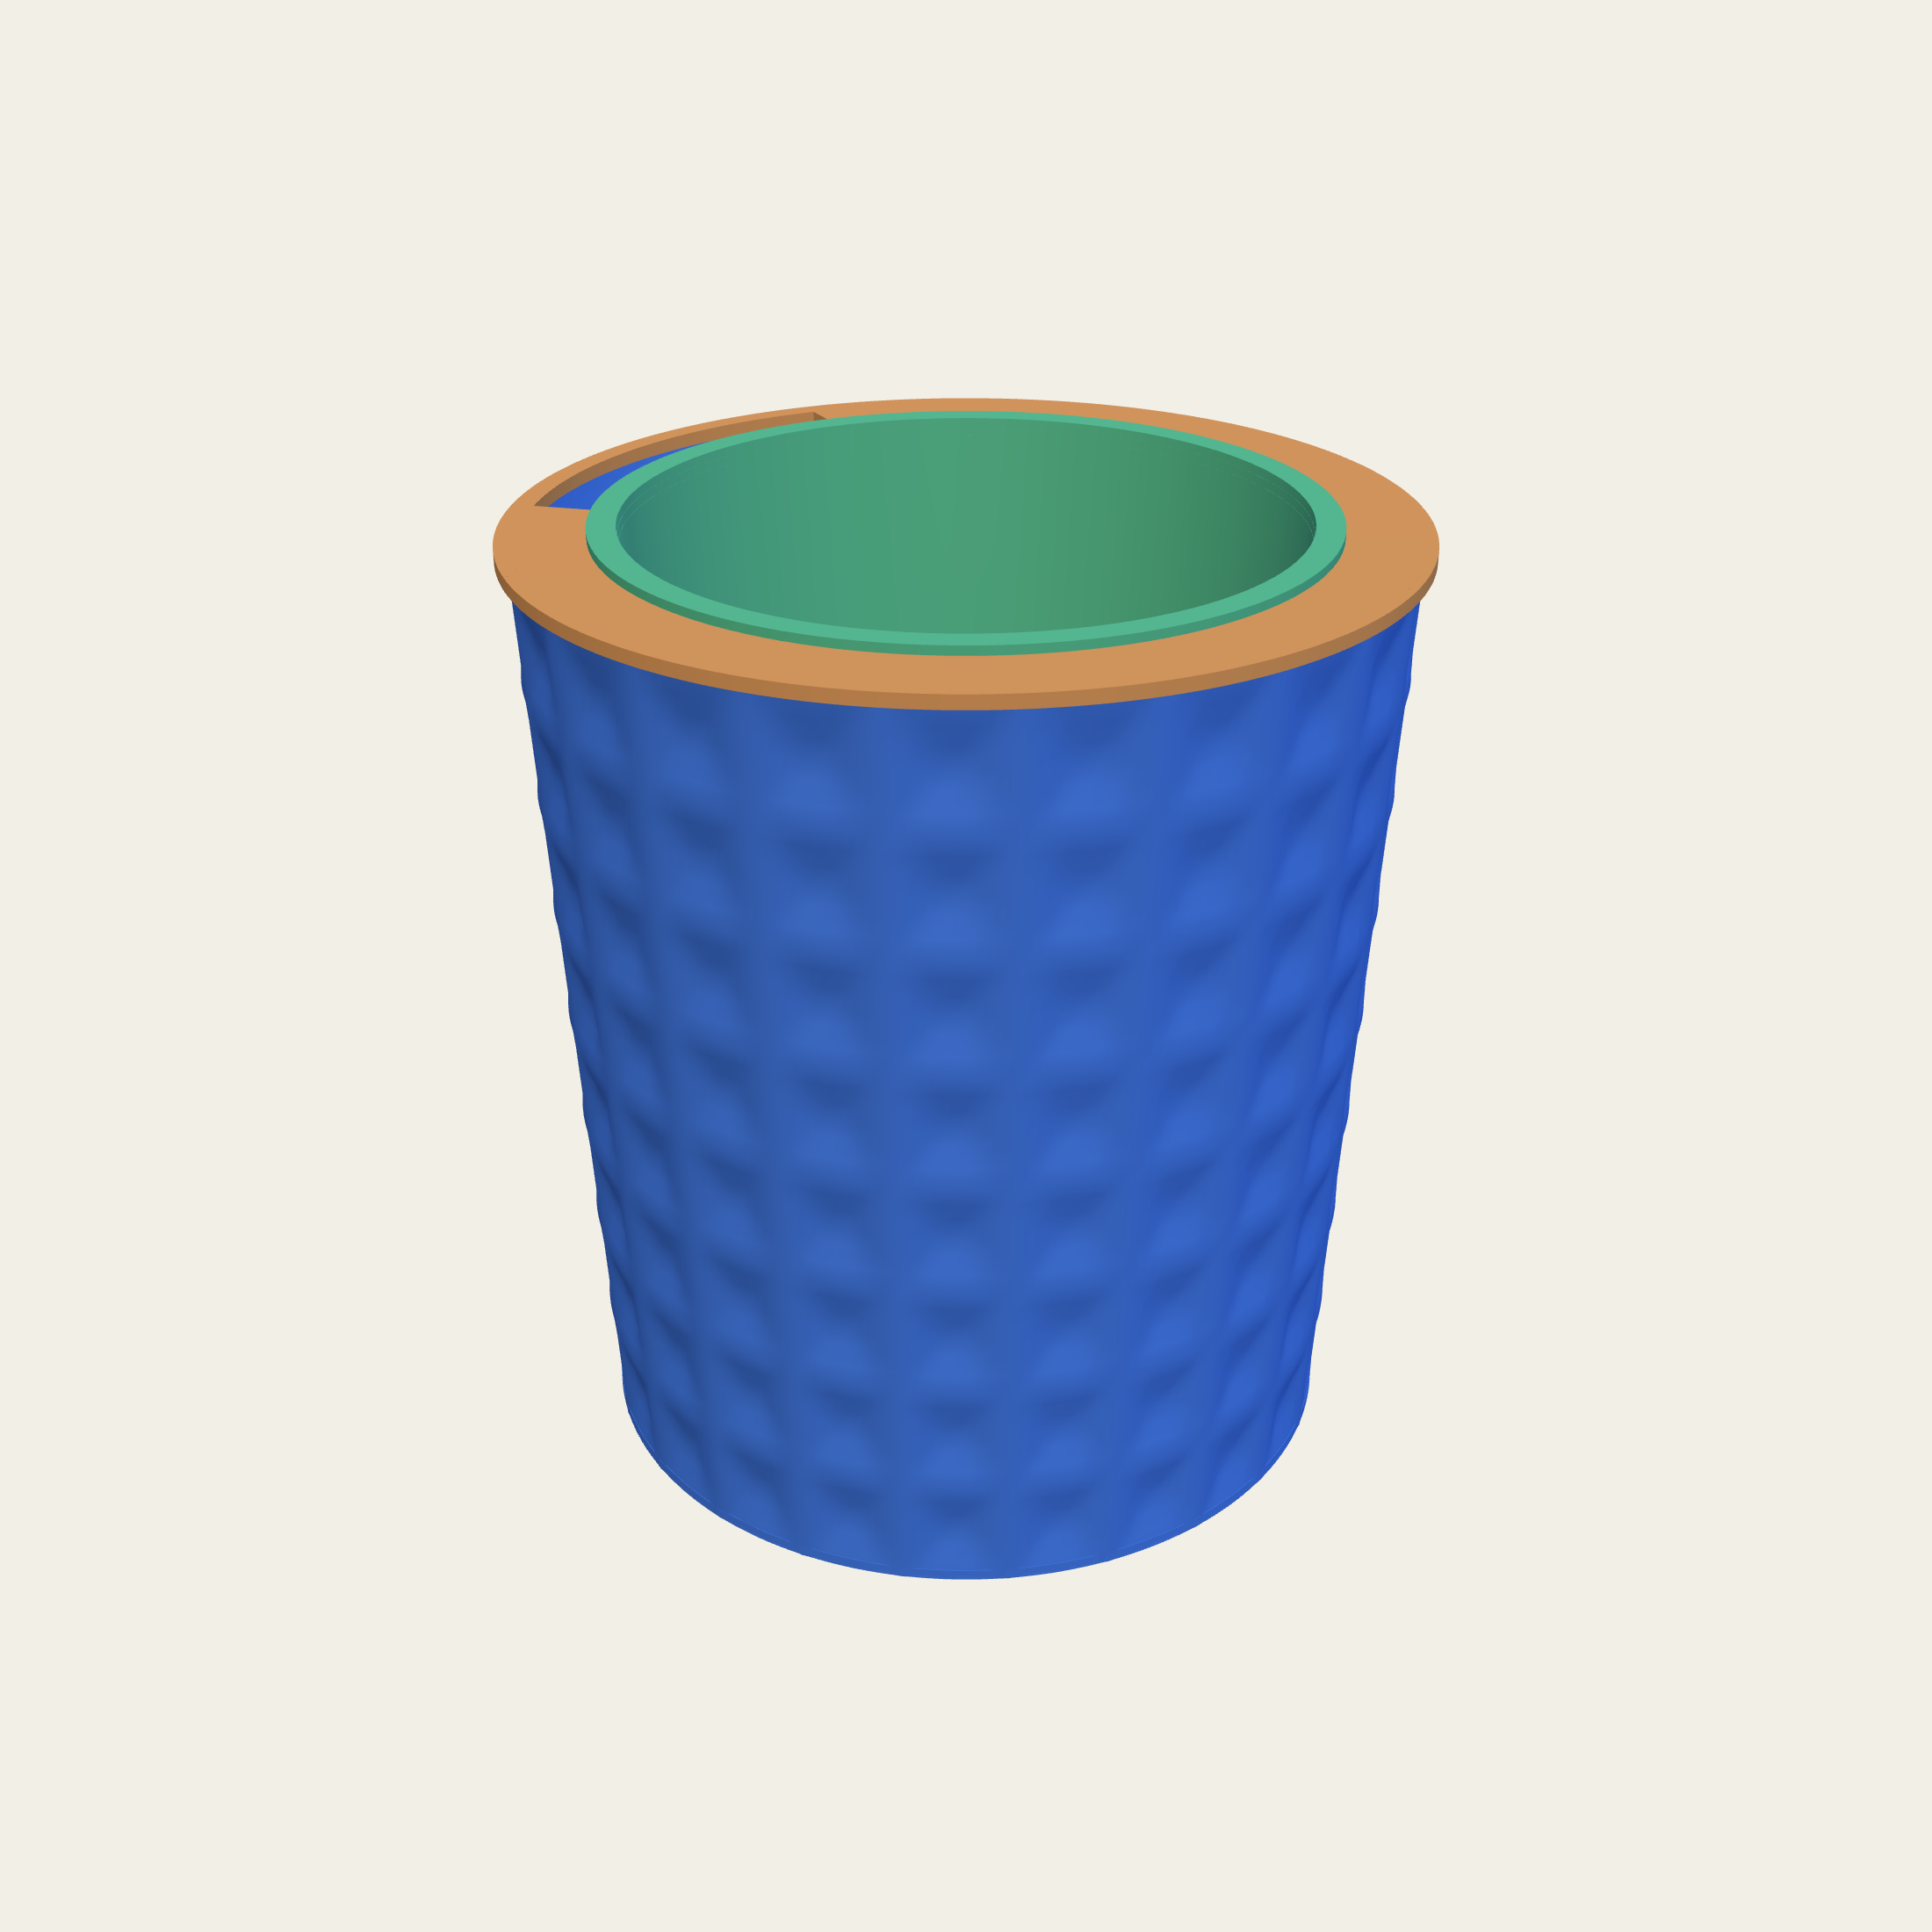
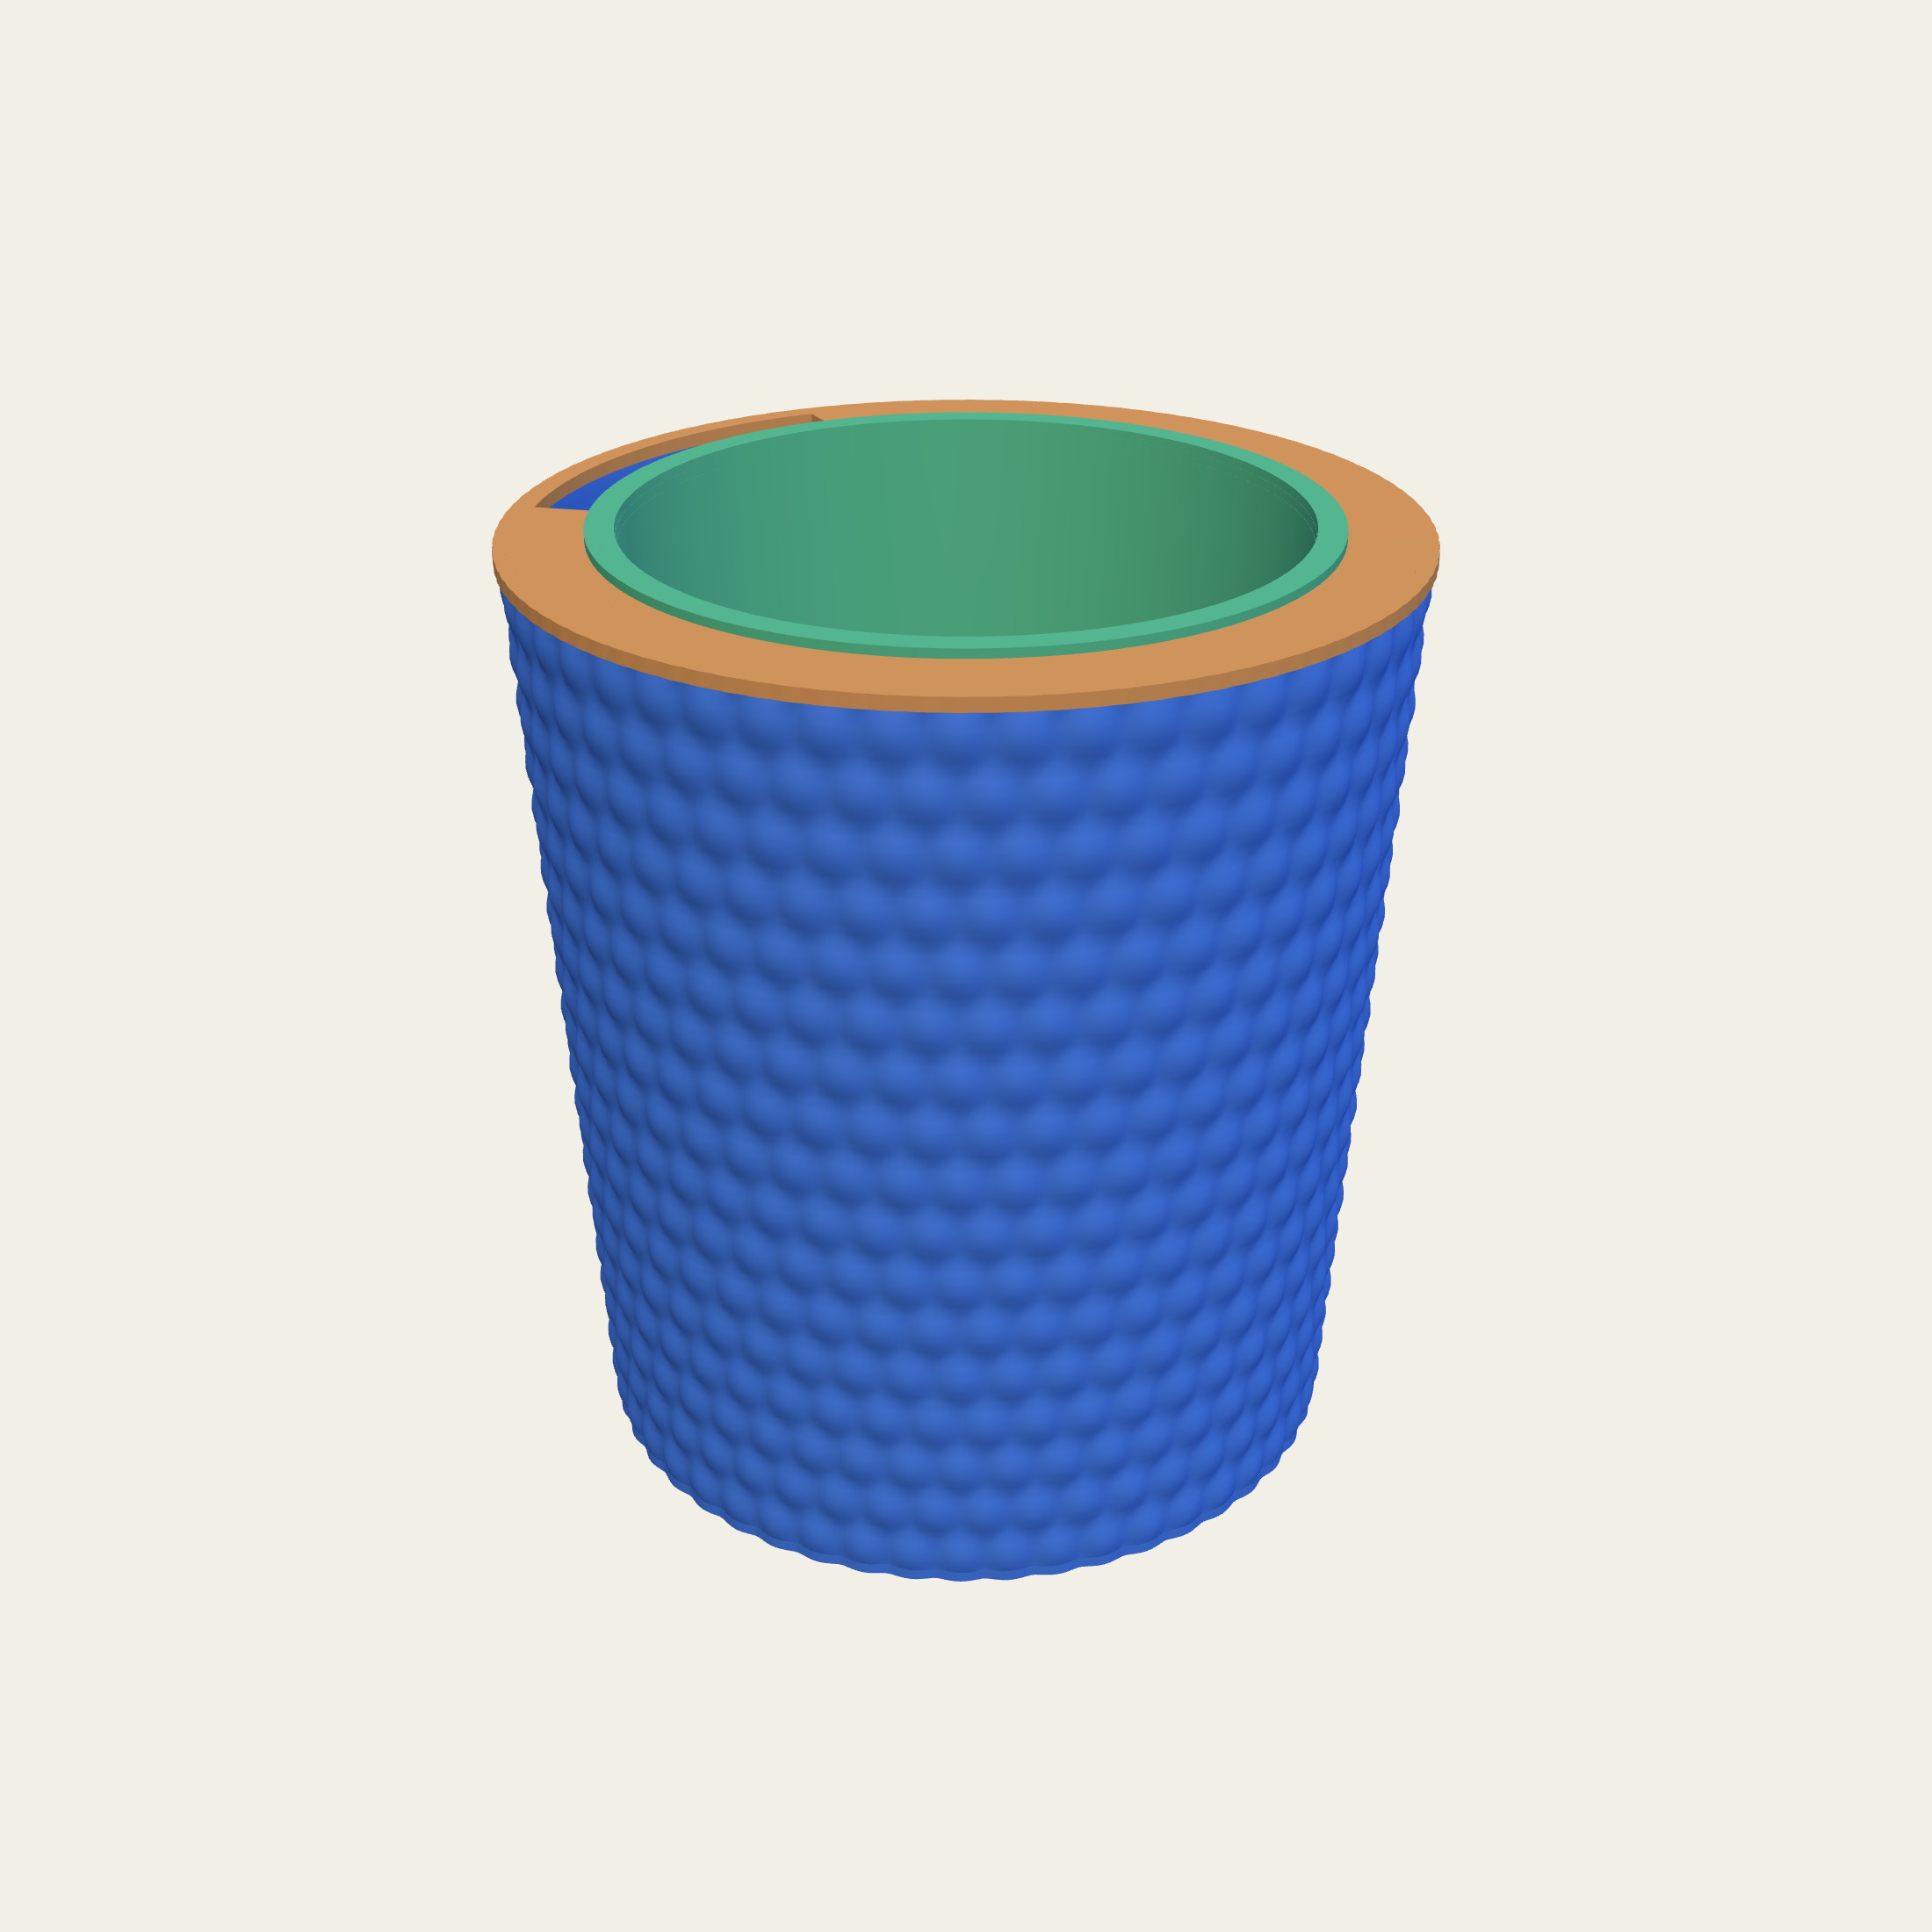
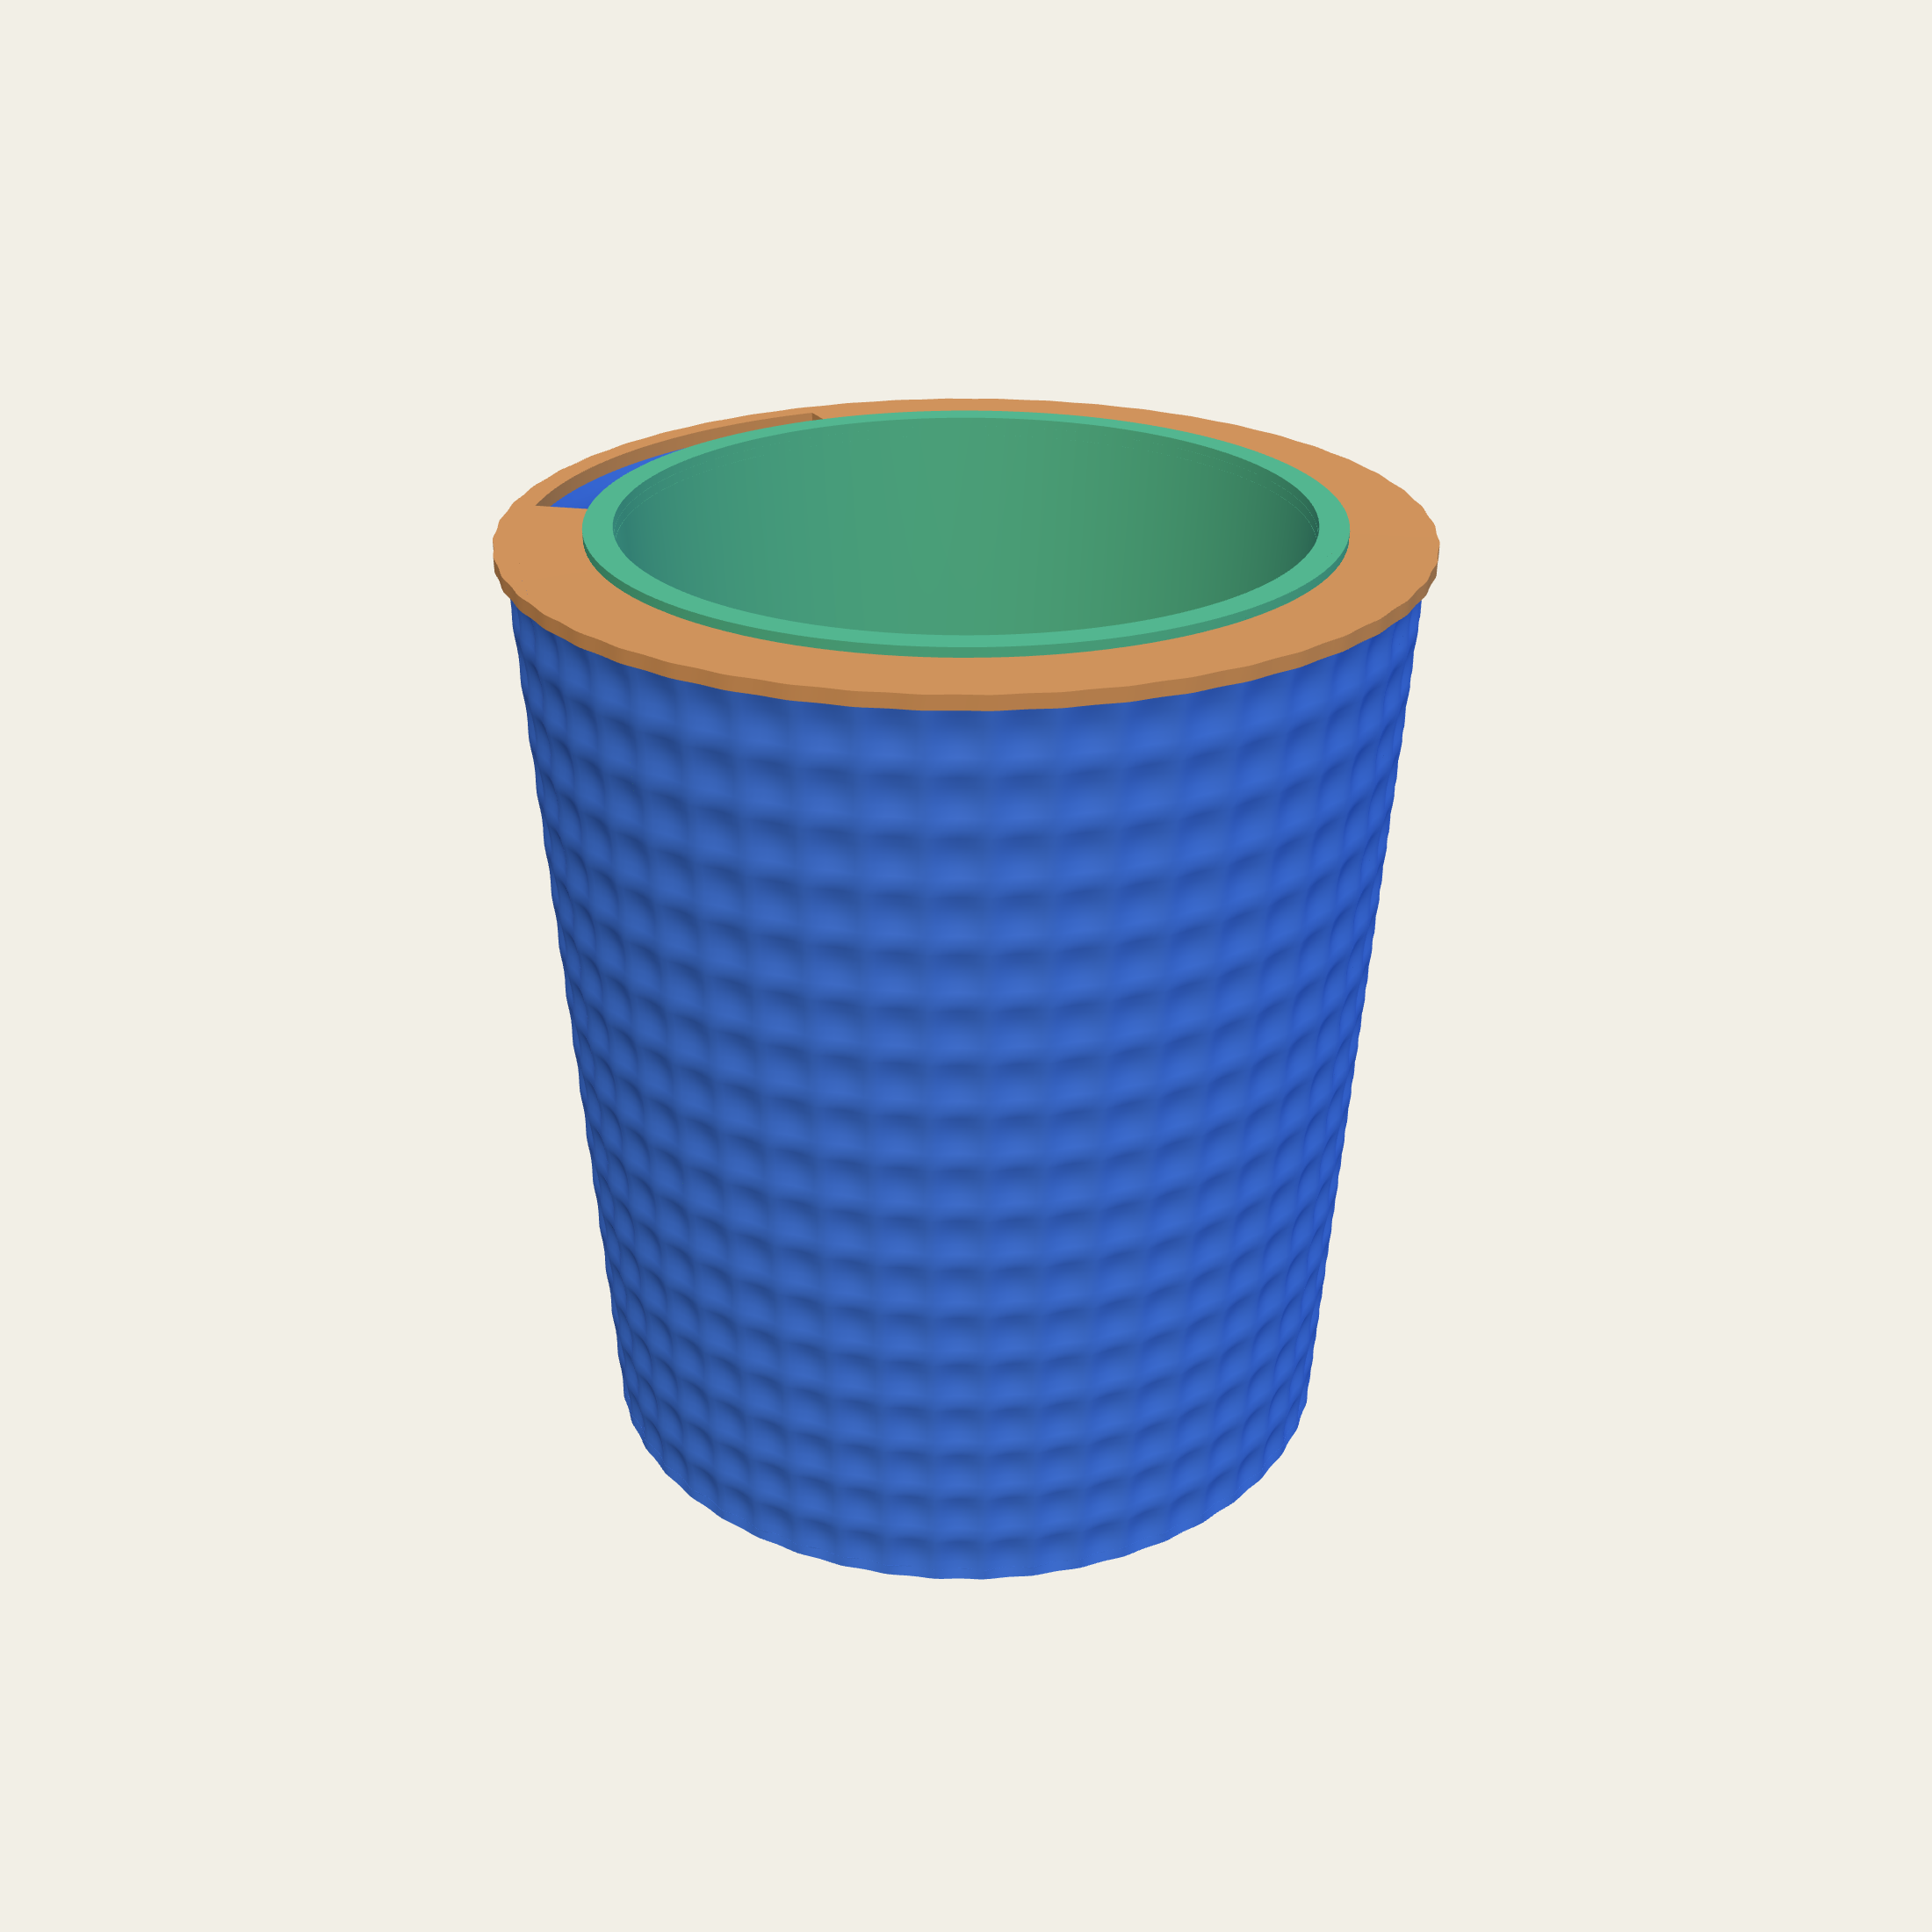
Domes across the wall, on a strict grid or scattered with their sizes let loose so no two pots are quite the same. The scattered one is the interesting version: it runs off the seed, so a pot can be genuinely one of a kind and still be reproducible if you want a second.
In and out are both available. Domes standing out catch a highlight on every one of them; dimples pressed in do the opposite and read as a much softer surface.
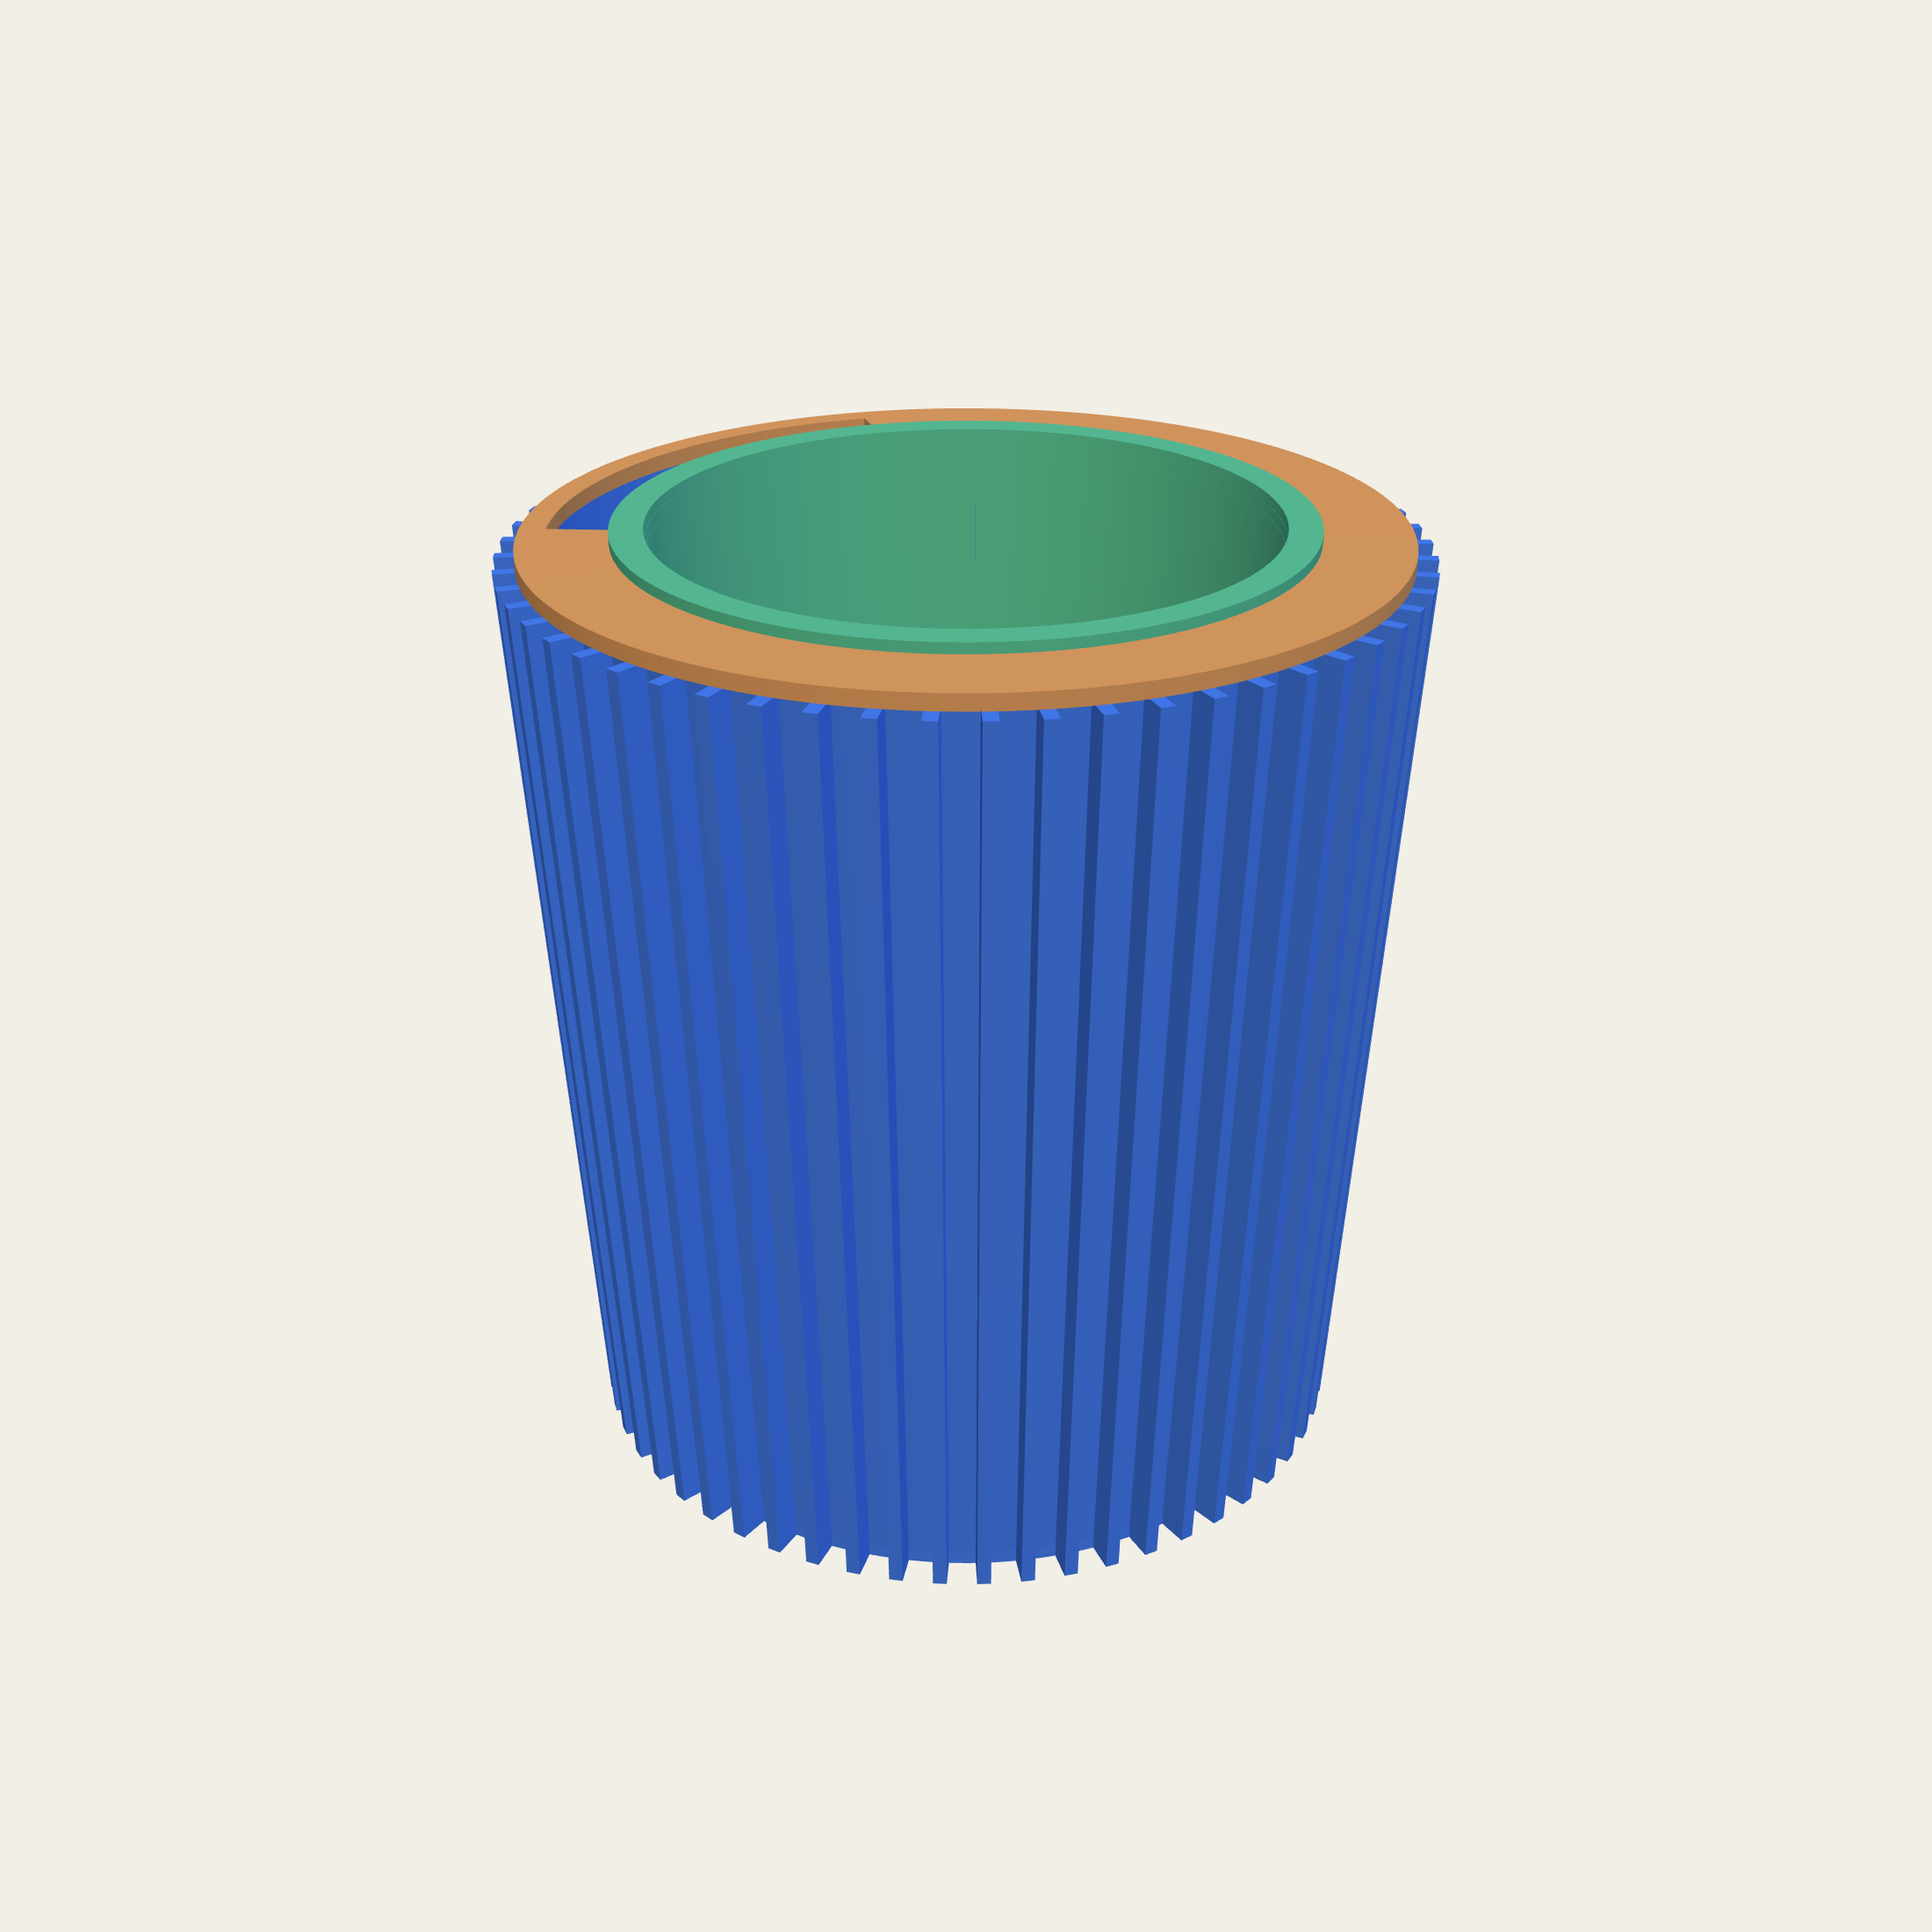
The other family. Rather than removing material, plates add it: flat pieces standing off the body like the pages of a book, so the pot throws a shadow onto itself and changes as the light moves round the room.
They run upright, they lean, or they lie round the pot, and how far they stand out and how thick each one is are yours. It is the treatment that photographs worst and looks best in person, which is an awkward thing for a shop to have to say out loud.
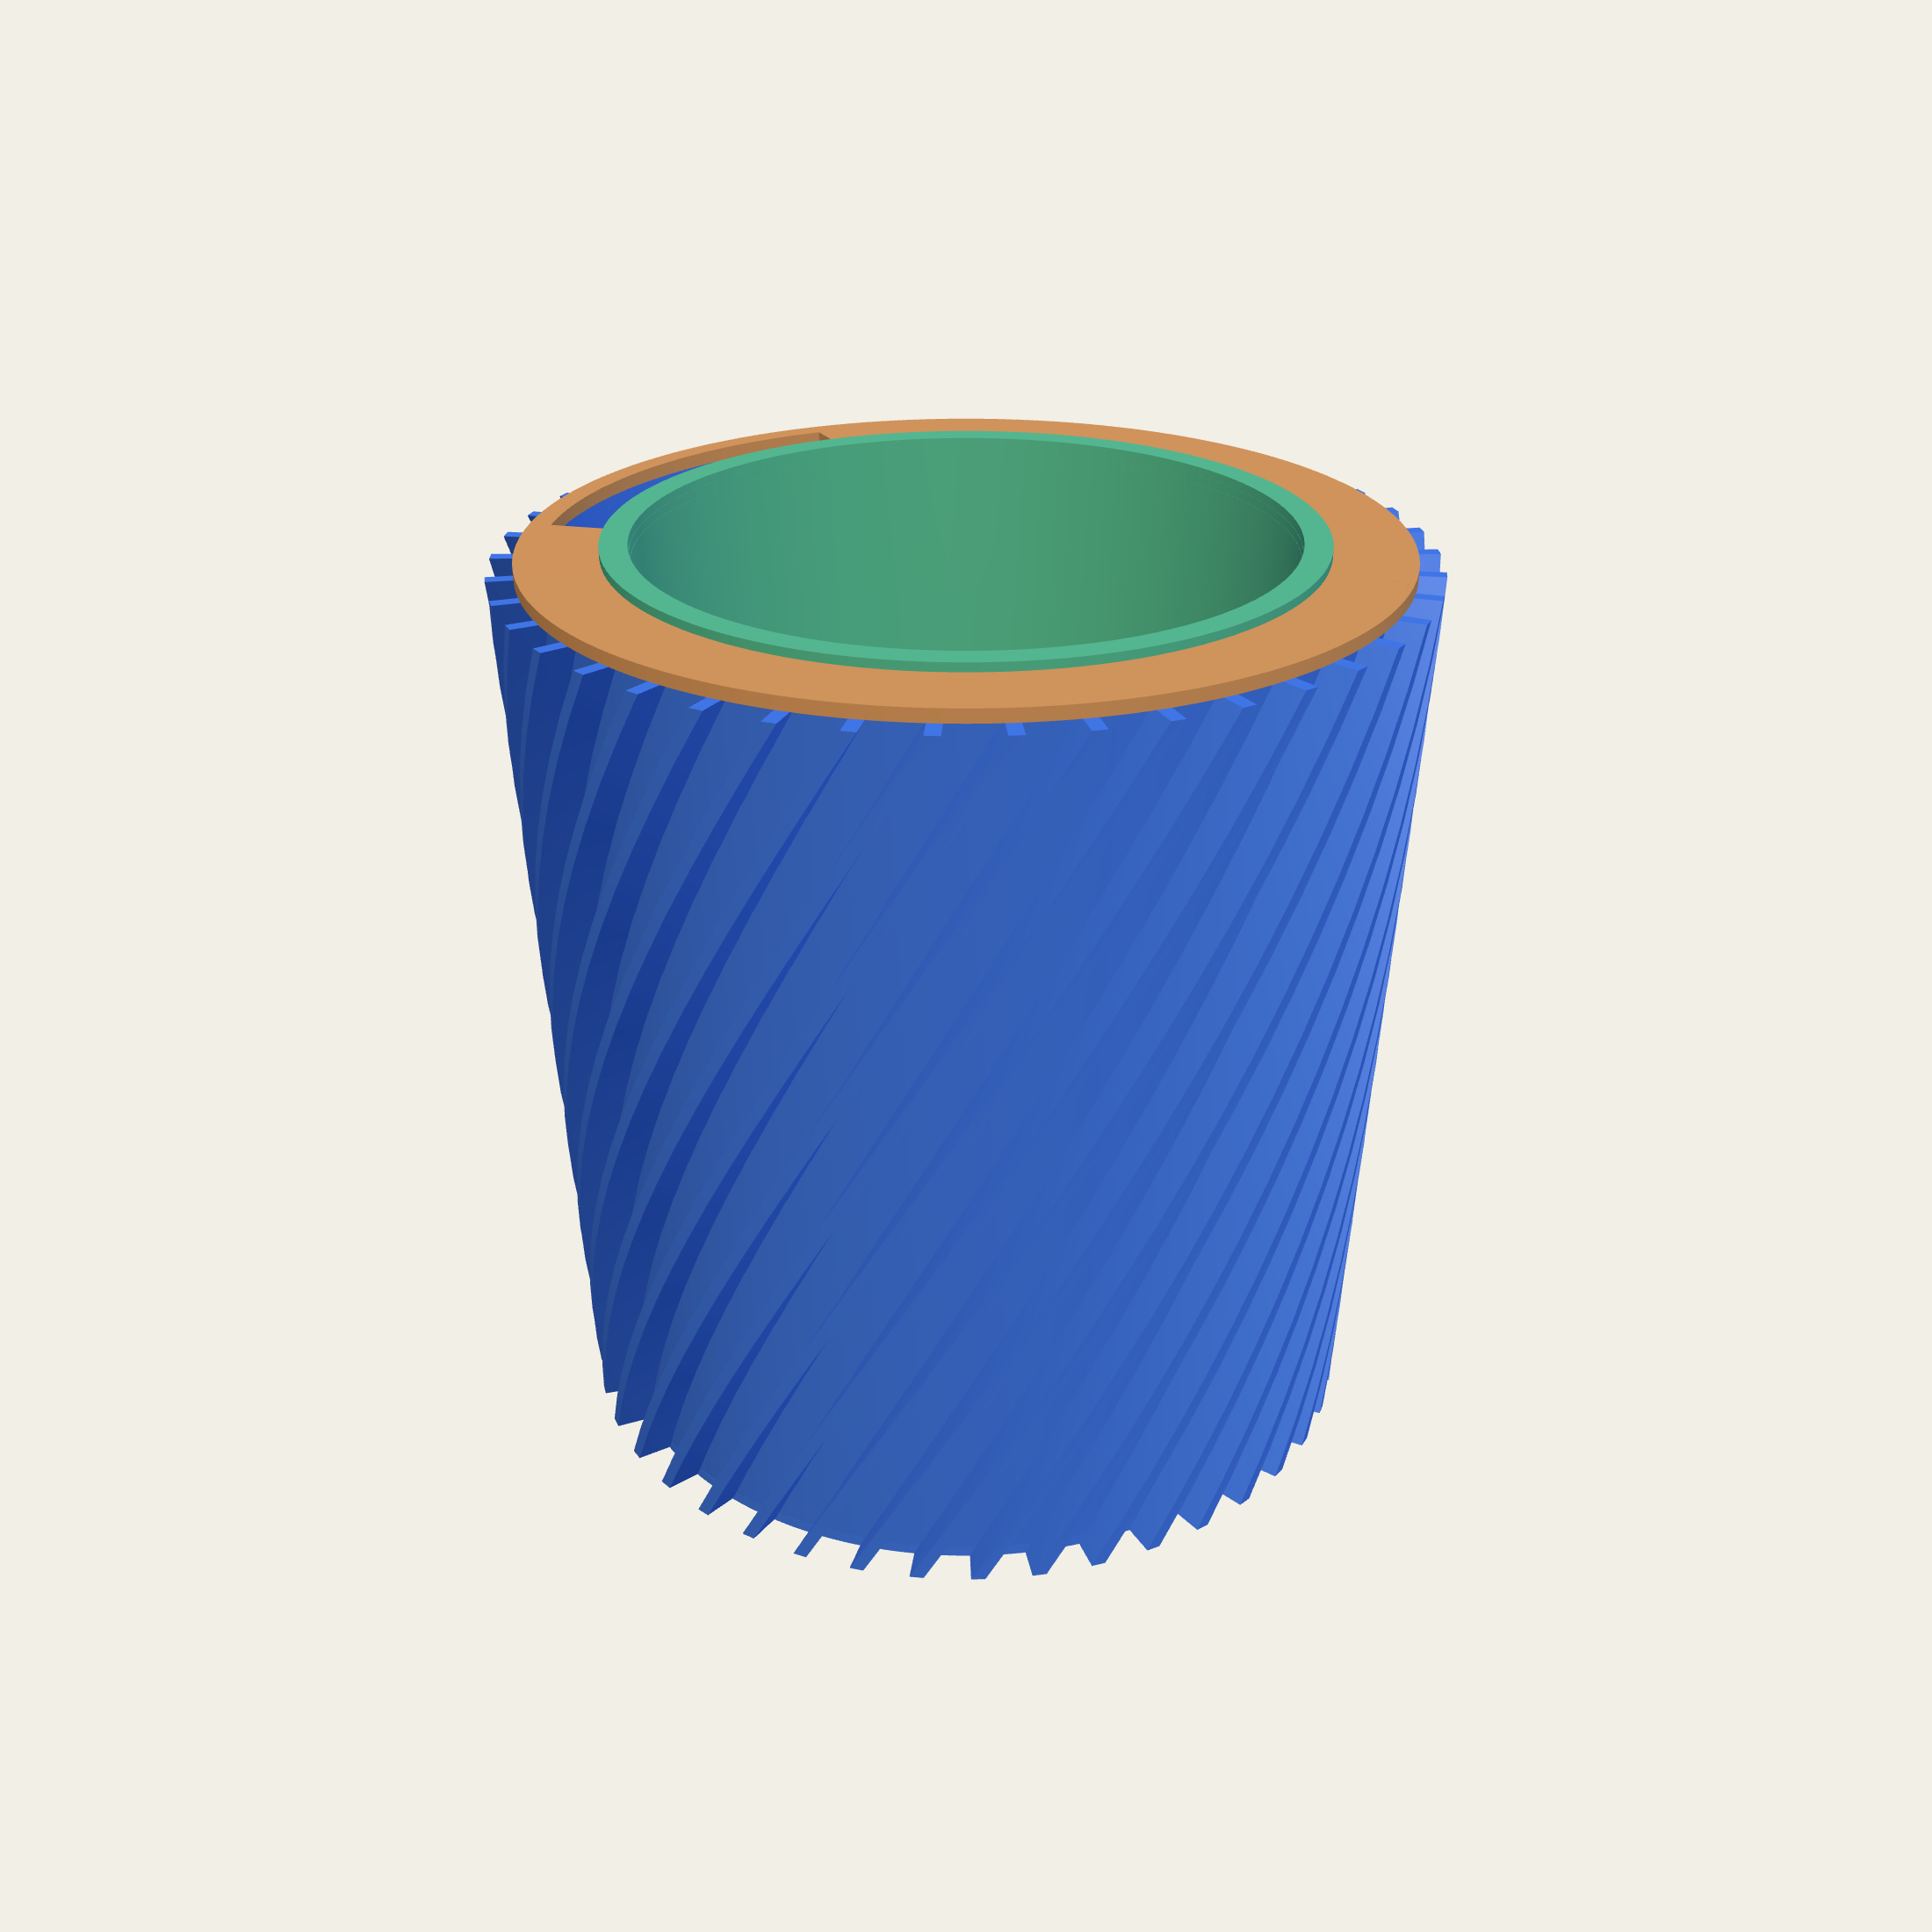
Treatments stack. Because each one is an operation on the body rather than a shape in a catalogue, a second can be applied on top of the first and the result is still one printable piece.
This is where a made-to-order range stops being a list of eleven pots and starts being a drawing you can talk to us about.
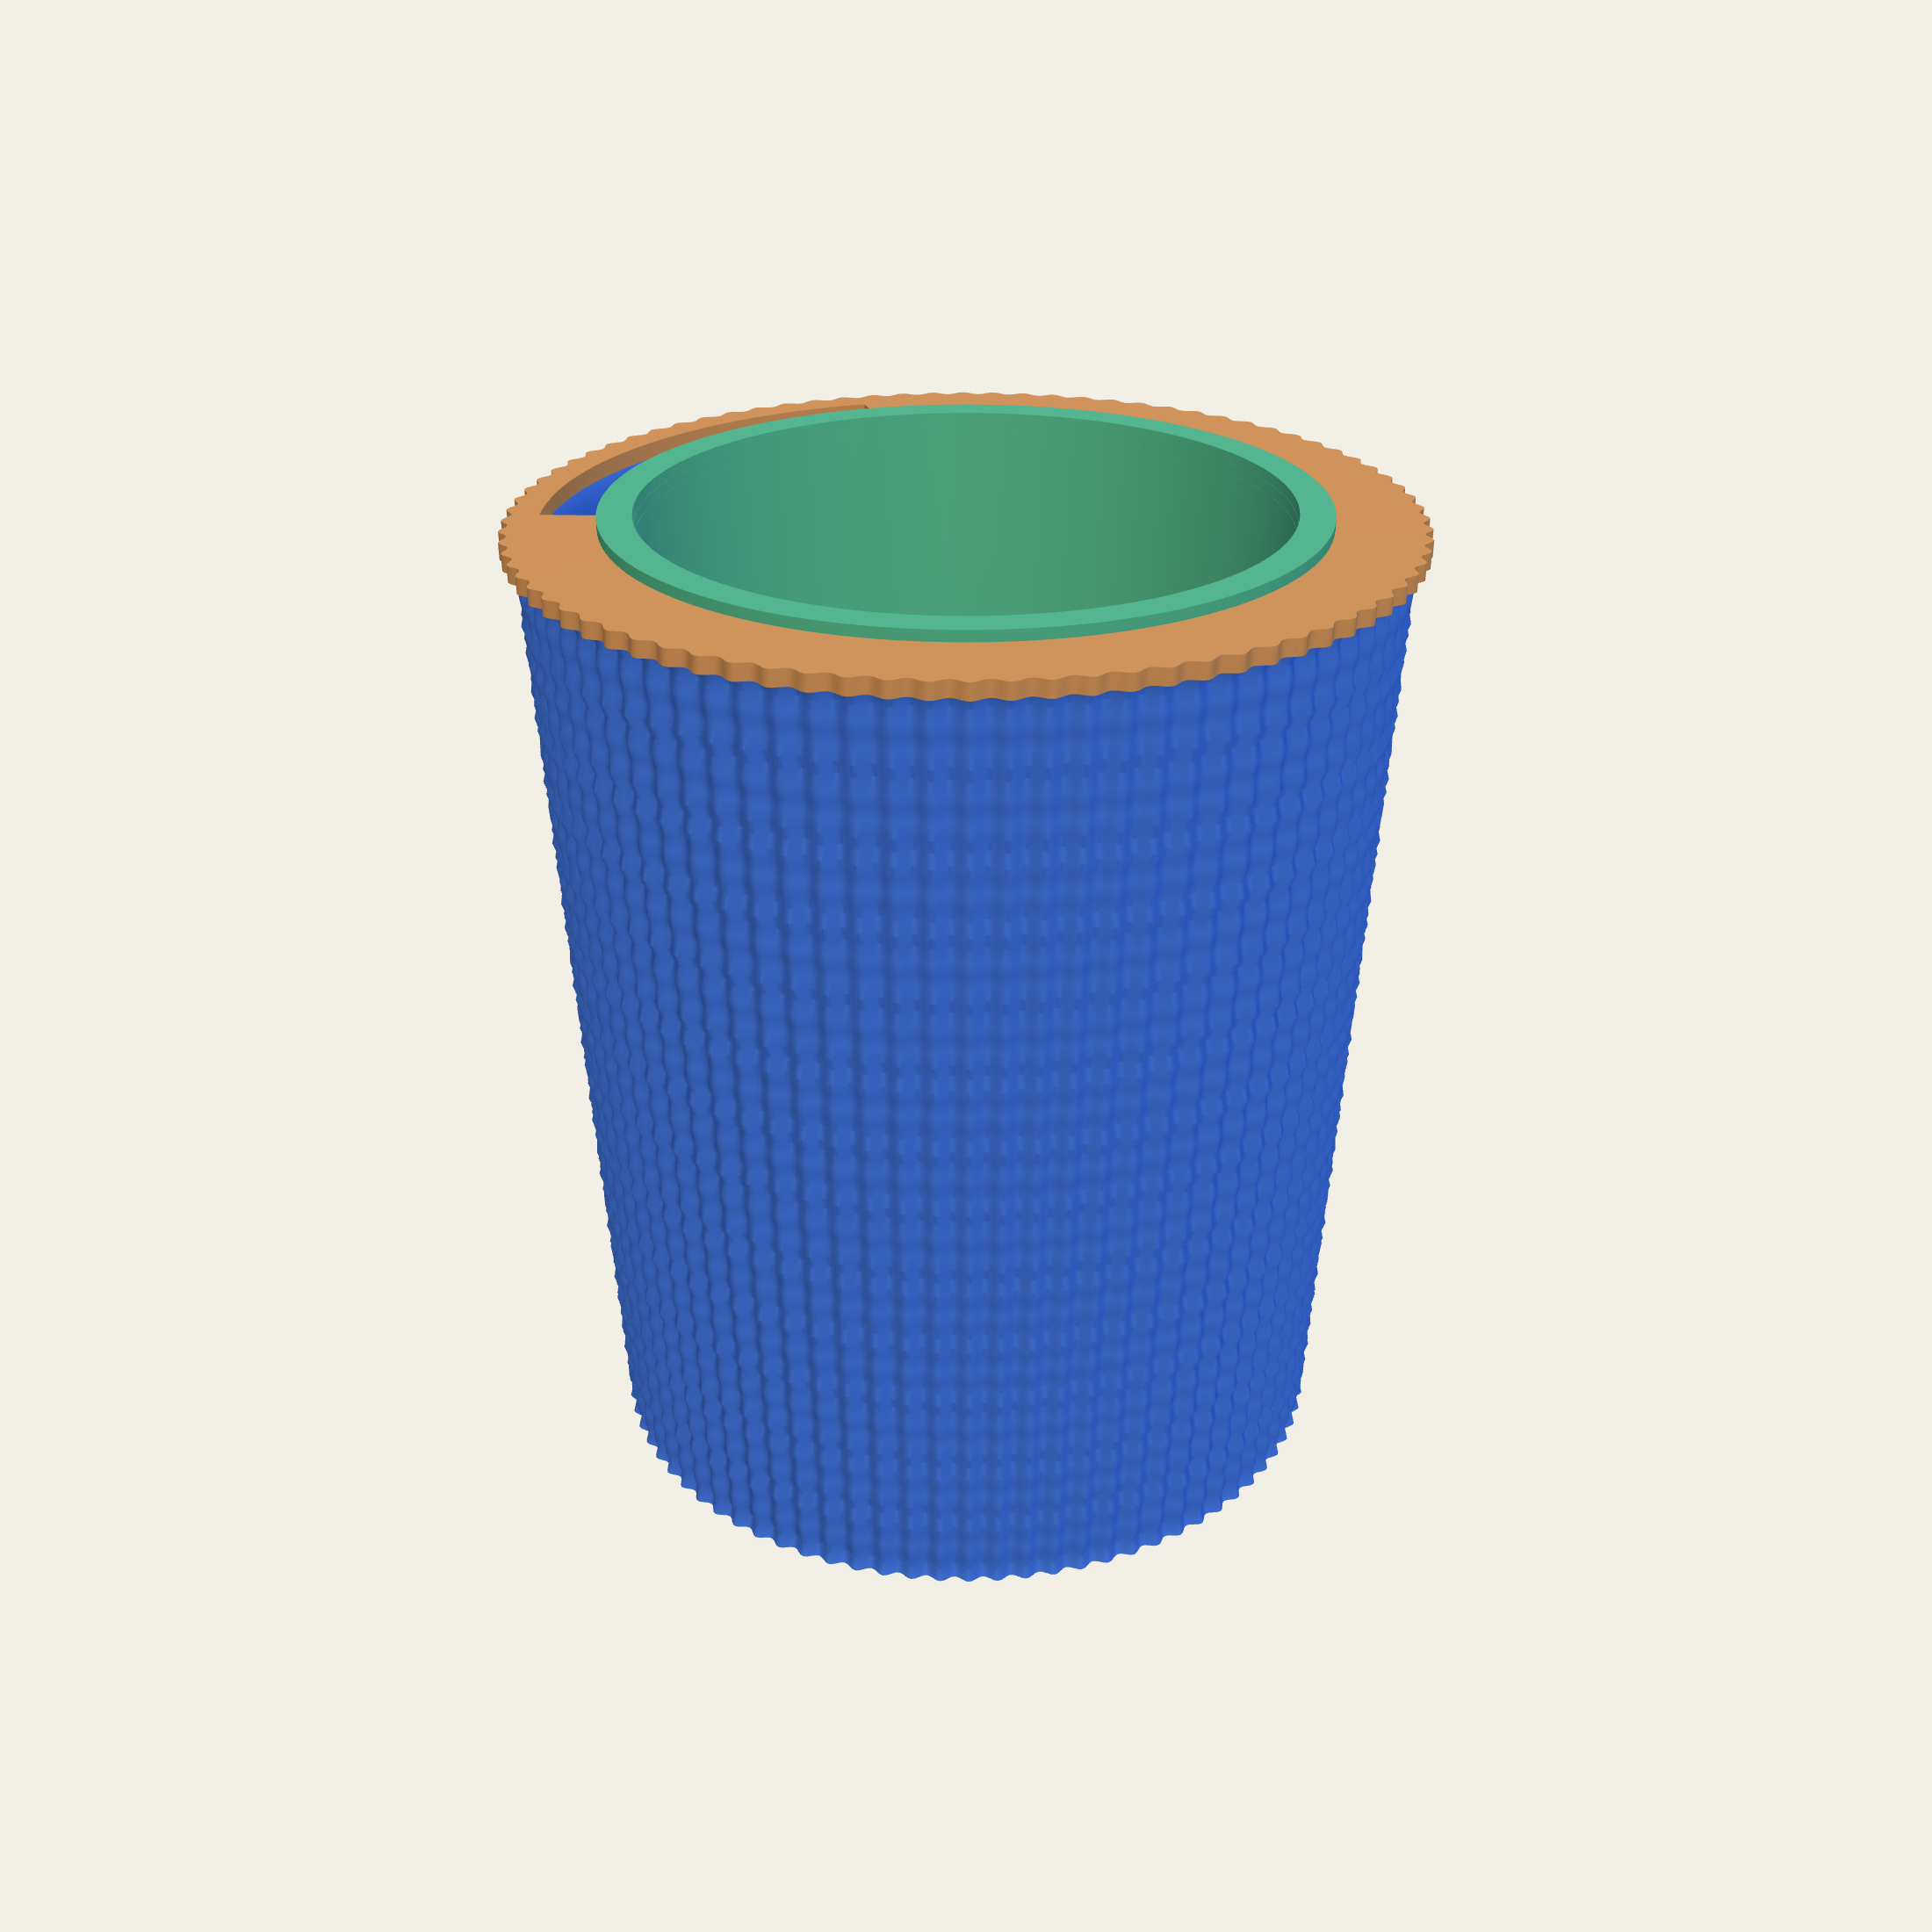
A pot can be filled in at the bottom. Set a height and the inside starts there instead of at the floor, so there is a weighted, quiet base under a body that does the work. From the outside nothing changes; in the hand it is a different object.
It belongs to the outer vessel rather than to the liner, because the liner already is the inside. Ask for a shell on its own, fill the bottom in, and drop a nursery pot into the top of it. That is a cachepot, and a heavy bottom is exactly what one wants — it is the pot a top-heavy plant cannot pull over, and it is the obvious place to change colour.
The bottom of the pot can be its own object rather than where the wall happens to stop. A plain band under a worked wall. A wider base to sit the pot on. A ring with a shadow gap over it, so the body appears to float. An inset plinth that does the same thing harder. A cove dished out to the table. Or pads round an inset base, as discs, as truncated domes, or chamfered.
A visible foot changes the read of a pot more cheaply than anything else here. Raise a plain cylinder on a contrasting base and it stops looking like a container.
Every one of them is drawn to print the right way up, widest where it touches the bed and only ever narrowing as it rises, so none of it needs support underneath.
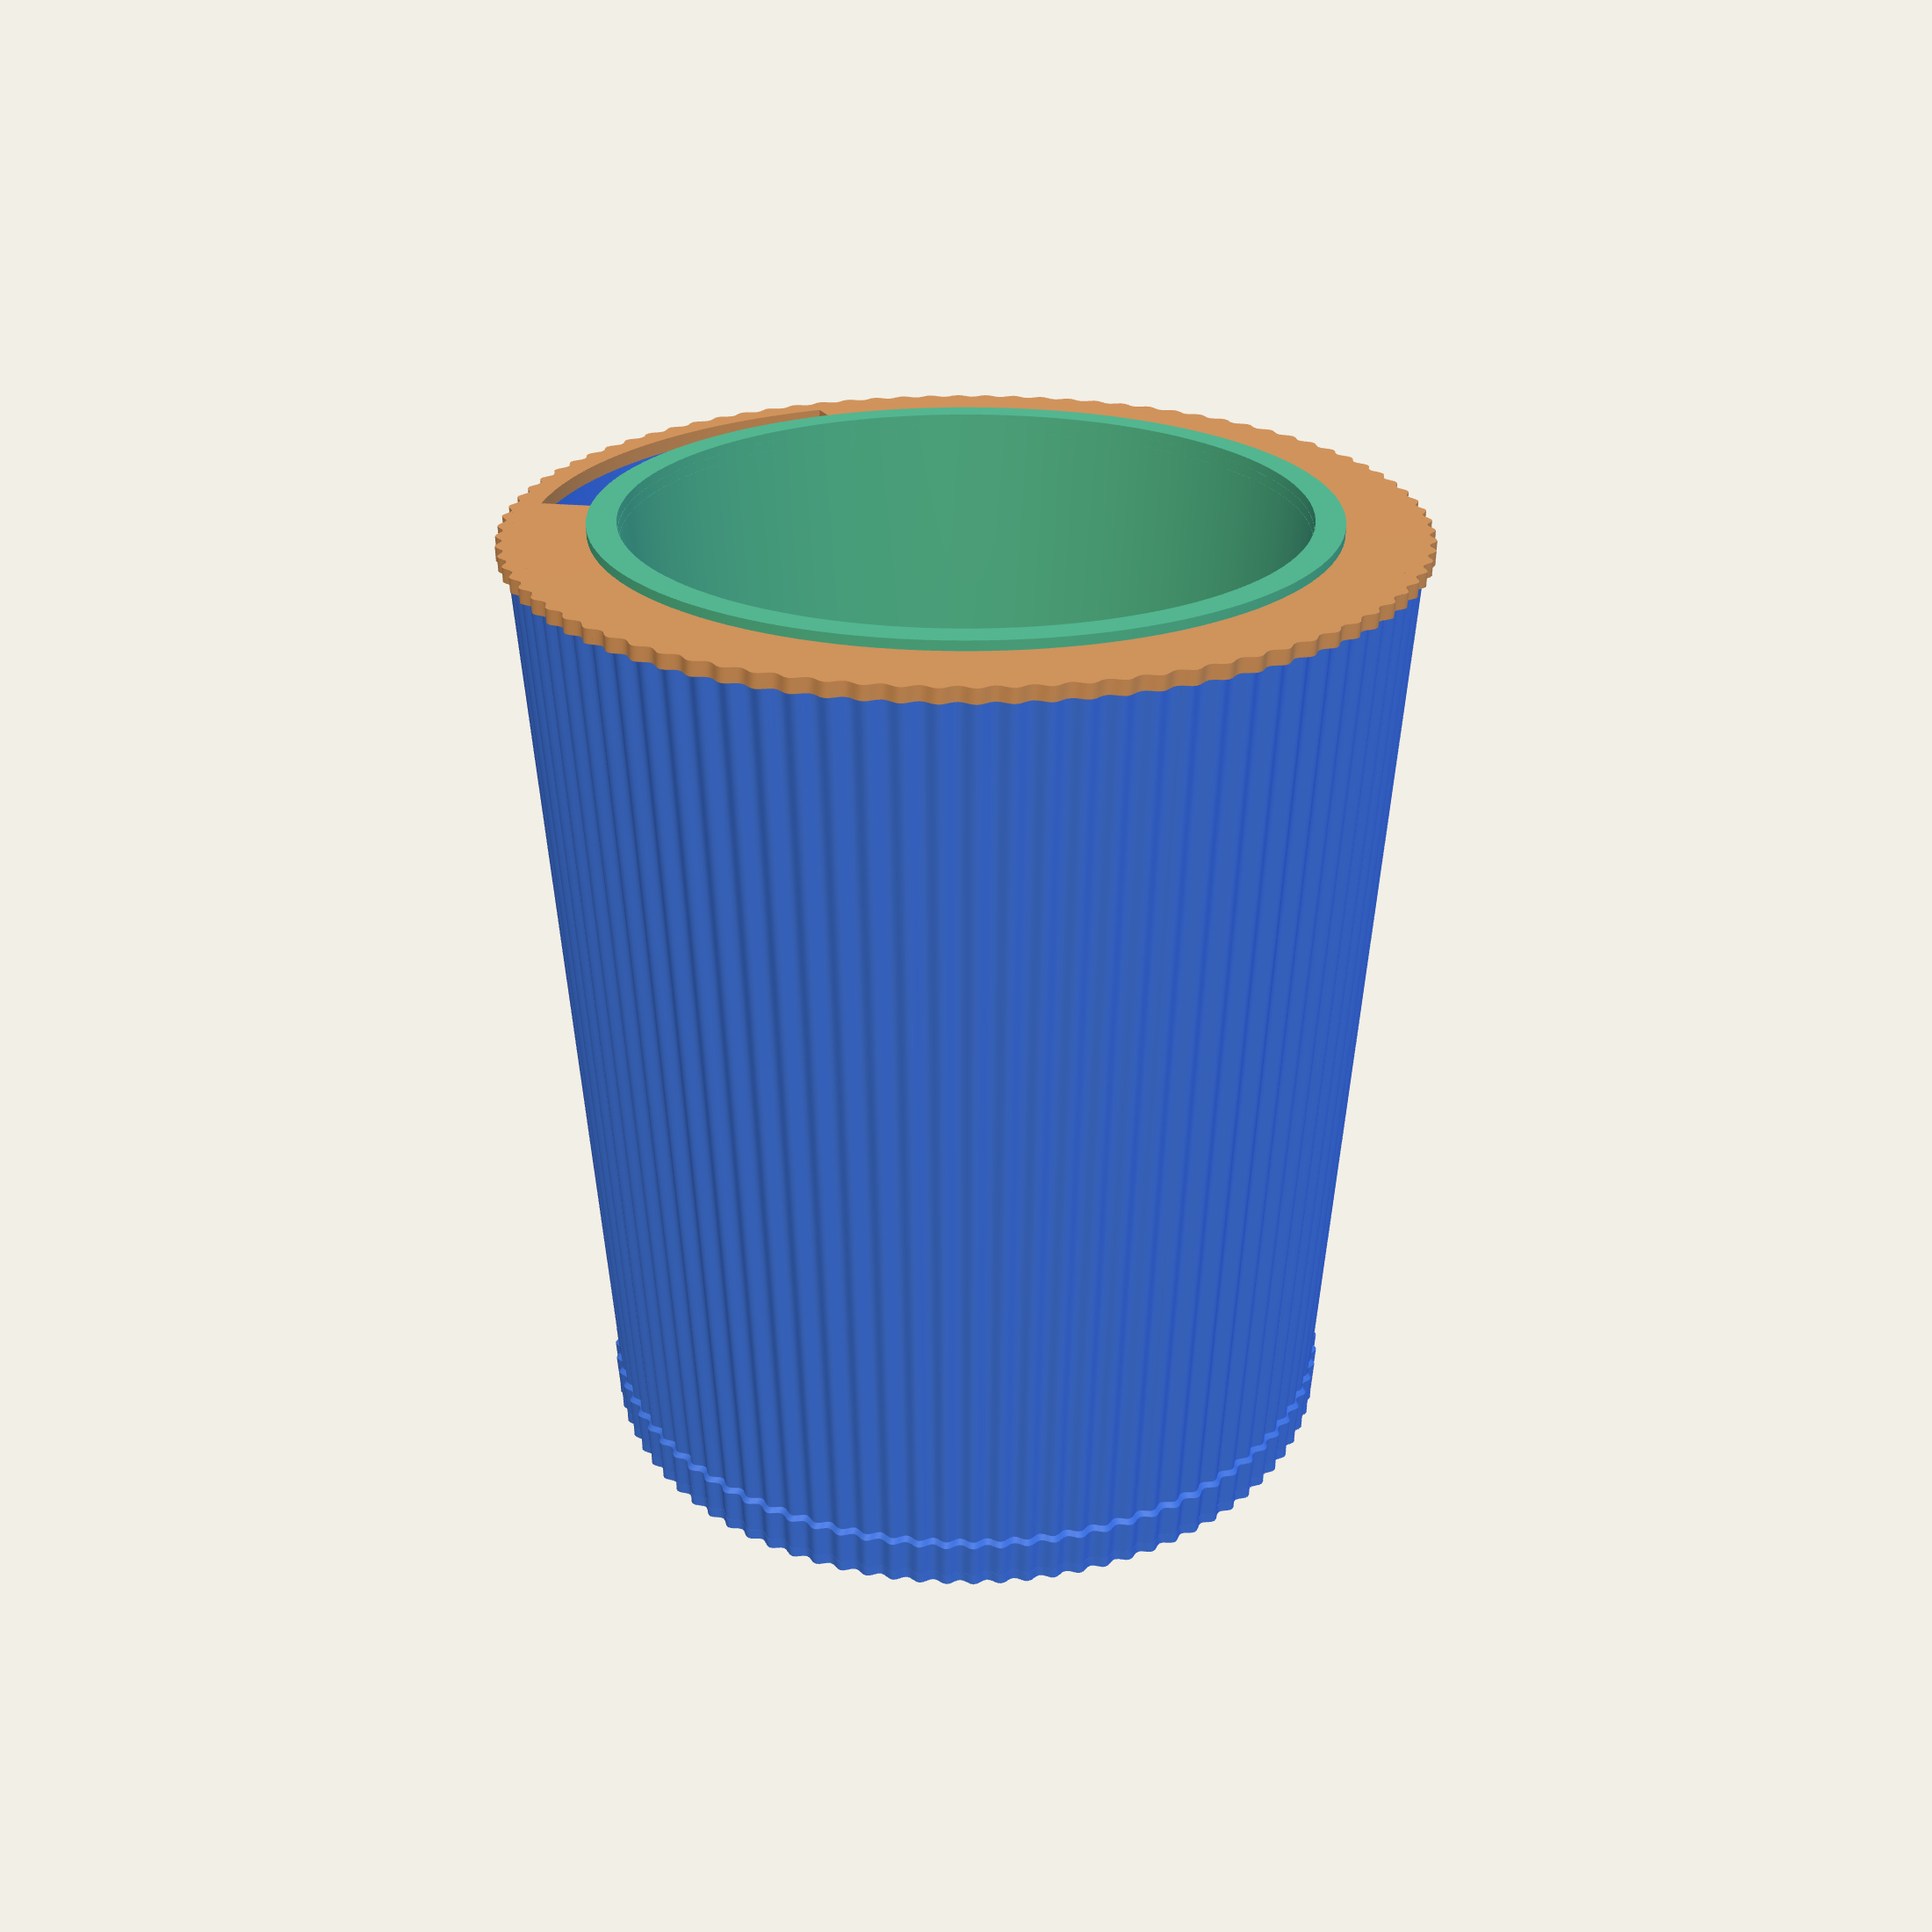
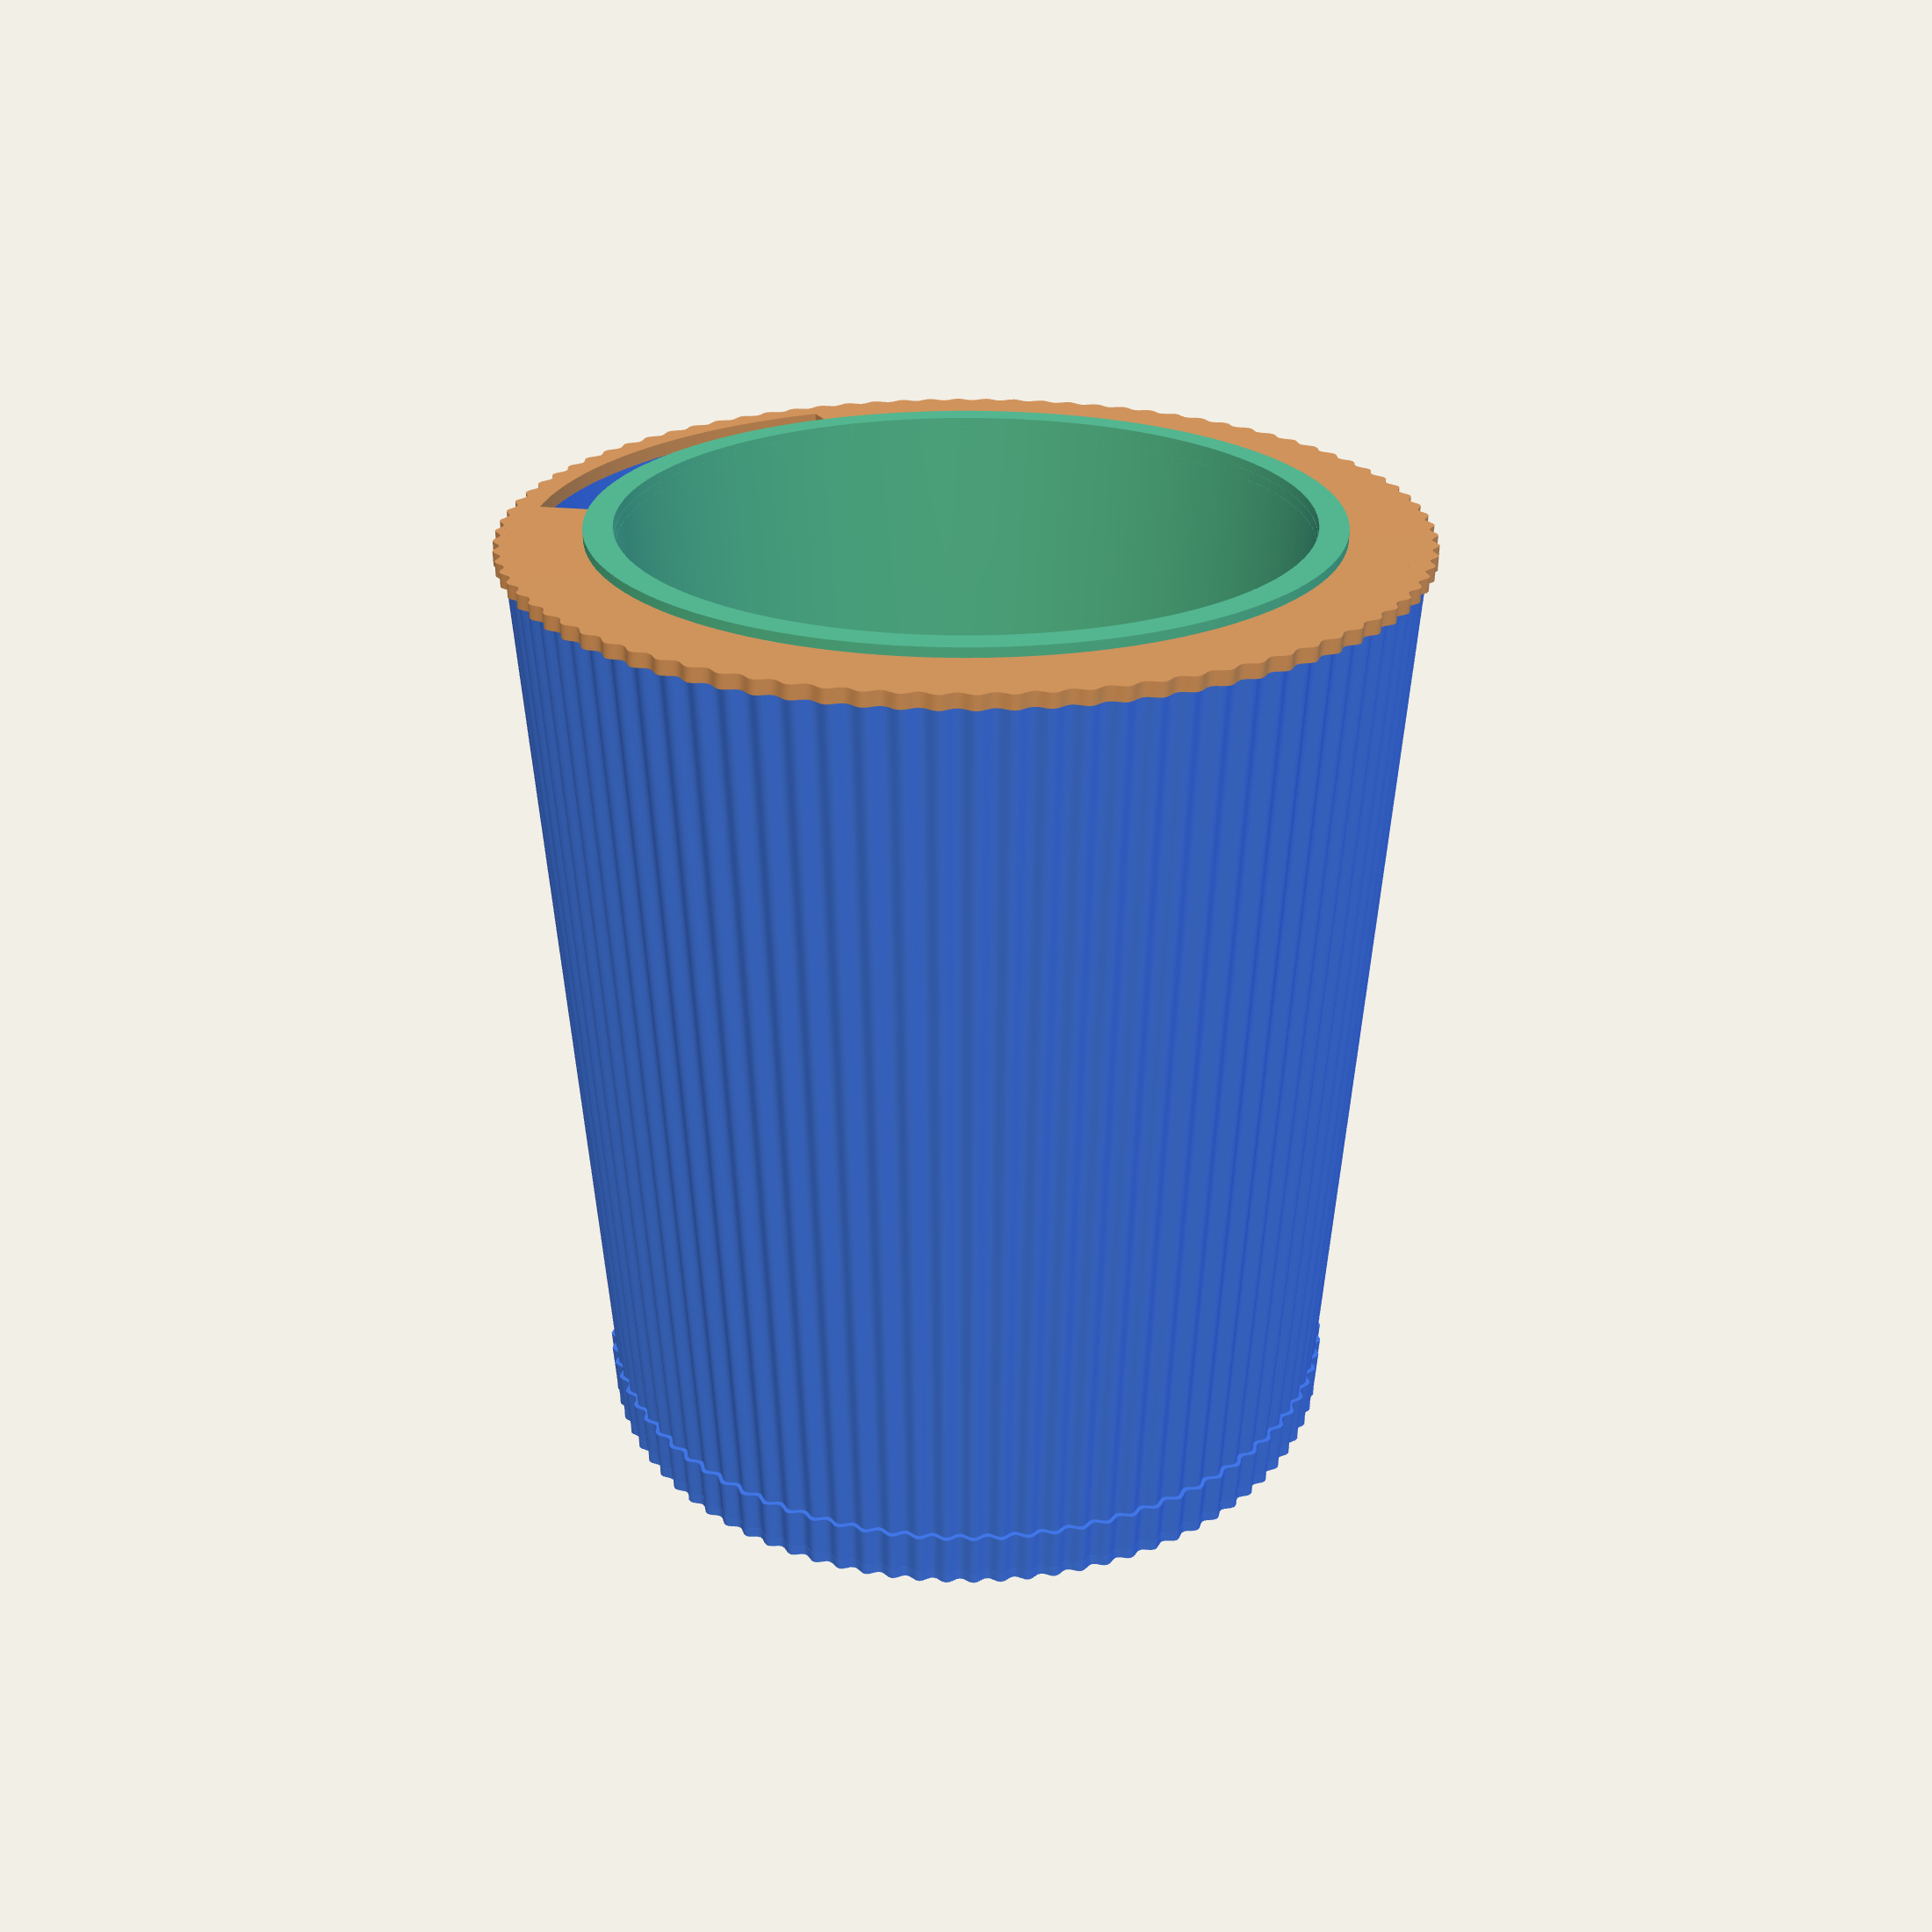
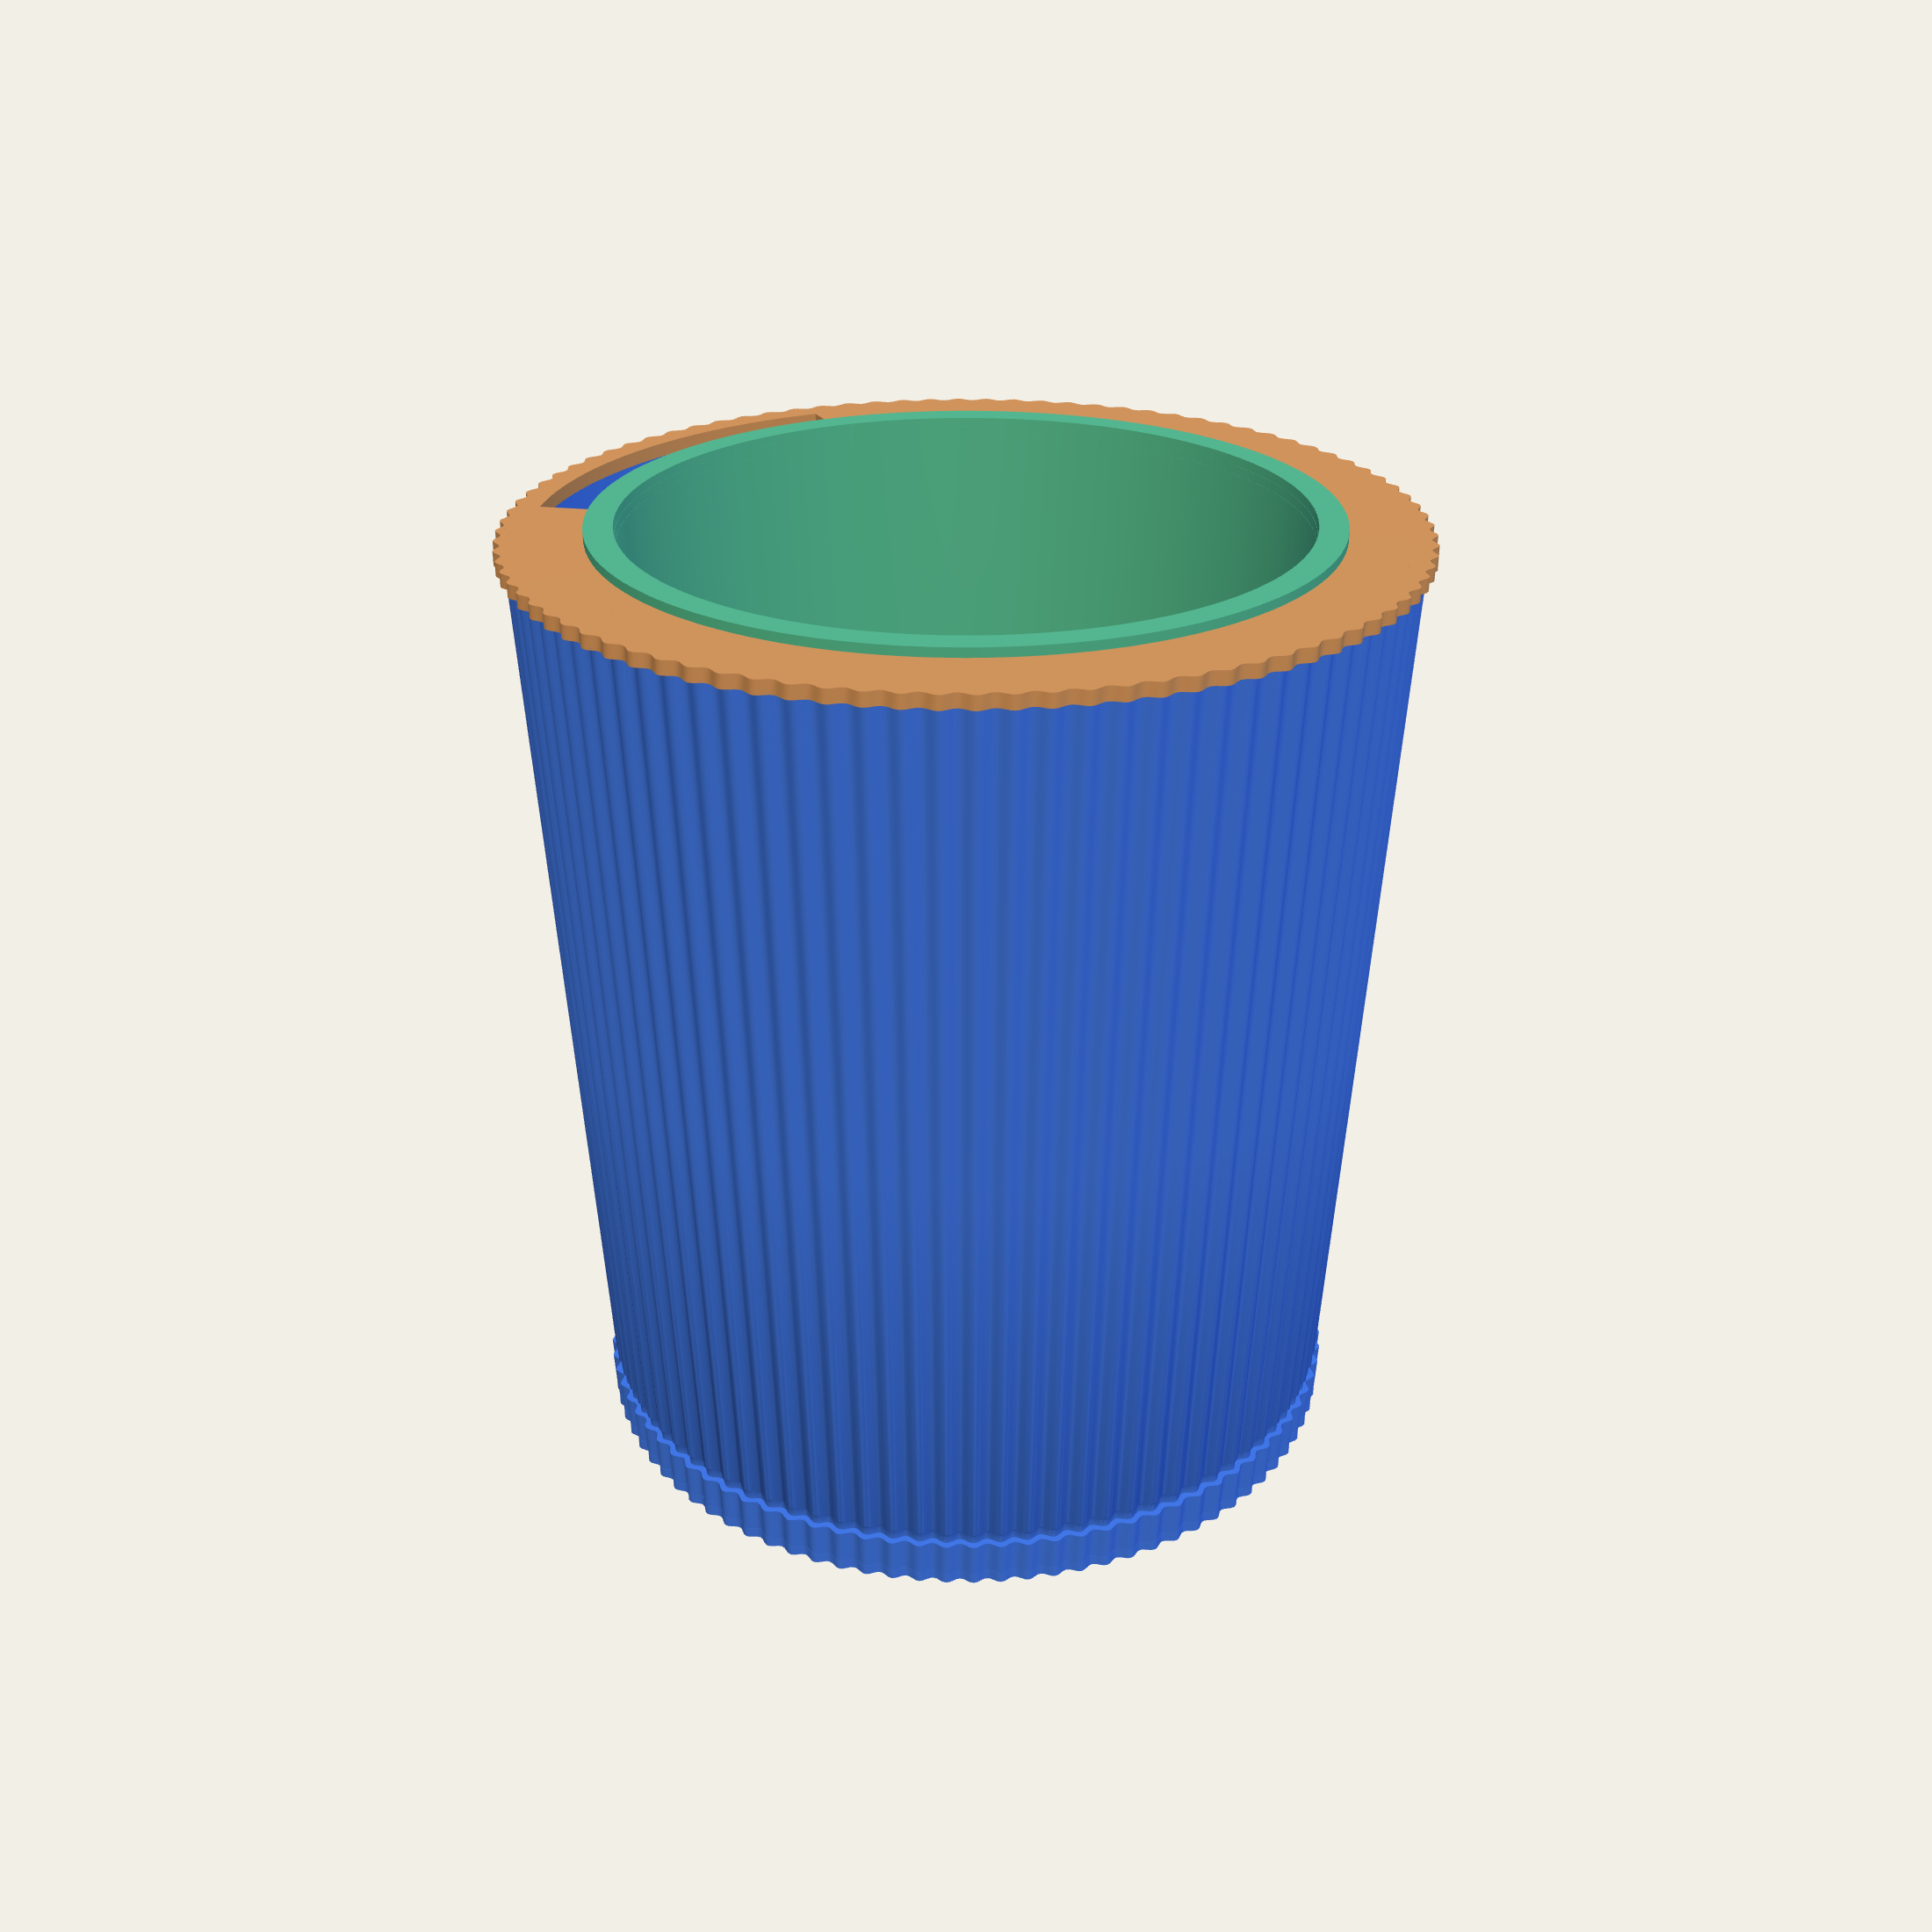
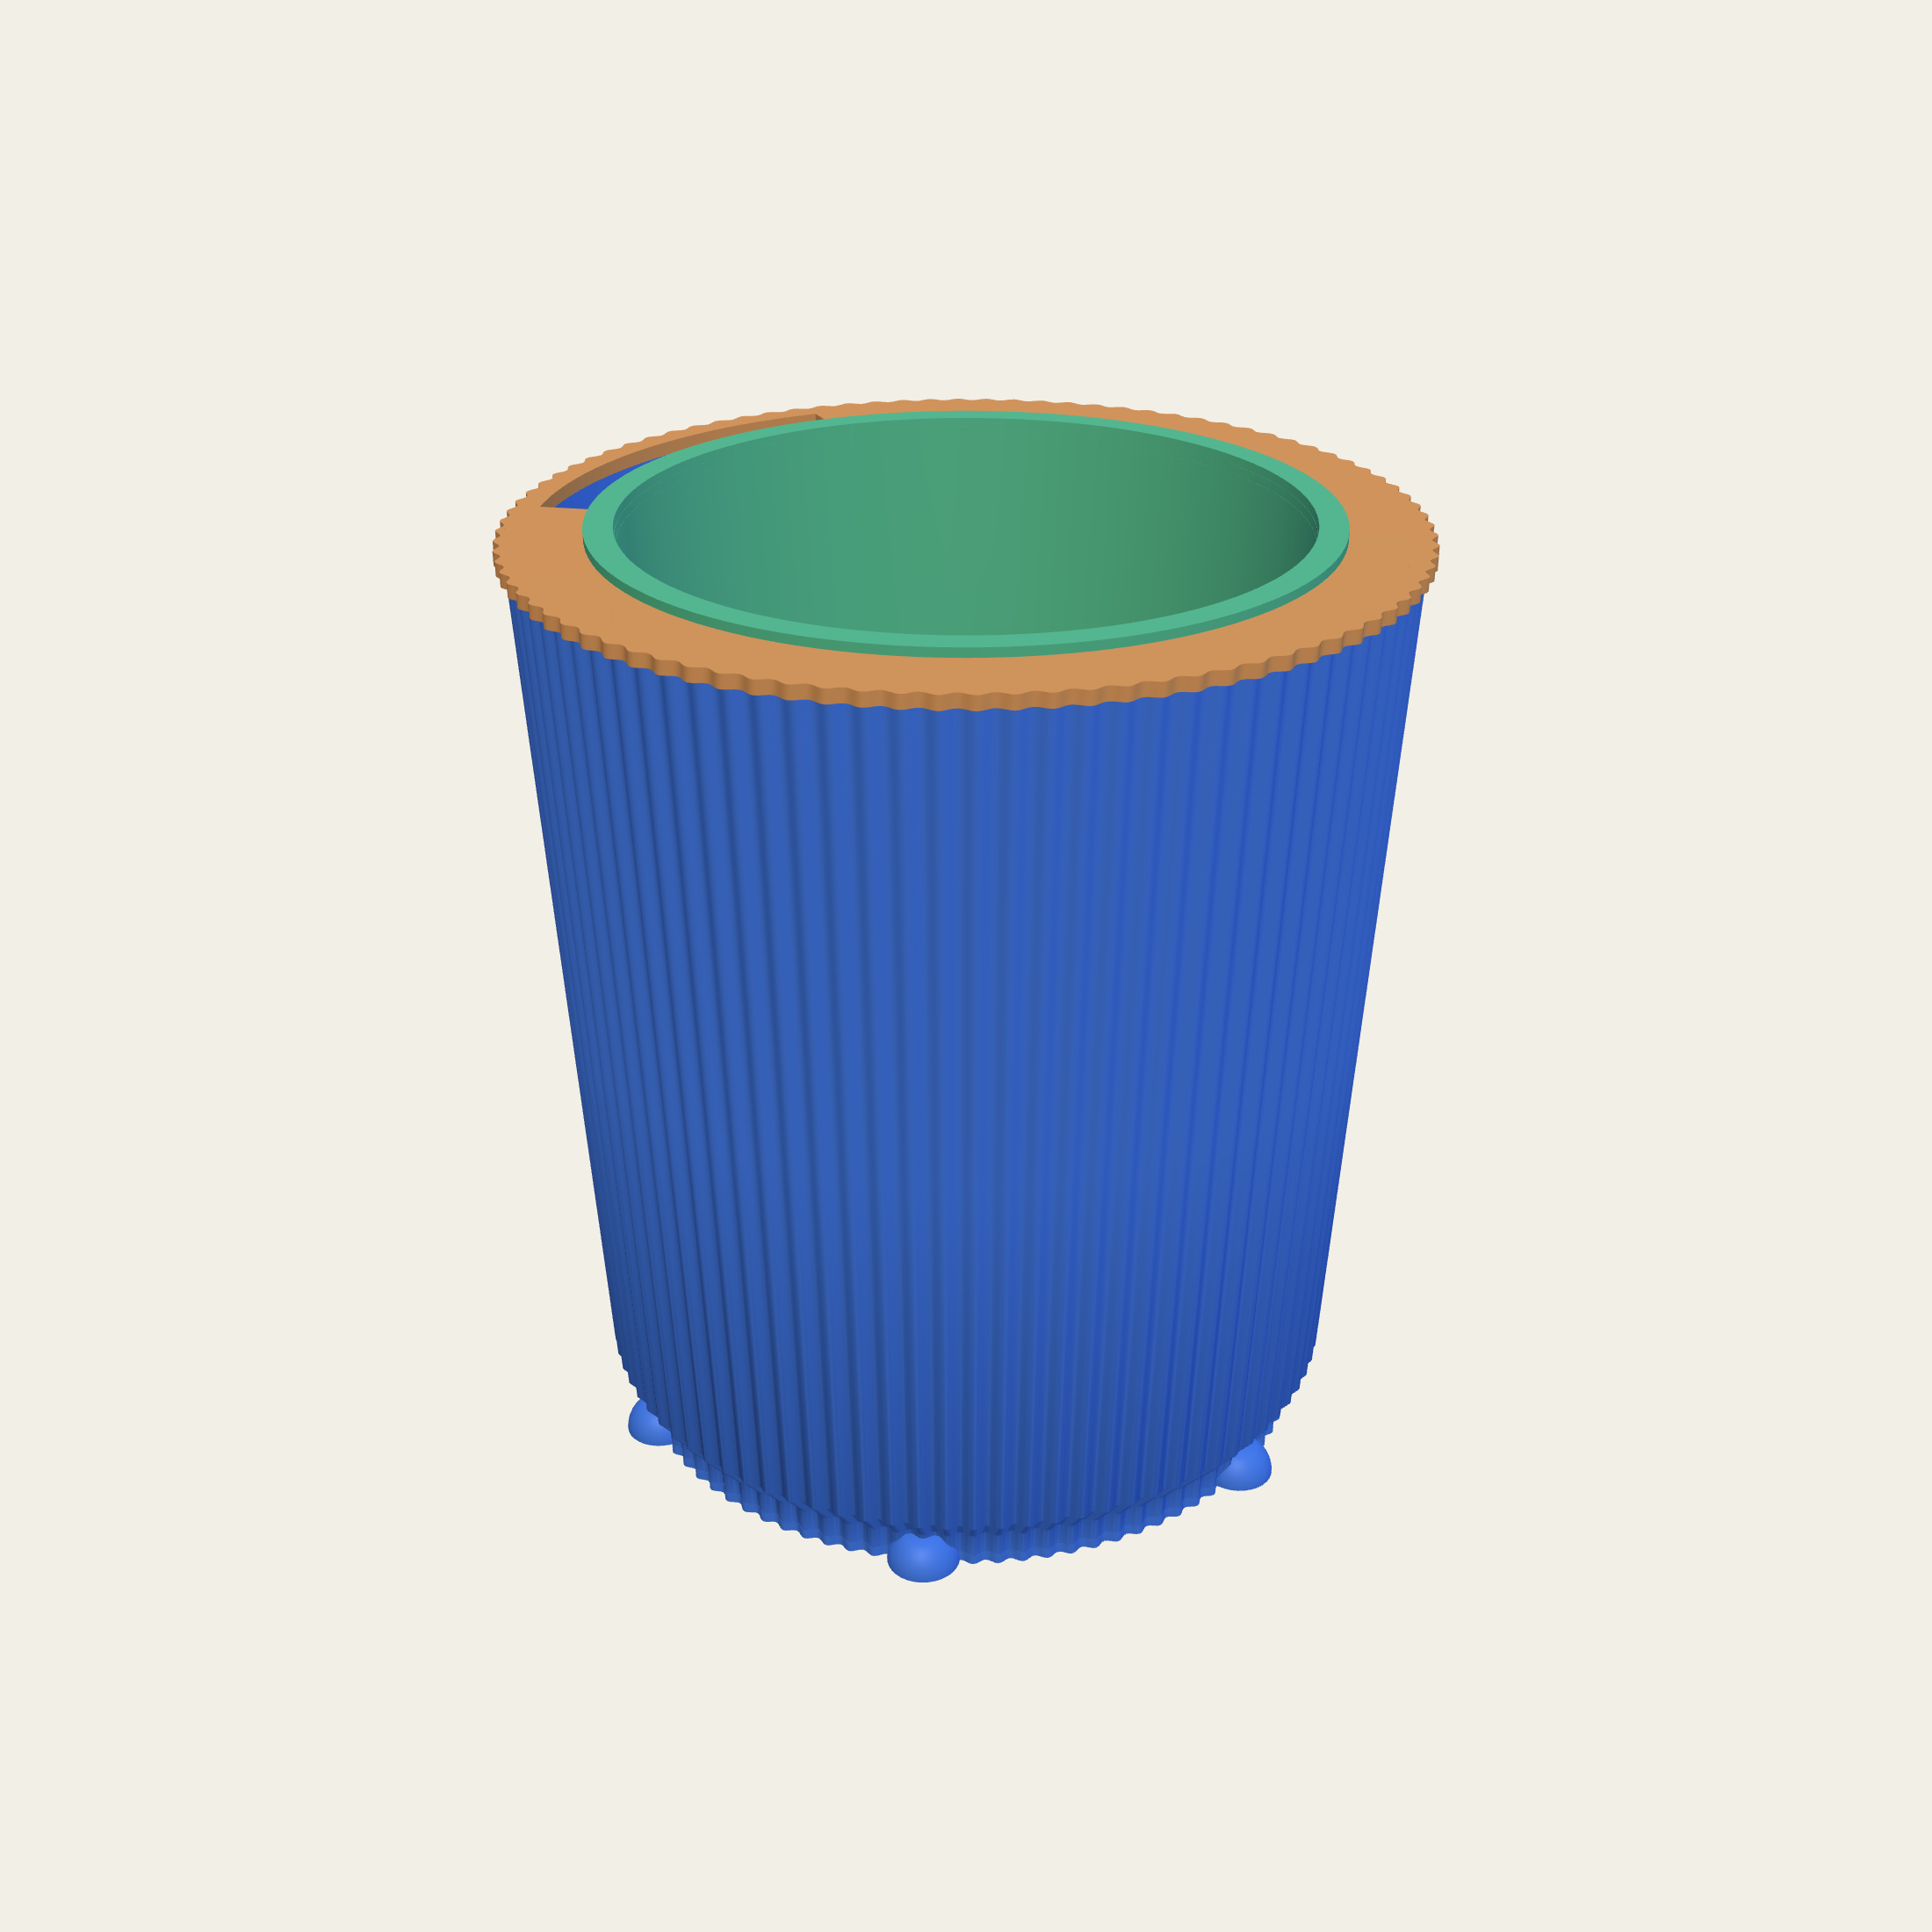
Under the base there can be feet, and they do a plain job: they lift the pot off the table so air moves under it, a ring mark does not form, and a saucer can breathe. Five shapes. Short cylinders. Truncated domes. Chamfered pads. One continuous ring. Tapered cones.
How many, how tall, how wide and how far out they reach are all yours, and the drawing watches the span from one foot to the next, because that is what the pot's own bottom has to bridge when it is full.
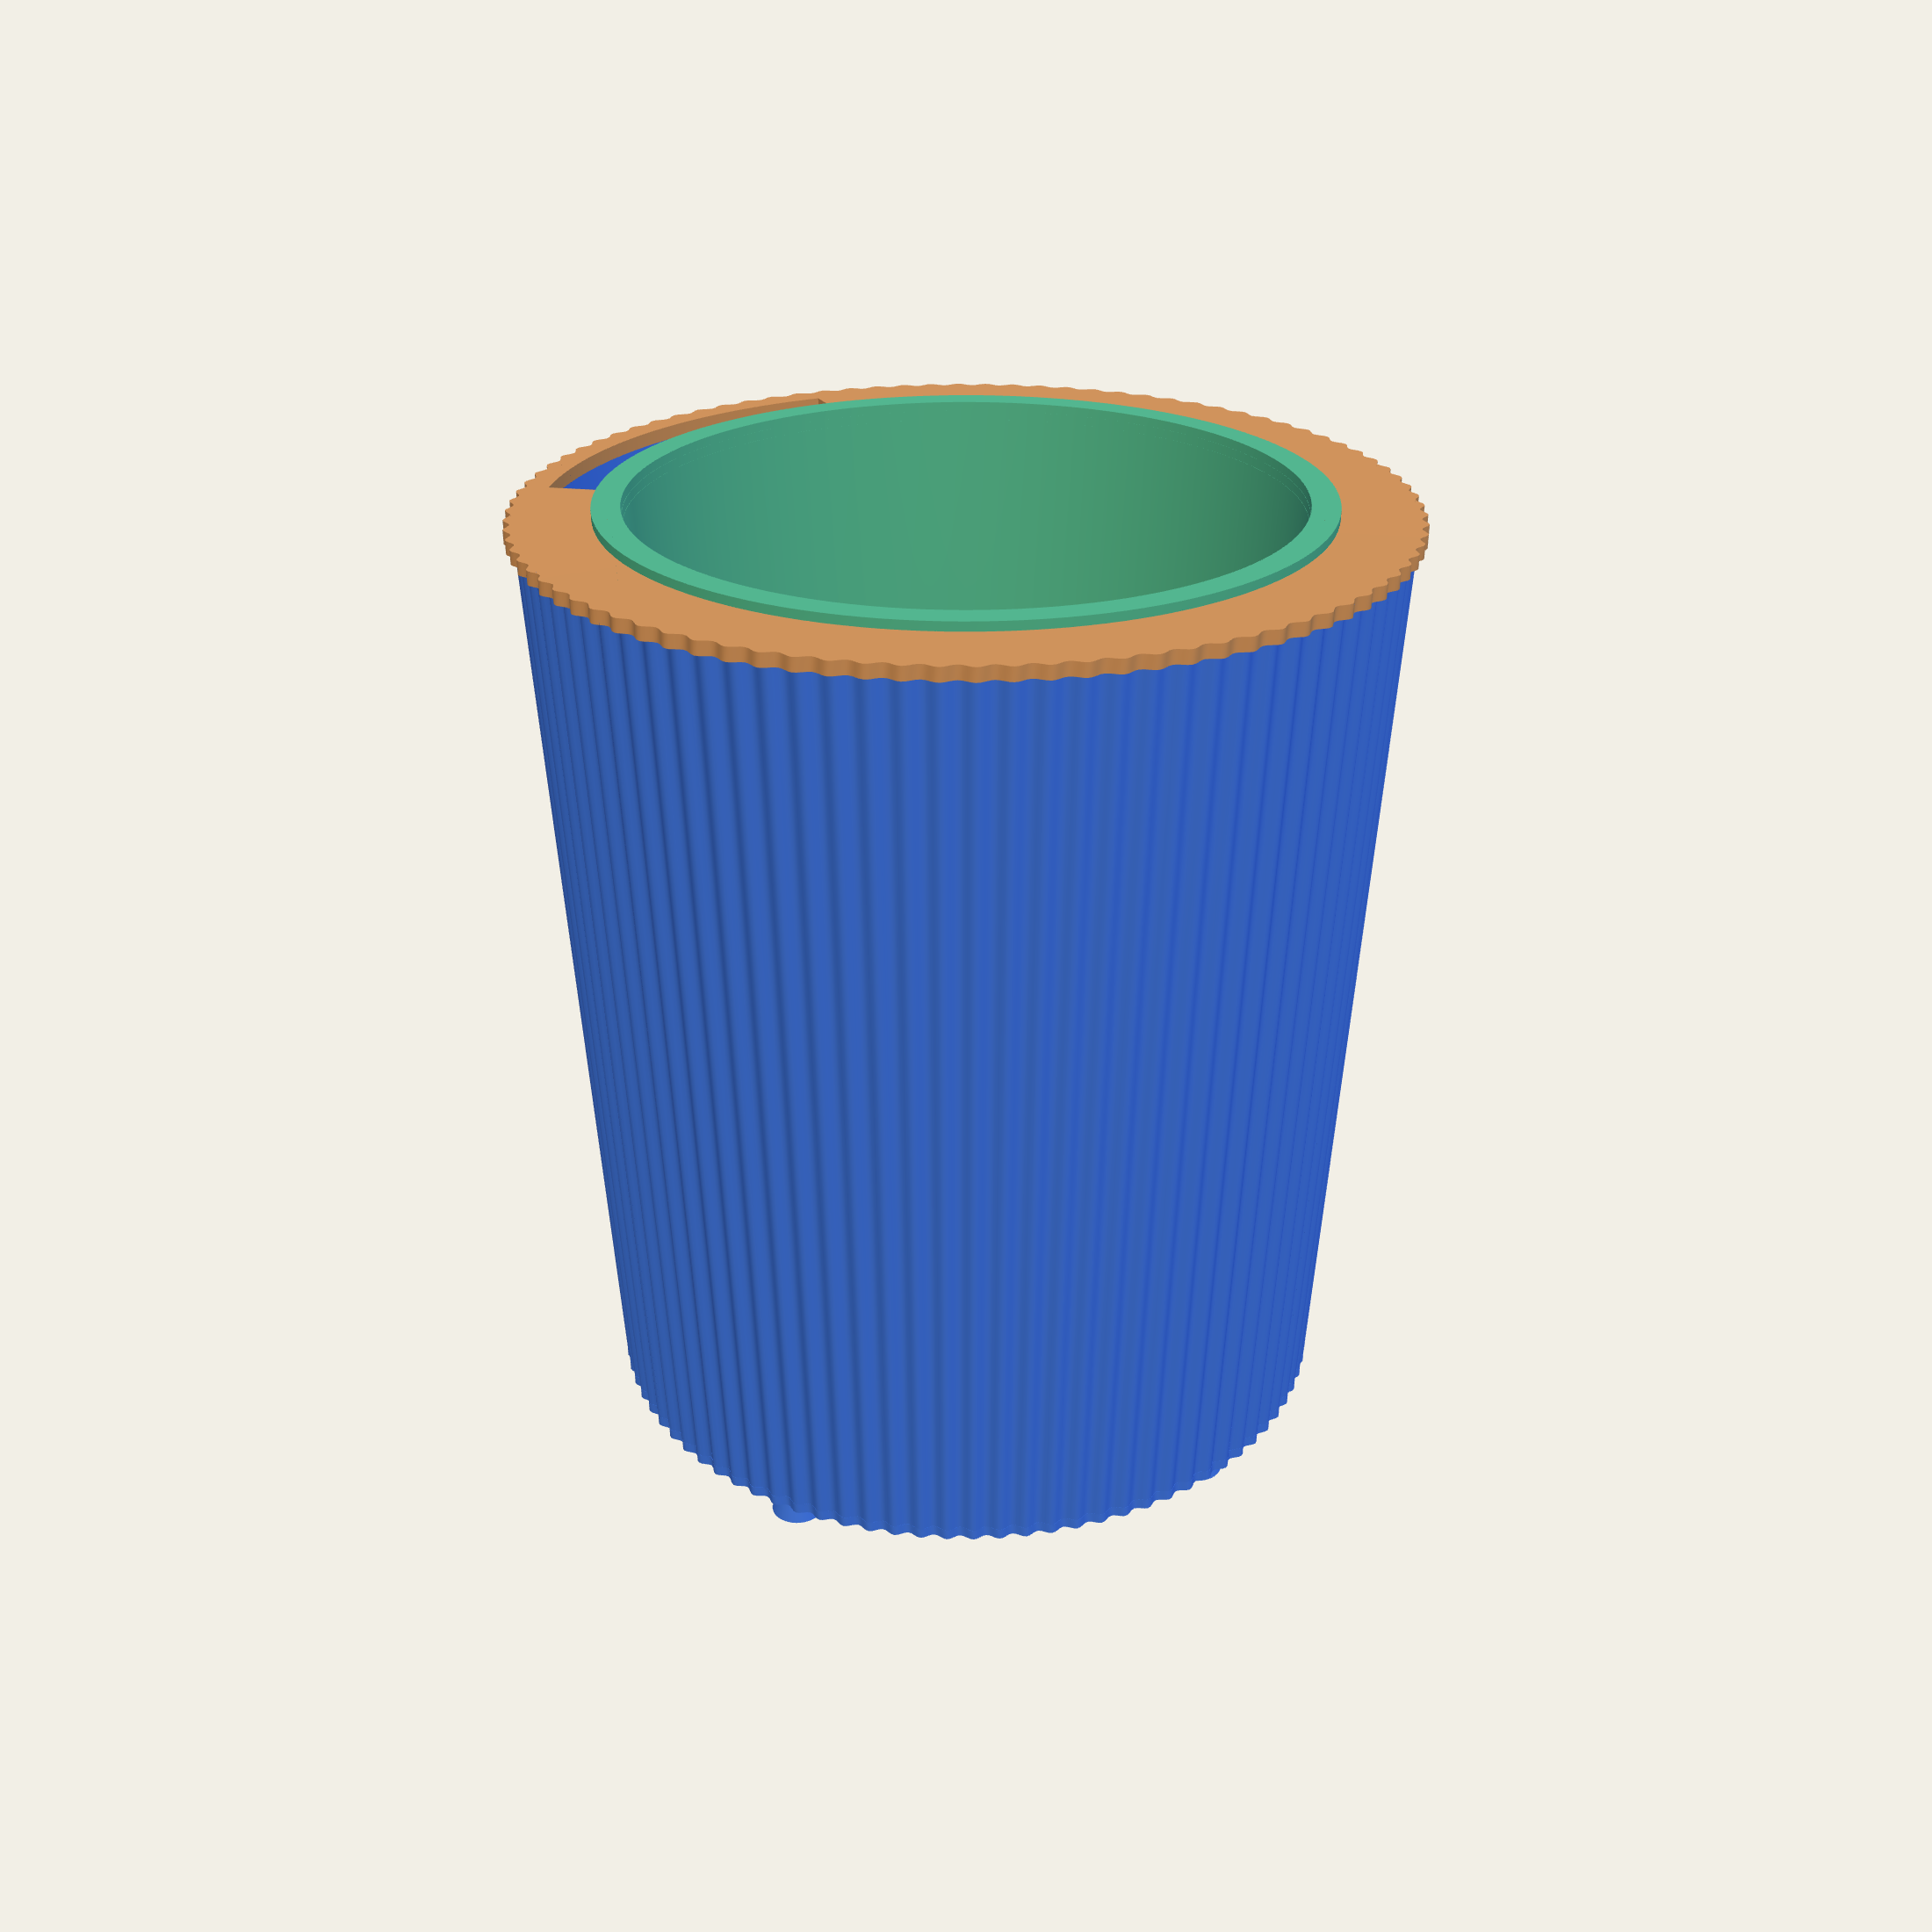
A tall pot does not have to be one object. It can be a stack of rings that key together, and once it is, each ring can be its own form and its own colour. A pale fluted ring over a dark plain one over a wider foot is three prints and one pot.
The practical part first: a single printed piece longer than the bed does not exist, so anything floor-standing already arrives in parts. Making those parts a design decision rather than a manufacturing apology is most of the idea.
The part that matters a year later is that a ring is replaceable. Scuff the bottom one against a skirting board and you replace the bottom one.
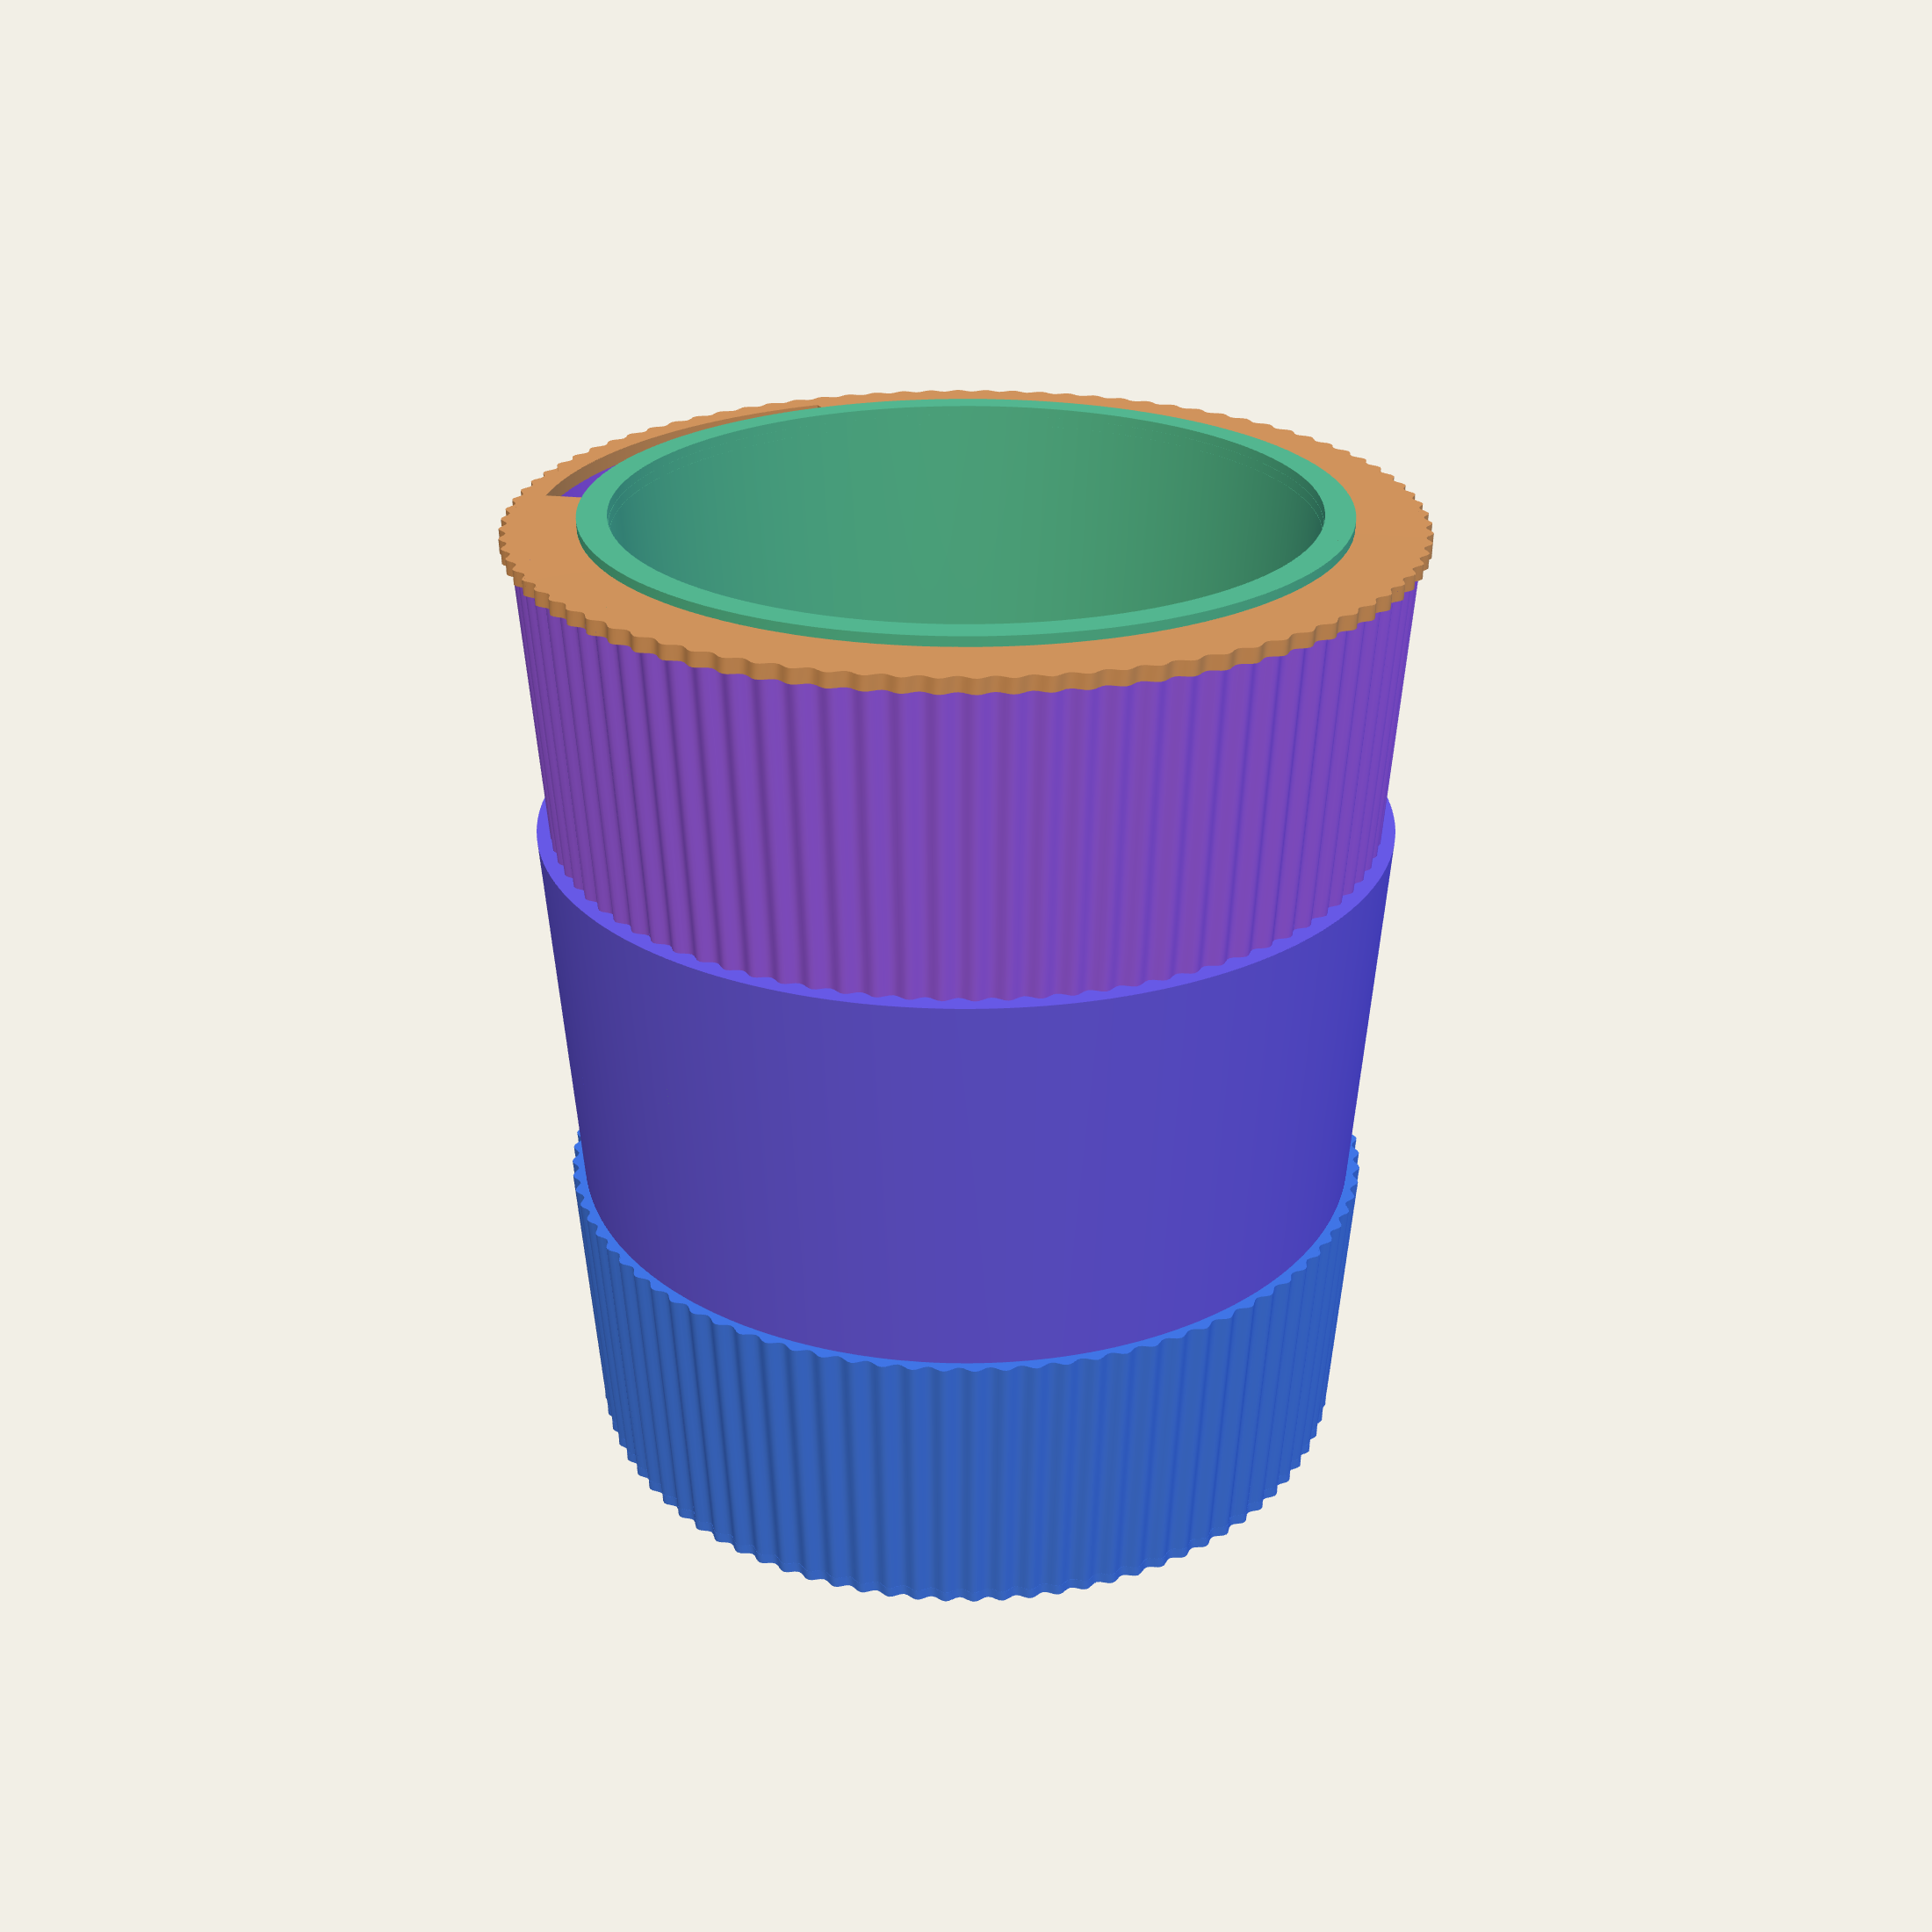
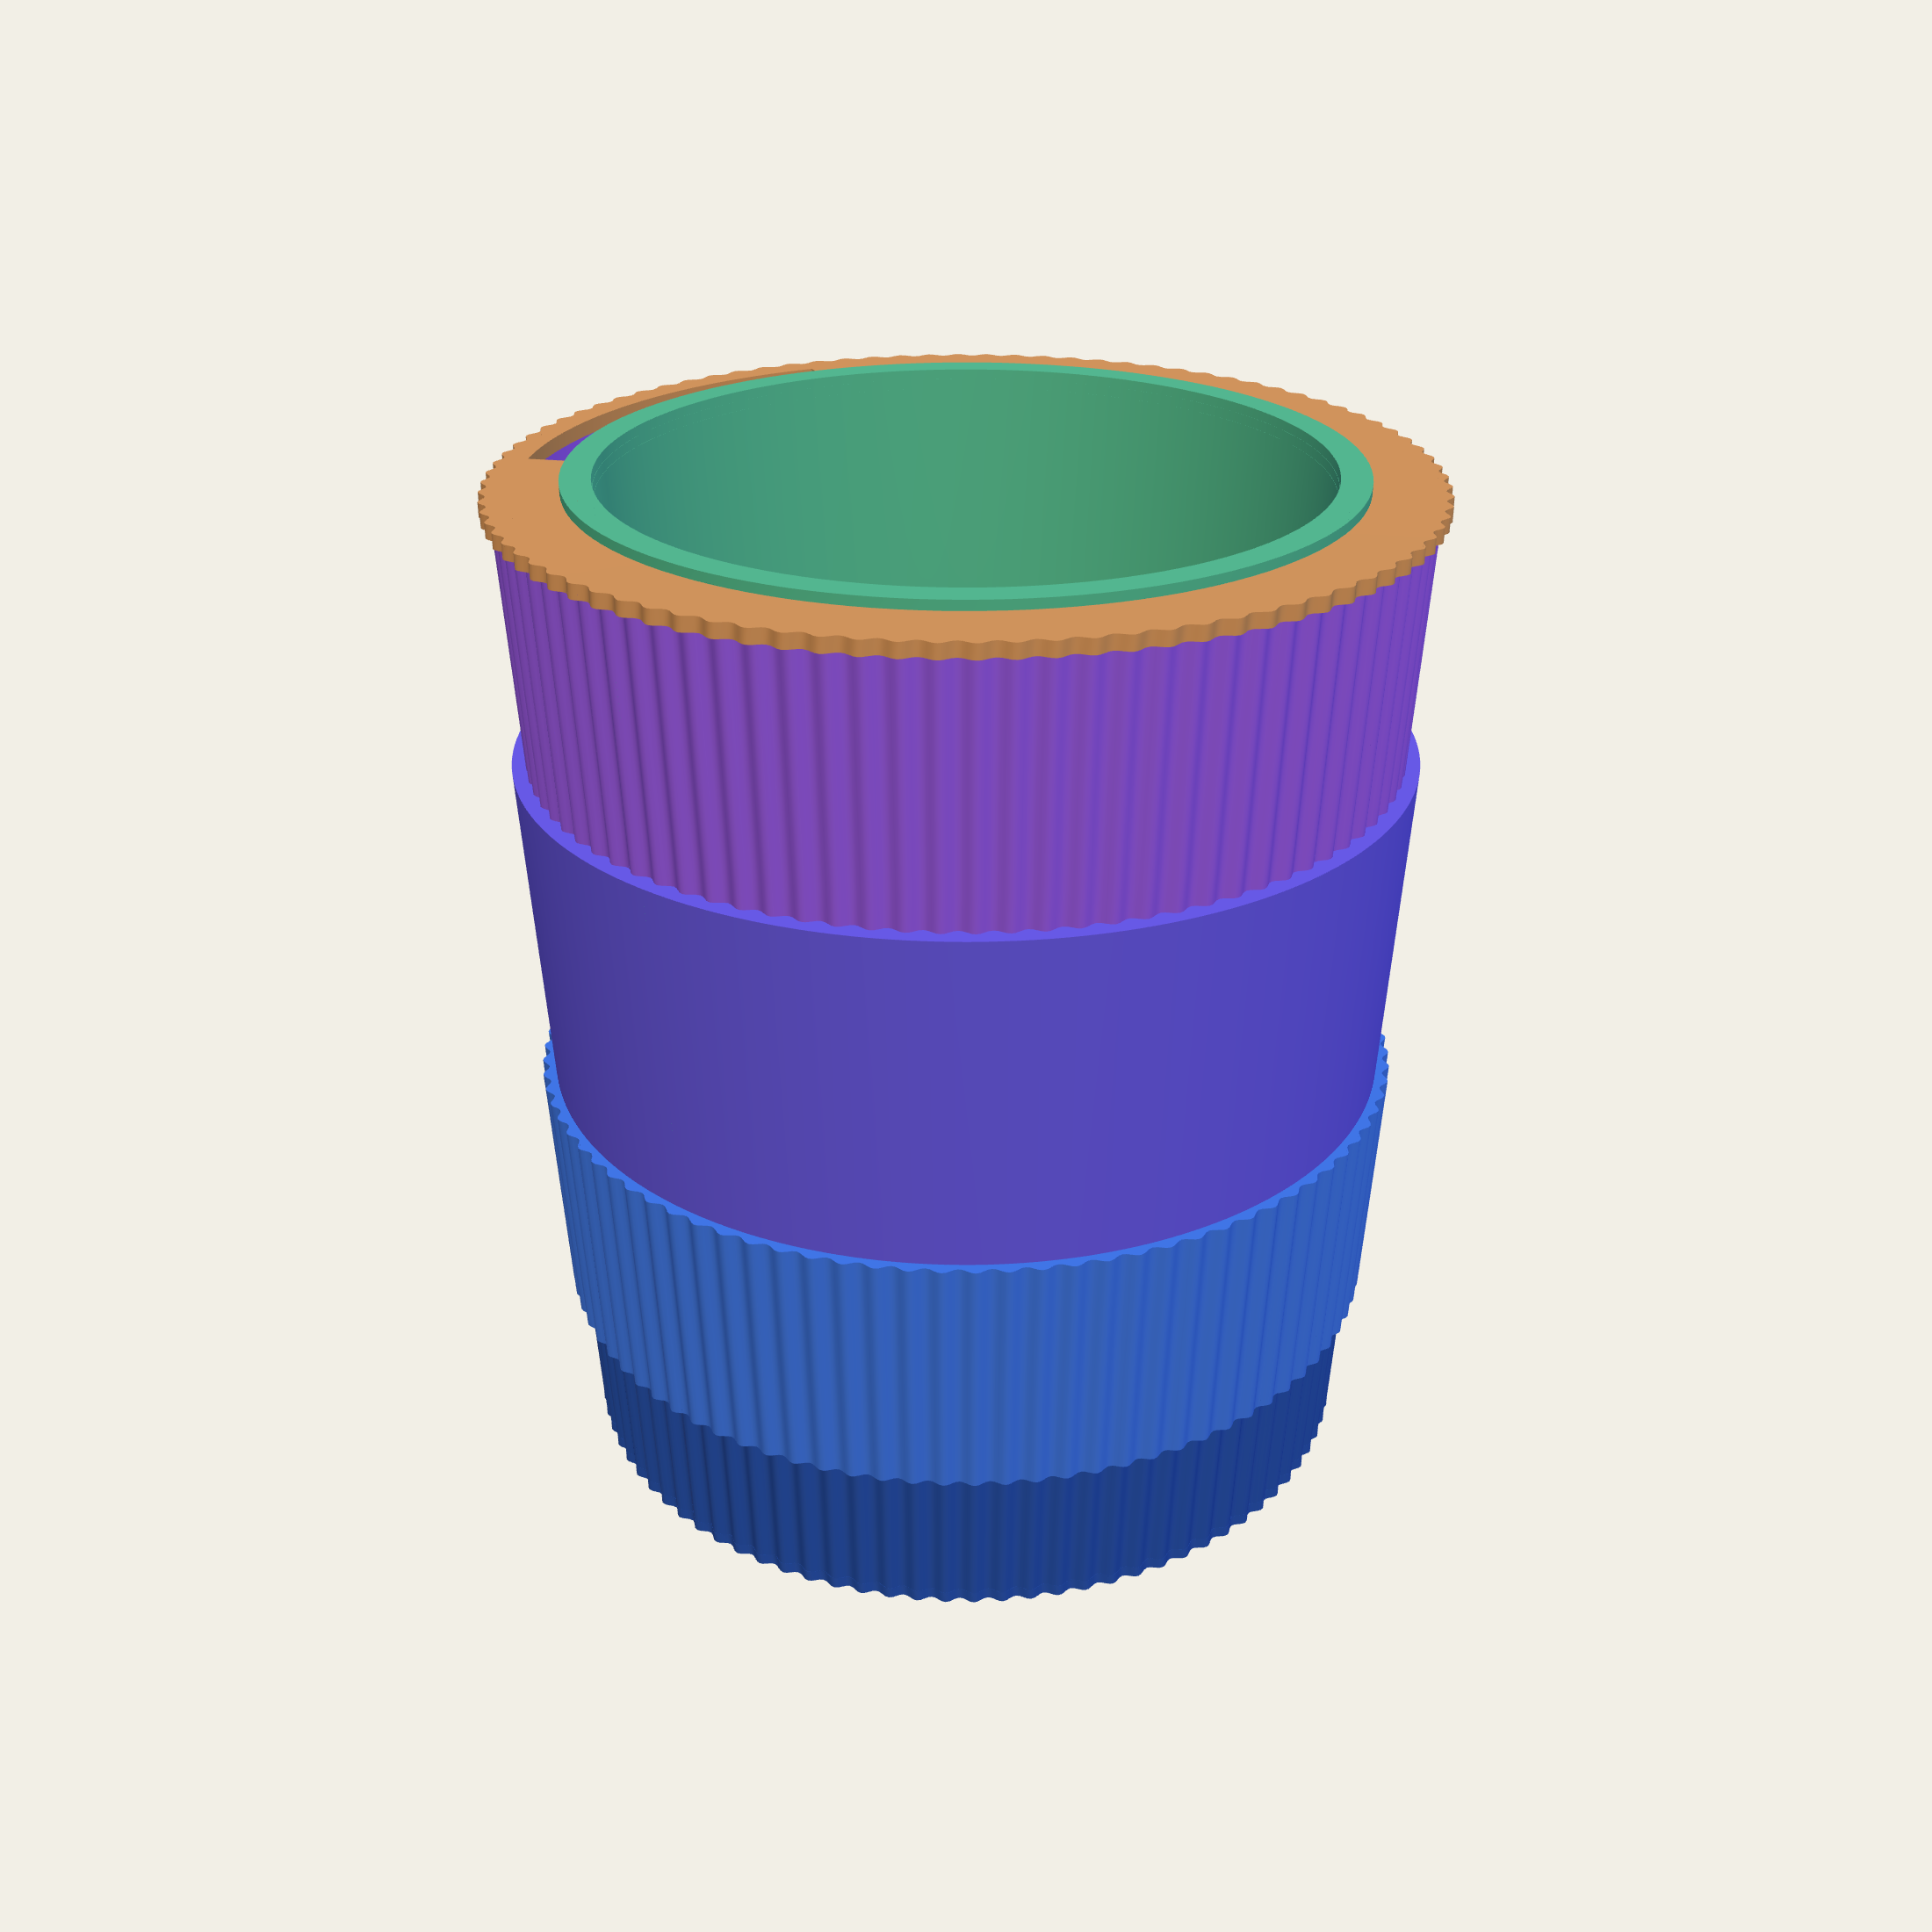
Rings that stack have to hold on to each other, and there is more than one right answer. Push on is the quickest and comes apart in the hand. Plugs drop into sockets and stop the rings turning against each other, which matters the moment a pattern has to line up across a joint. A twist lock goes on with a turn and will not lift off without one. A screw thread is the one for a pot that gets moved.
Whichever you pick, the joint is the same circle at the same diameter on every ring, whatever the ring is doing decoratively. That is what makes a stack a system instead of a set of matched pairs: any ring sits on any other ring, so a fluted middle can be swapped for a plain one years later. The tray at the bottom holds on the same four ways.
On a self-watering pot there is a void under the liner, and it holds the water. The plant draws from it through a wick, so the medium stays evenly damp instead of swinging between drenched and bone dry. For a pothos, a peace lily or a fern that sulks the moment it dries, that swing is the thing that was hurting it.
It is also the feature that is wrong for more plants than it is right for. A cactus, a succulent, a Hoya or a Cattleya wants the opposite: wet for an hour, then air. Every plant guide on this site says which of the two you have, plainly, at the top of the page.
And a reservoir that can only be topped up is a trap. Salt arrives with every fill and leaves with none, collecting towards the top of the root ball where the fine roots are. That is why ours has a plug in the bottom of it.
Flush Vessel 180 Pothos, where a reservoir helps Cacti, where it does not
Inside a self-watering pot, the feet are what hold the liner clear of the reservoir floor. Lift the assembly apart and the whole arrangement is obvious in one look: the shell, the ring it seats on, the liner, and the gap underneath that the feet create. Take them away and the liner sits in the water, the wick stops being a wick, and the bottom of the root ball is simply submerged.
On a plain pot with a hole, the same feet do something less clever and just as useful: they hold the pot a few millimetres above its own tray, so the drainage hole is never standing in what it drained. A pot that drains into a puddle it is sitting in has not drained.
The legs are loose pieces and the holes in the liner's floor are what they go into. Three to five of them, in one even ring, and with no legs fitted they are simply drainage. That is why the liner does both jobs without being two parts.
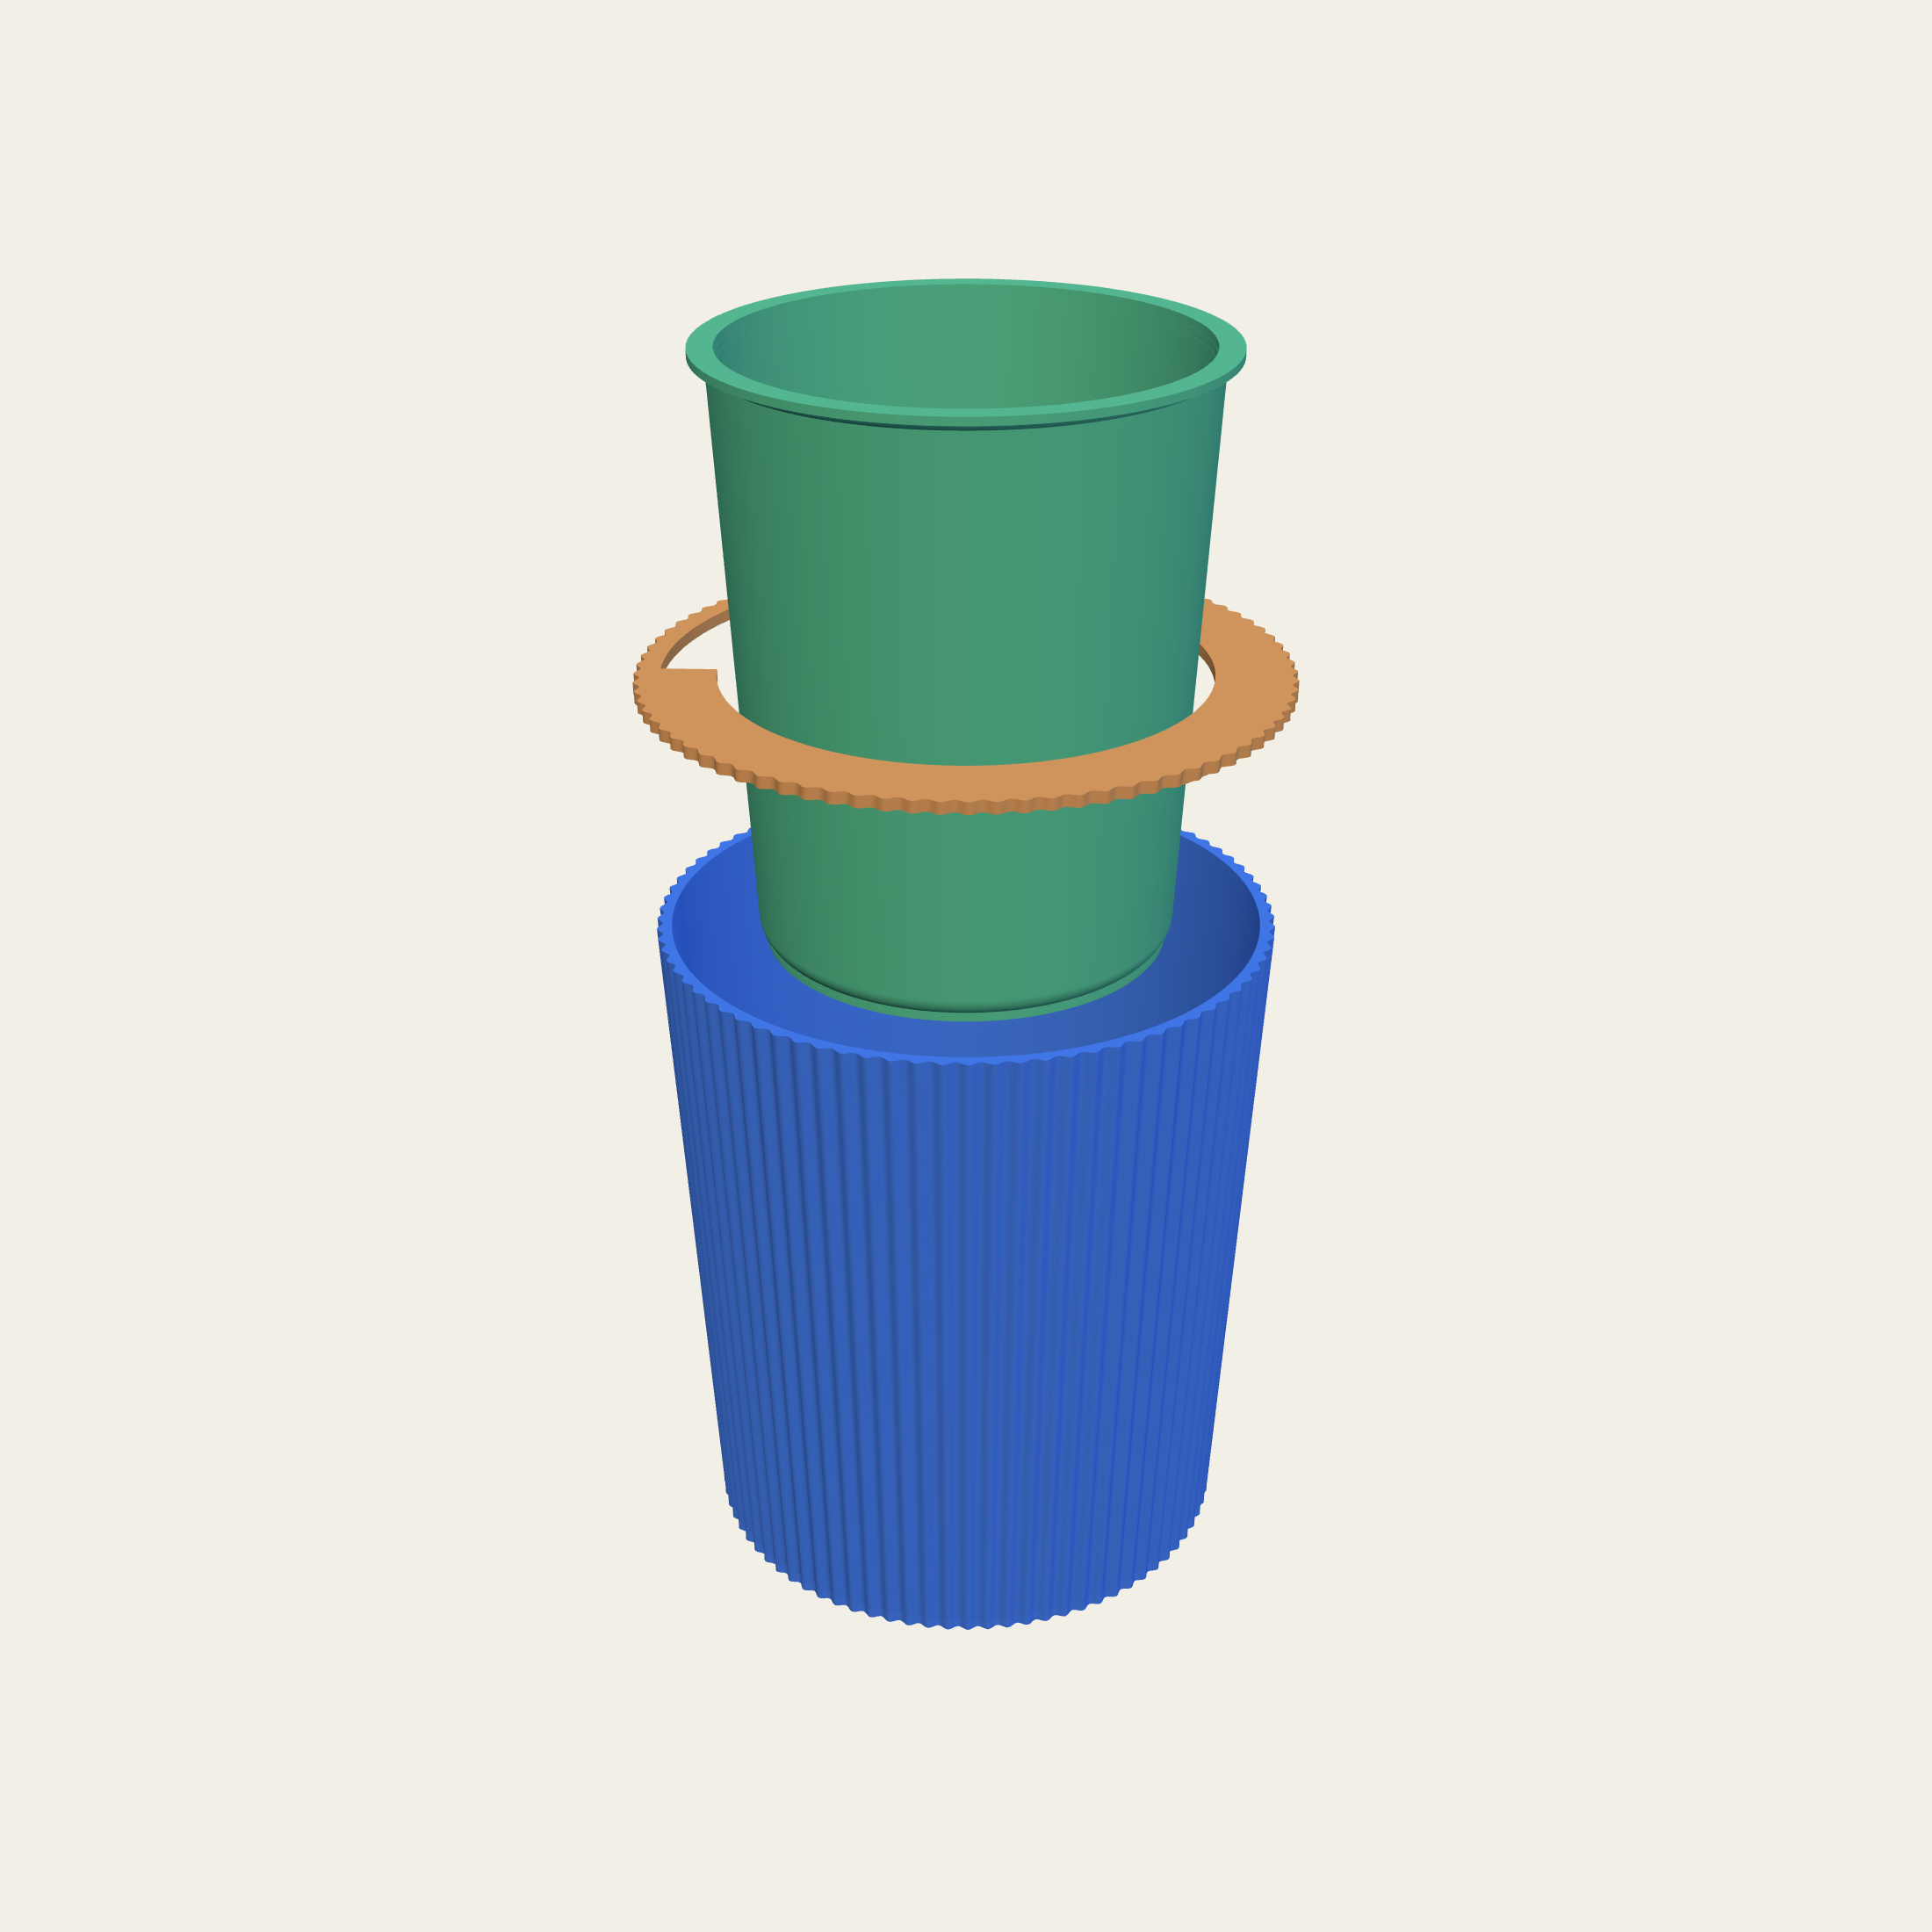
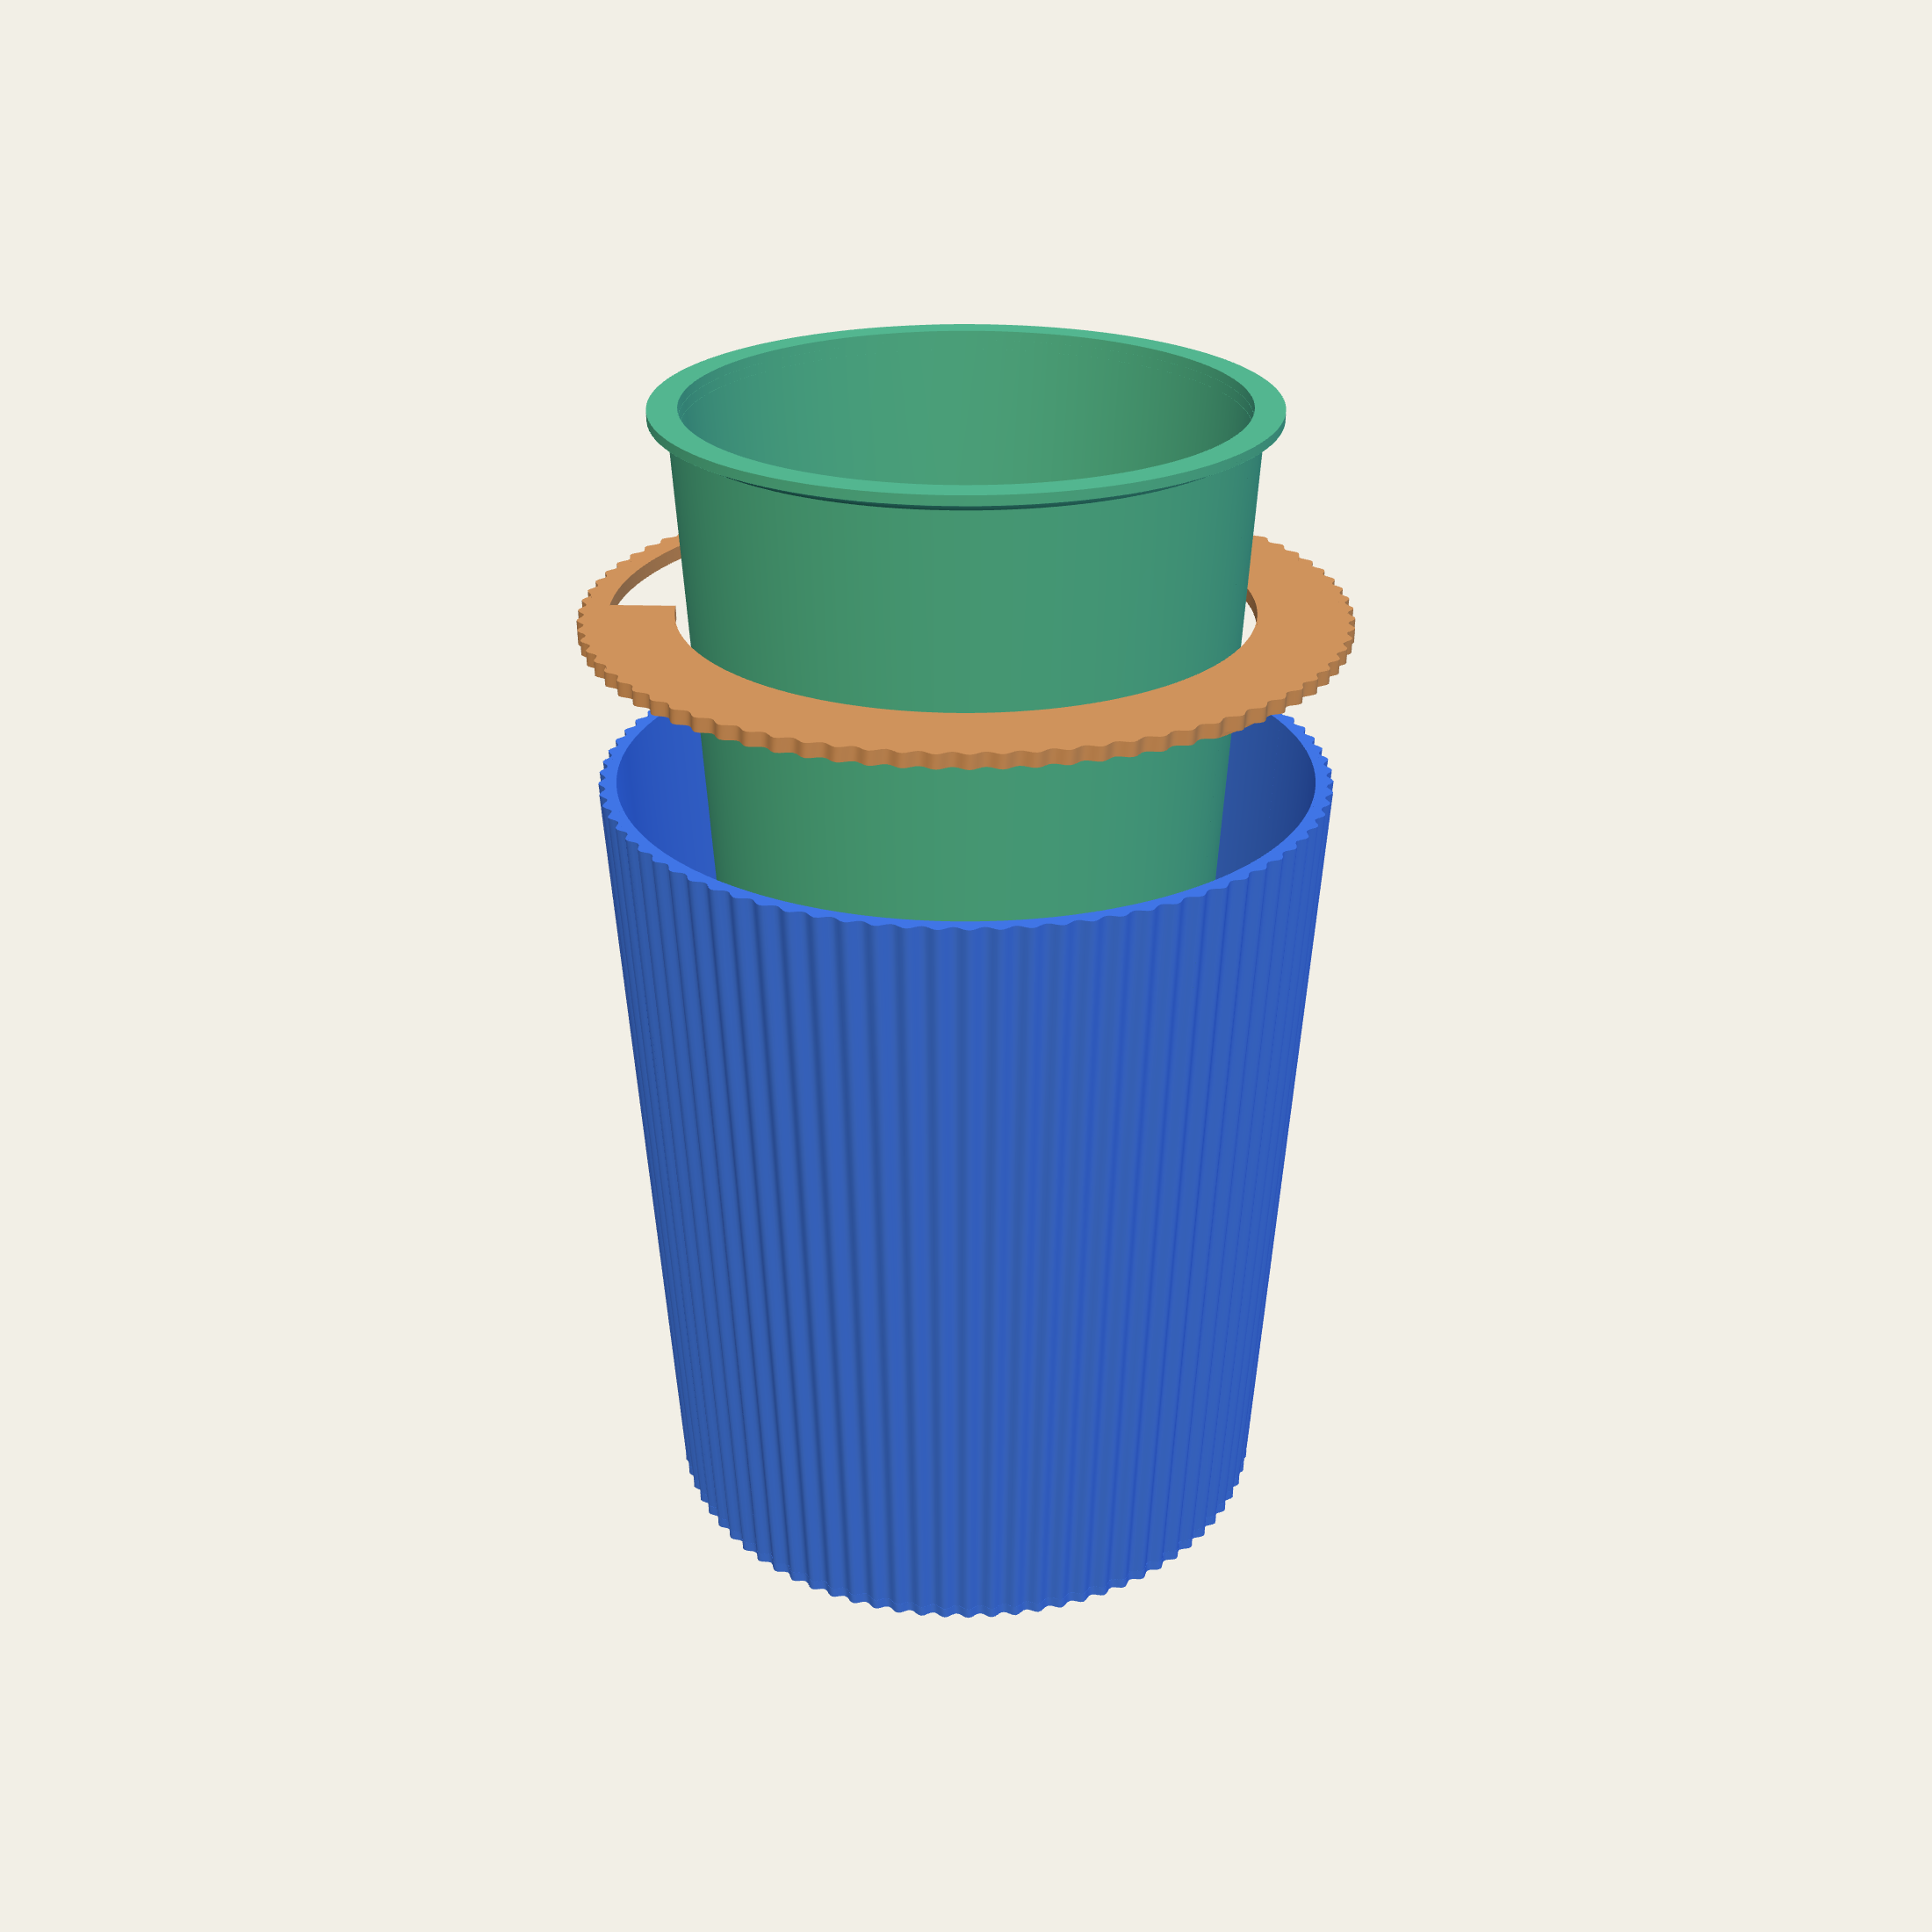
The holes in the liner's floor are the sockets. Three to five of them, in one even ring set midway between the centre and the wall, which is where the floor is weakest and where a leg has something worth bracing. Take the legs out and they are drainage holes. Put them in and they are what the pot stands on.
Five shapes of leg. Ribbed is a tube with ribs standing off it, and it is what comes on the printed pot. Slotted is three tall windows and drains the fastest of the five, which is what a coarse medium wants. A cross is four fins on a tube and is stiff whichever way the pot gets pushed. A sleeve is a plain slotted tube, the least material and the easiest to clean. Ported is a closed leg with windows cut at the bottom, and it is the quietest to look at.
They wedge rather than screw. A thread was drawn first and dropped: a thread flank has to stand steep enough to print without anything holding it up, that fixes the pitch, and 2.4 mm of floor then buys about one turn — so every other number on the leg ended up serving that one turn. The plug is a cone instead. It pushes up through the hole from underneath and wedges on a face that was already there, and it stops flush with the top of the floor, so nothing stands up into the medium and the last of the water runs out rather than sitting in a ring. The taper holds it; the shoulder round it carries the pot.
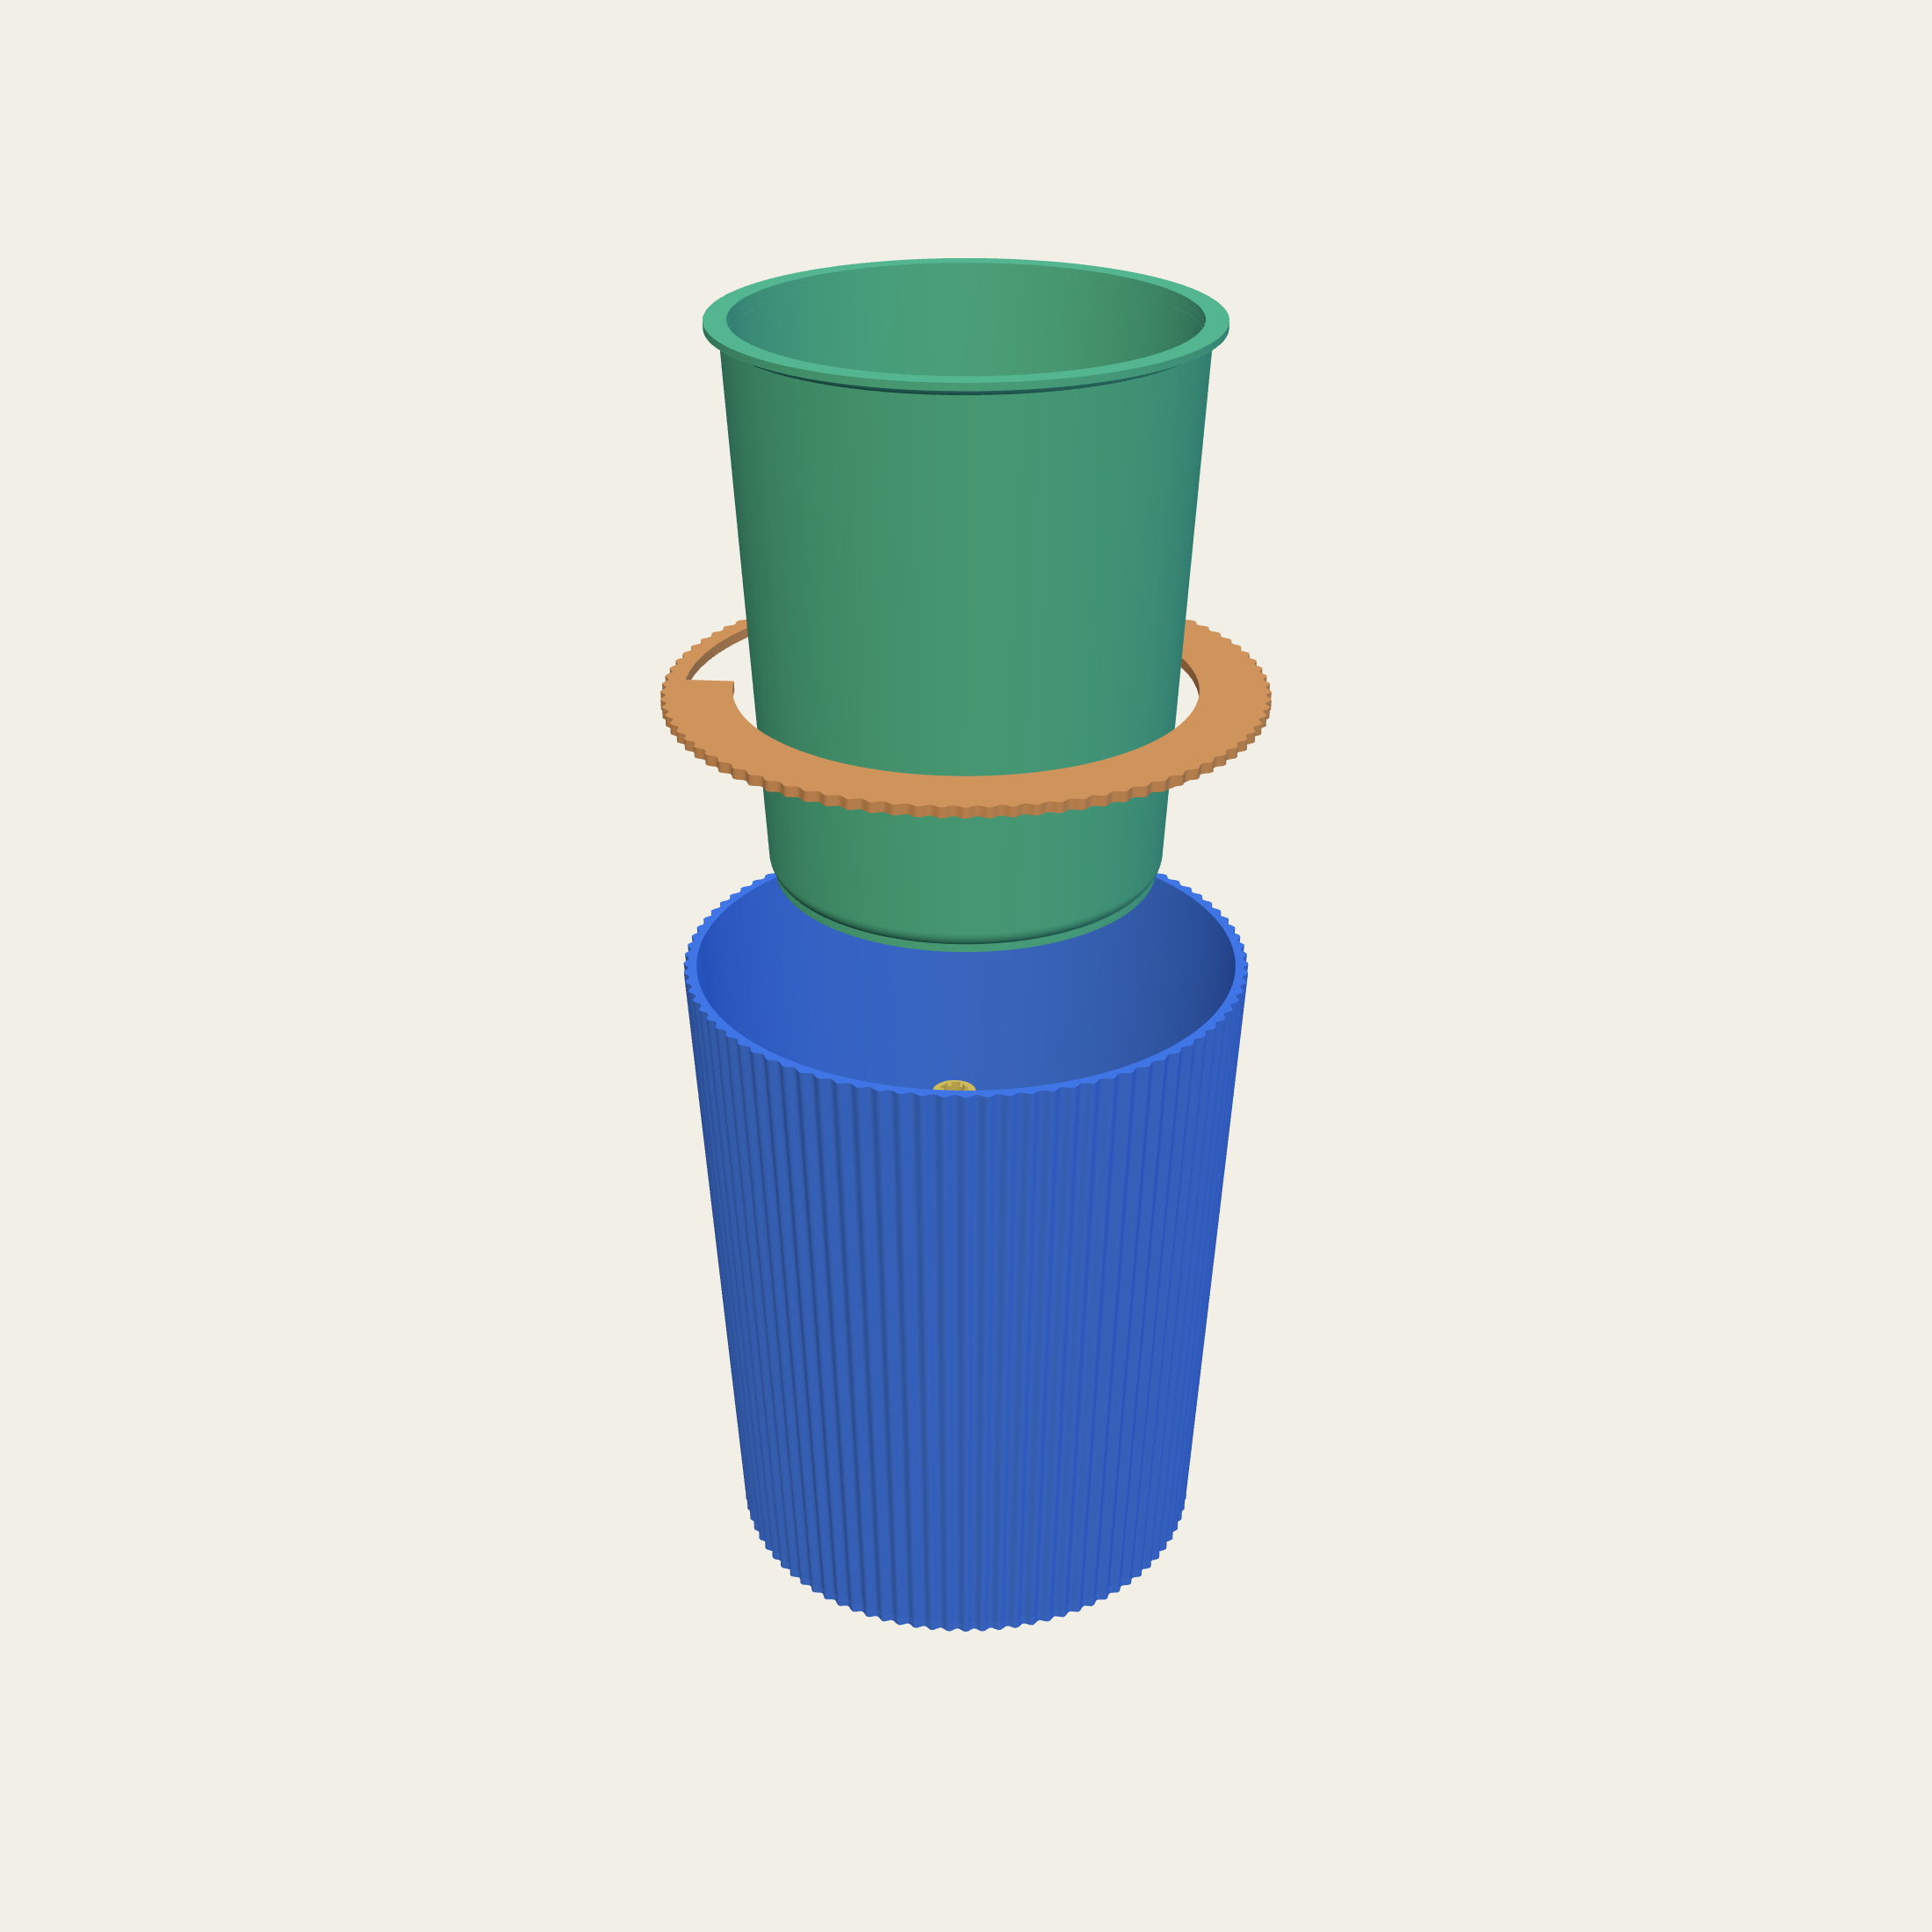
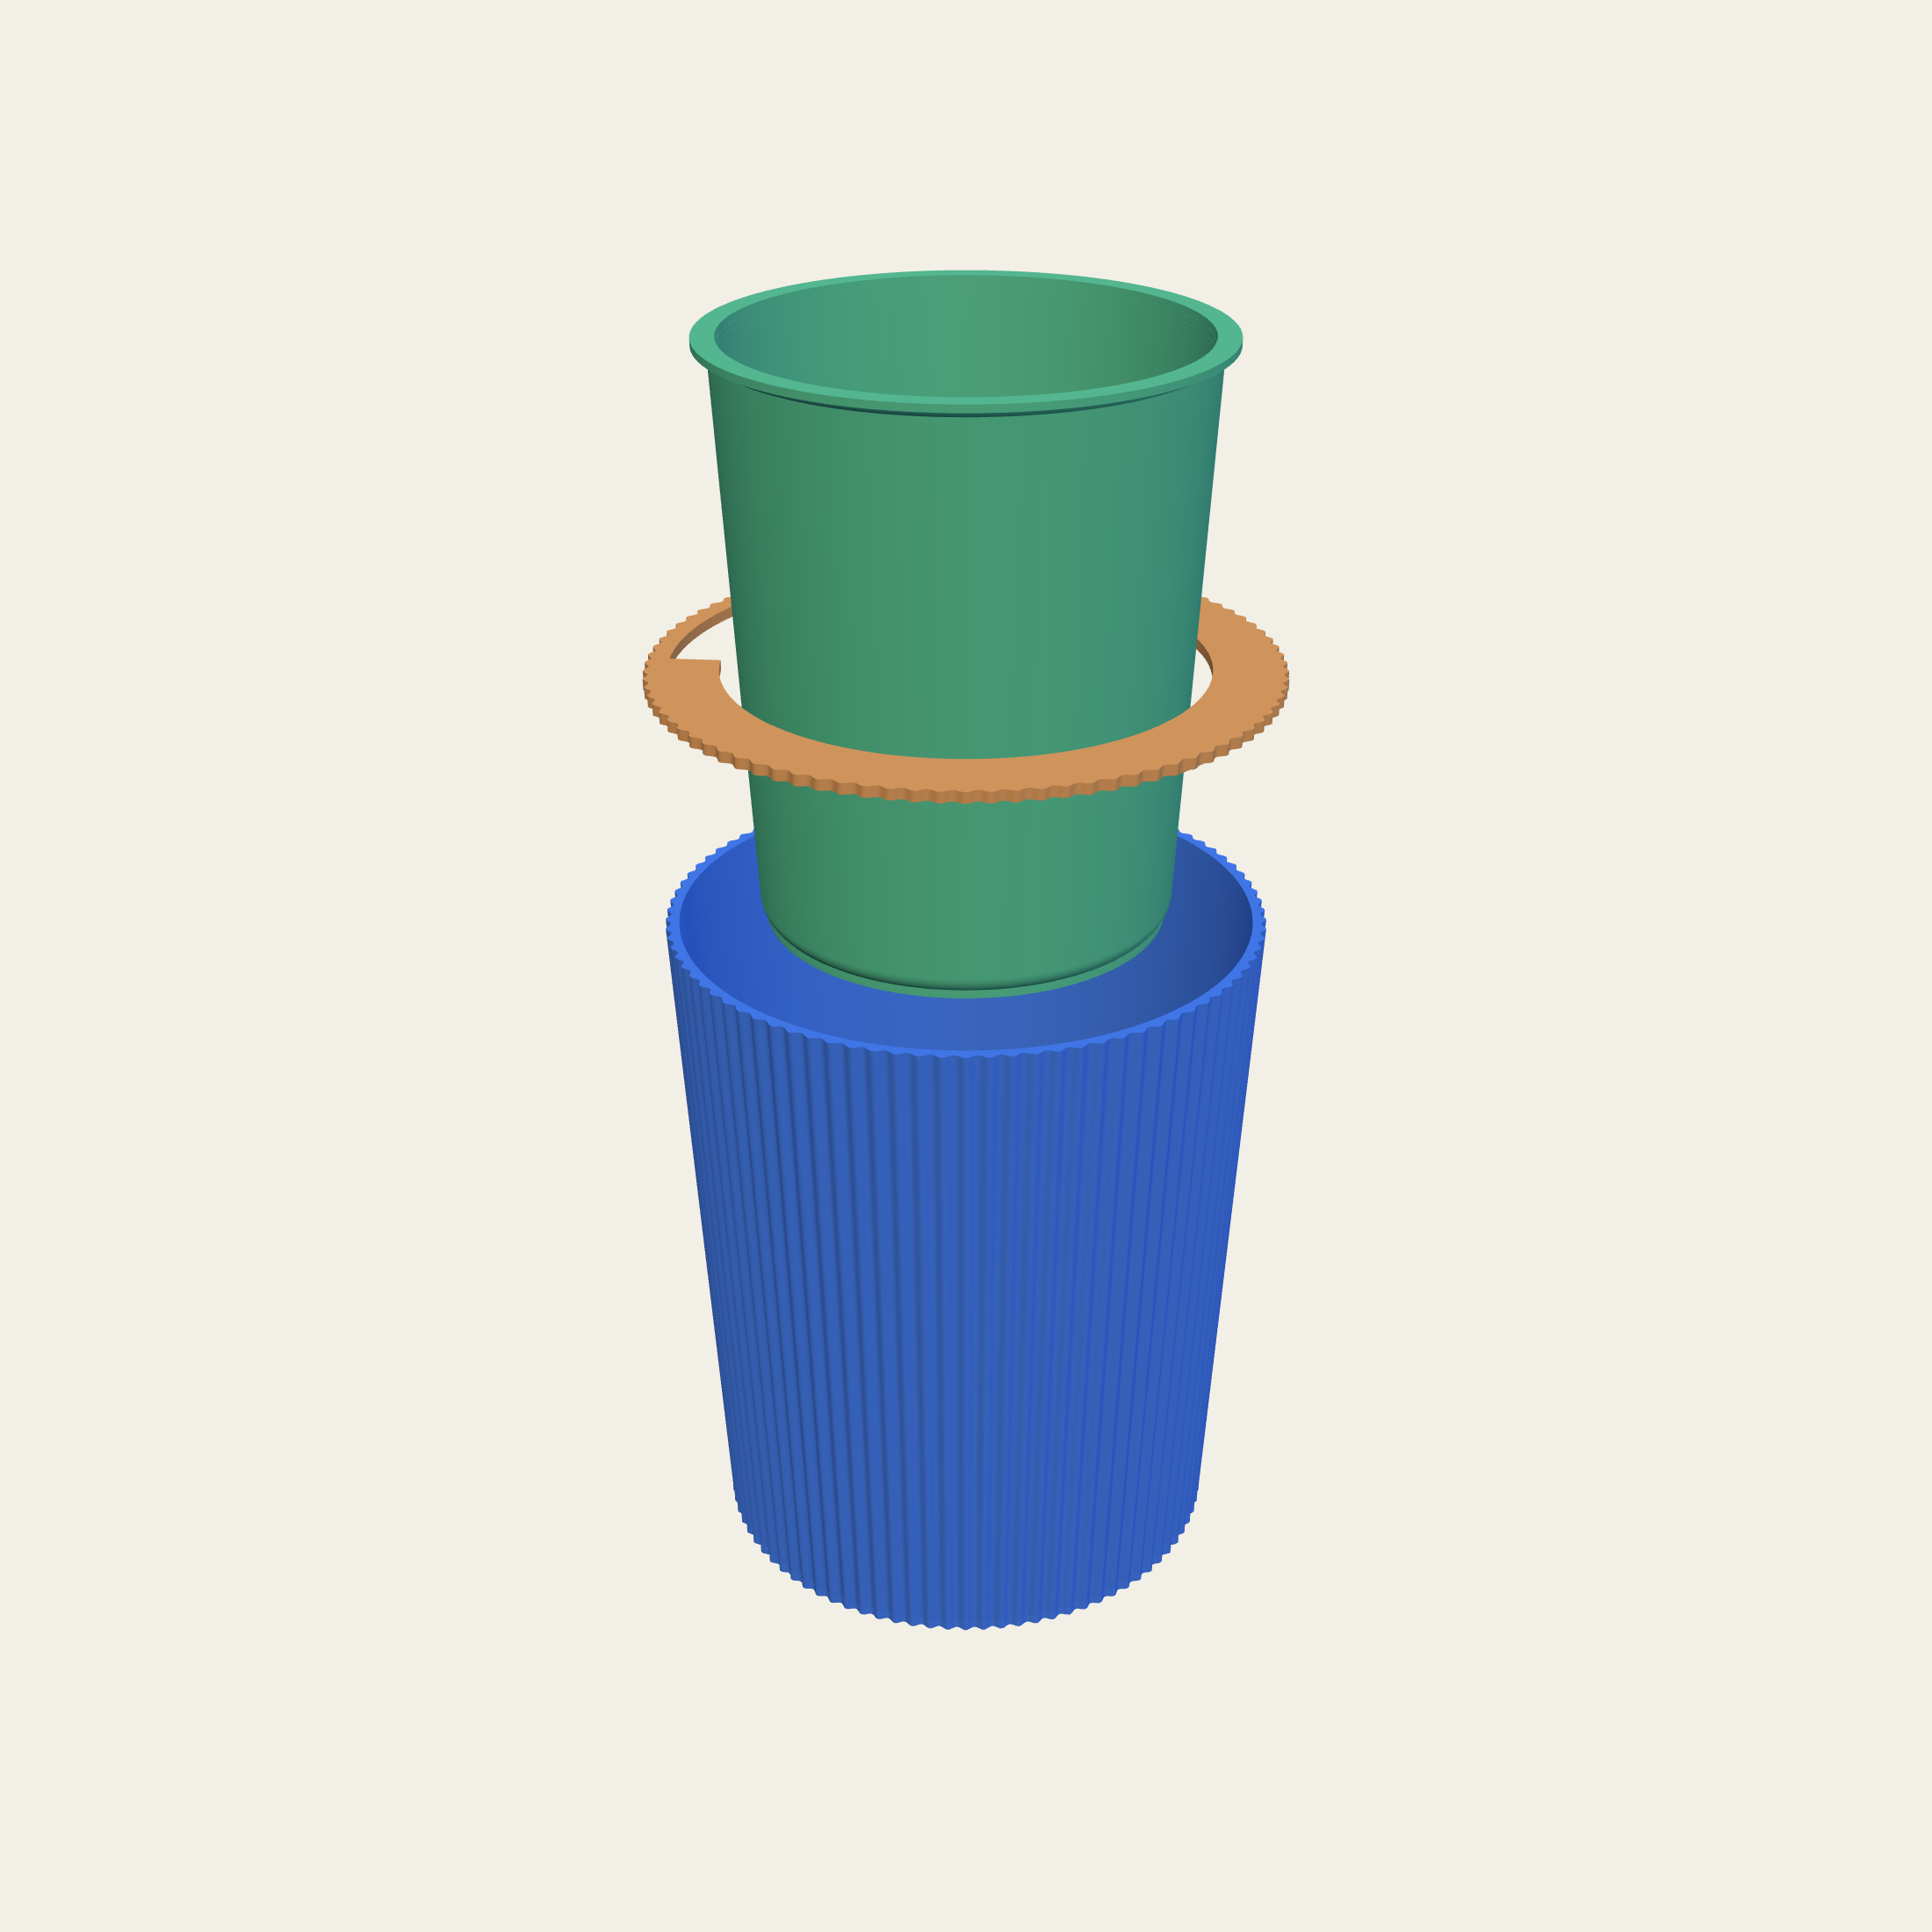
The floor of the liner is open. It has to be, or water and air cannot move through the root ball, but an open floor over a tank of water is also a way to lose half your mix into the reservoir on the first watering.
So the floor is a mesh, sized to hold a normal potting mix while letting the wick and the air through. The grade matters: fine enough for compost, open enough that it does not blind over with fines and turn into a sealed plate in the second year.
A pour opening in the side takes water straight into the reservoir without running it through the medium. That matters more than it sounds: filling from the top every time keeps the surface of the mix permanently wet, which is where fungus gnats breed and where the crust of salt shows up first.
A float rod shows the level from across the room, and an overflow port means the pot cannot be filled past the line even by somebody who is not paying attention. Both of those are there because the person watering is usually in a hurry.
On a plain pot it is an open floor, a foot that lifts it clear, and a tray that comes off to be emptied. That is the whole specification and it is not a hard one, which makes it strange how many pots are sold without it.
On a self-watering pot it is a plugged drain at the lowest point of the reservoir and a liner that lifts out as one piece. Once a season the plug comes out, the whole vessel goes under a tap, and the salts leave the building. A reservoir you can only fill is a reservoir you are slowly poisoning.
On an orchid pot it is most of the wall. Cattleya and its relatives are potted in coarse bark that has to dry all the way through between waterings, so the opening is not a hole in the bottom, it is a third of the side.
Everything on this page is a number in a drawing. The editor opens on one of ours and the diameter, the height, the wall angle, the flutes and the treatments on top of them all move from there. What comes out is a code and a set of dimensions you send us.
Start from our template All products Or send a photo
Aroids Cacti Succulents Alocasia Pothos Monstera Hoya Cattleya